
Tally
Learn how to integrate Lithos POS with Tally using the Lithos POS Tally Connector. This connector enables automatic synchronization of sales, payments, and accounting data from Lithos POS to Tally, reducing manual accounting effort and ensuring accurate financial records.
Tally Connector Overview
Tally is one of the most widely used accounting and ERP systems in India. Businesses use Tally to manage accounting, inventory, GST compliance, and financial reporting. The Lithos POS Tally Connector is a middleware application that syncs data from Lithos POS to Tally automatically.
With this connector, you can:
- Sync sales invoices to Tally
- Sync payment modes and ledger mappings
- Automate accounting entries
- Reduce manual data entry errors
- Run background sync as a Windows service
Prerequisites
Before setting up the connector, ensure:
- Windows PC or Server (recommended dedicated system)
- Tally running on the same system or accessible over LAN
- Lithos POS Backoffice credentials
- Admin rights on Windows
- Internet connectivity
- Tally ODBC / XML interface enabled
Part 1: Tally Configuration
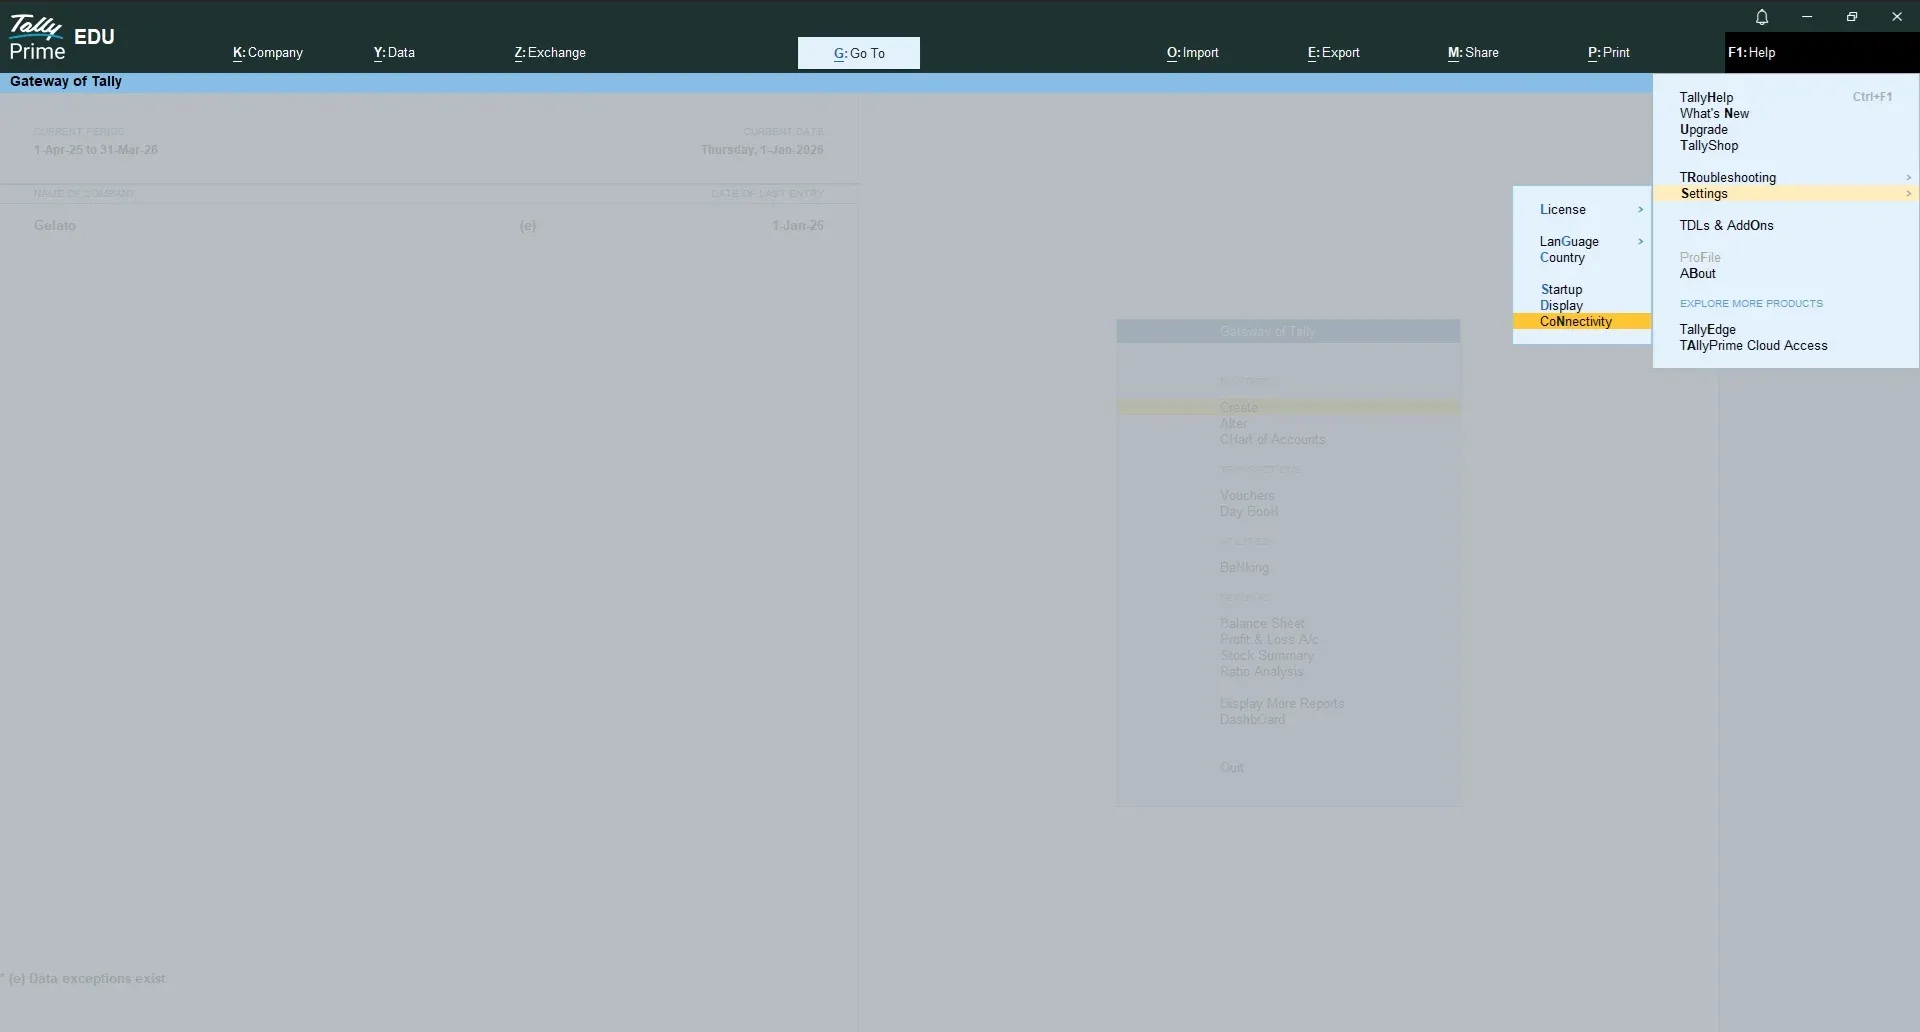
Step 1: Enable Tally Integration
- Open Tally
- Go to Gateway of Tally → F1 (Help) → Settings → Connectivity
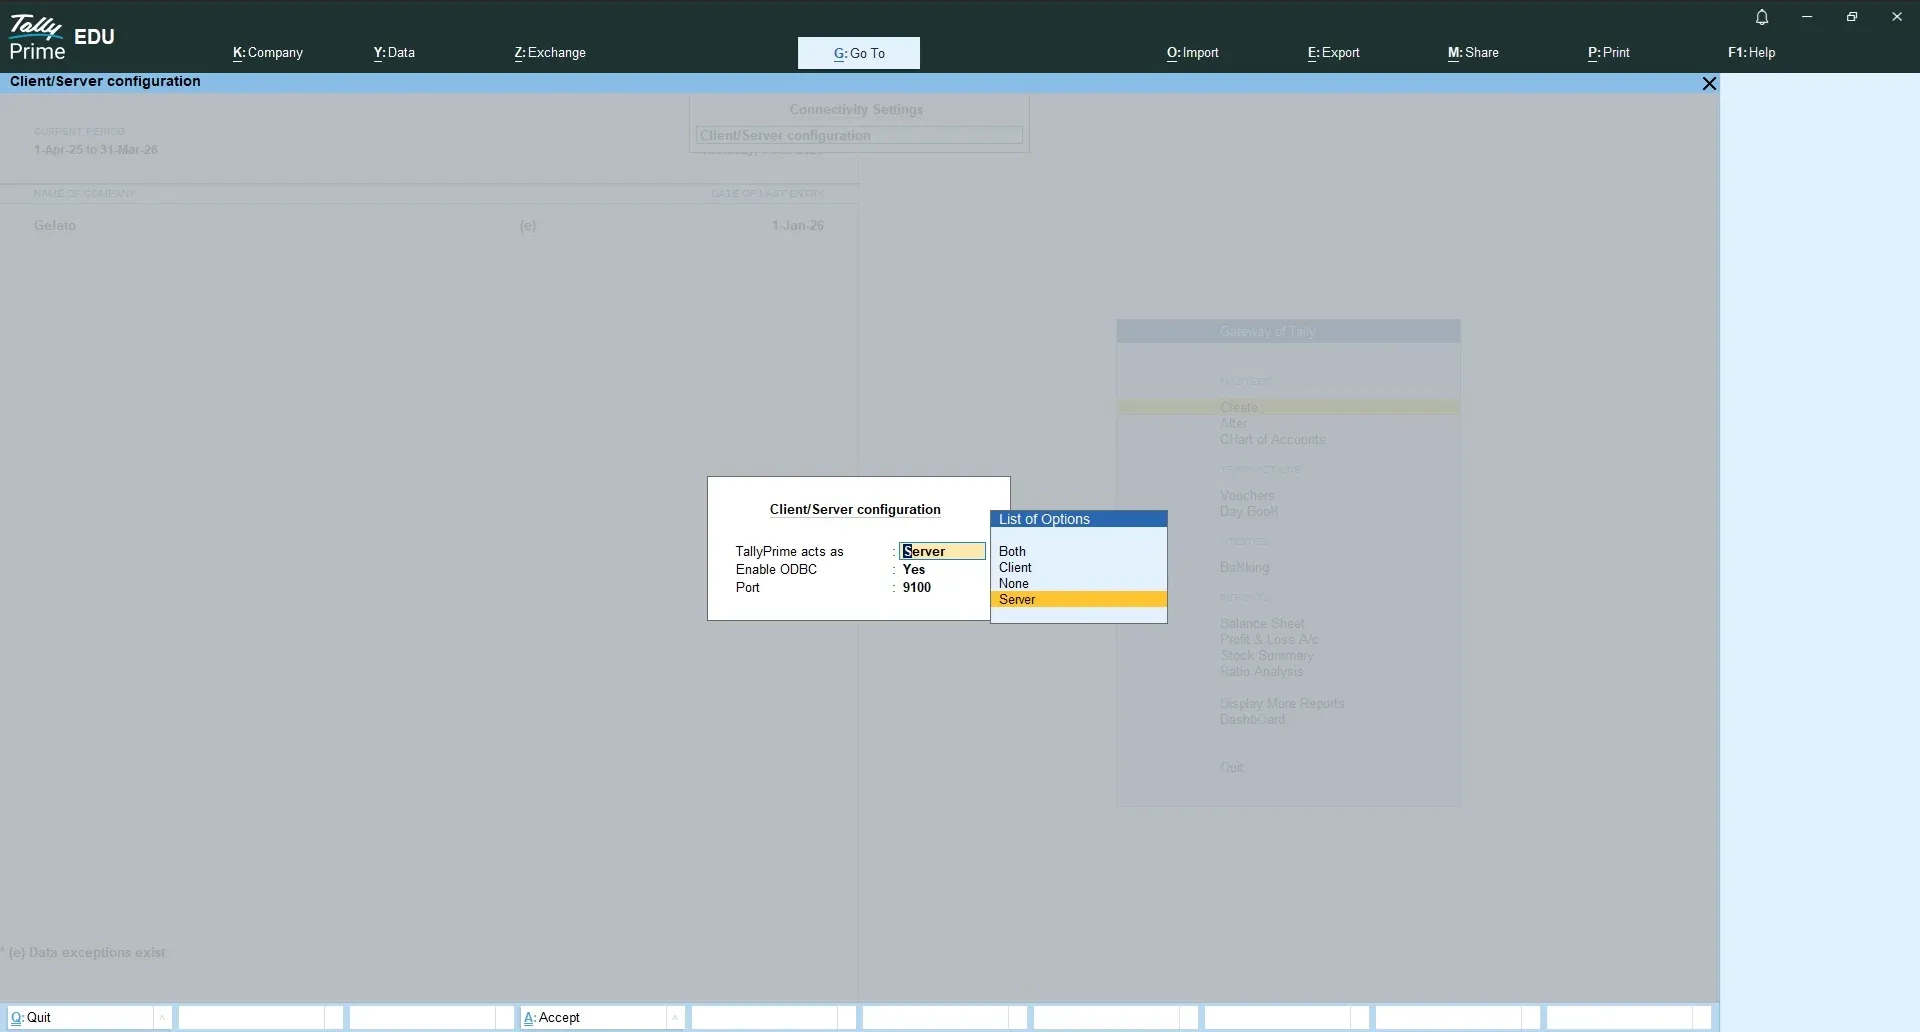
Step 2: Set Tally Company
- Ensure that Server is selected
- Enable XML / ODBC Interface
Part 2: Connector Configuration
Step 1: Get the Lithos POS Tally Connector
- Download and install Lithos POS Tally Connector from the given link.
DOWNLOAD FILE
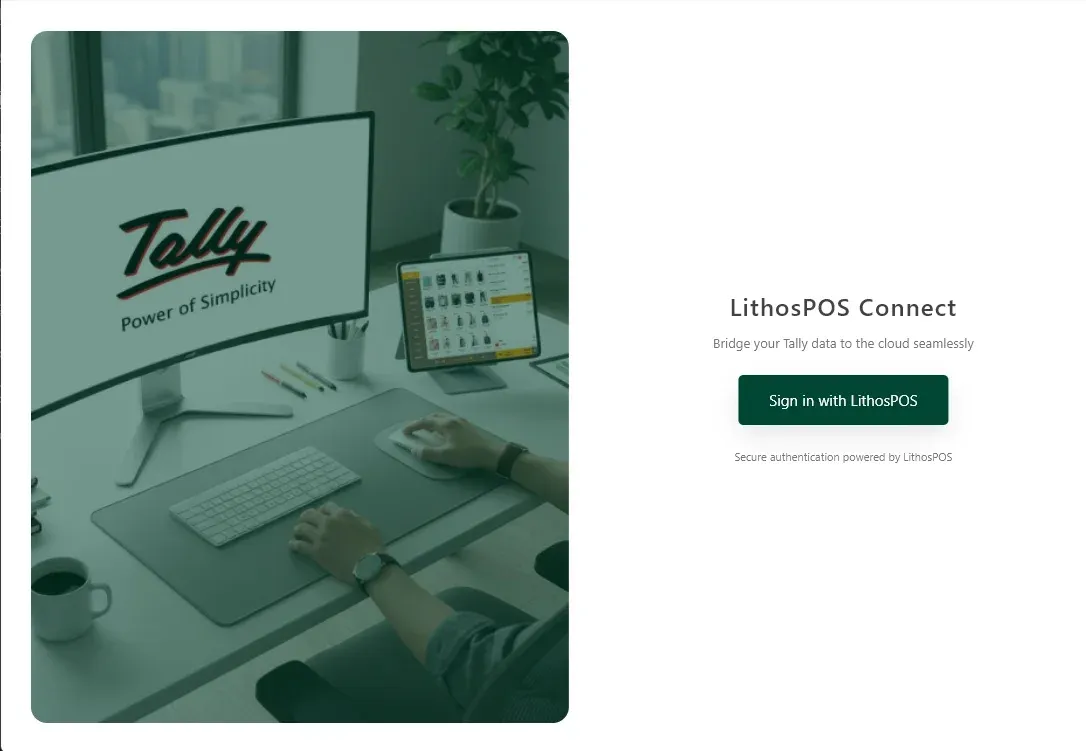
Step 2: Initiate Sign In
- Open the application with Administrator Permission. Click Sign in with Lithos POS.
- It will initiate sign in and redirect to Lithos POS Login Screen in the browser
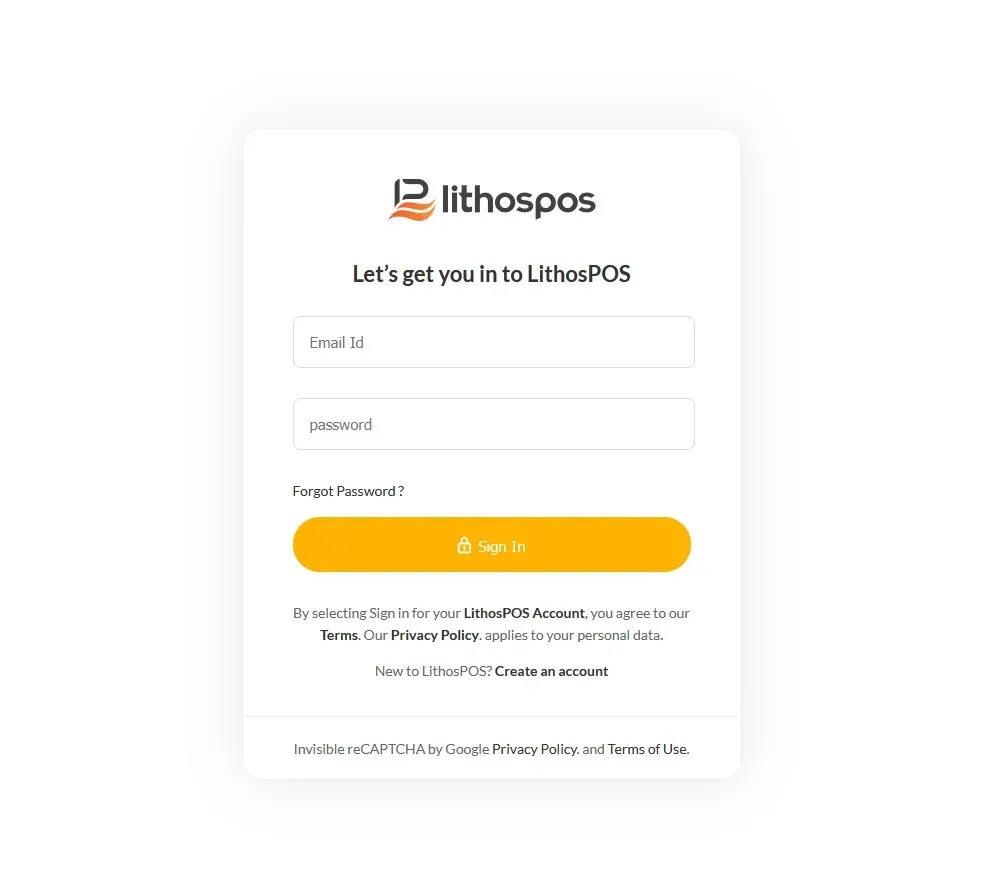
Step 2: Login to Lithos POS Backoffice
- Login to Lithos POS Backoffice using your credentials.
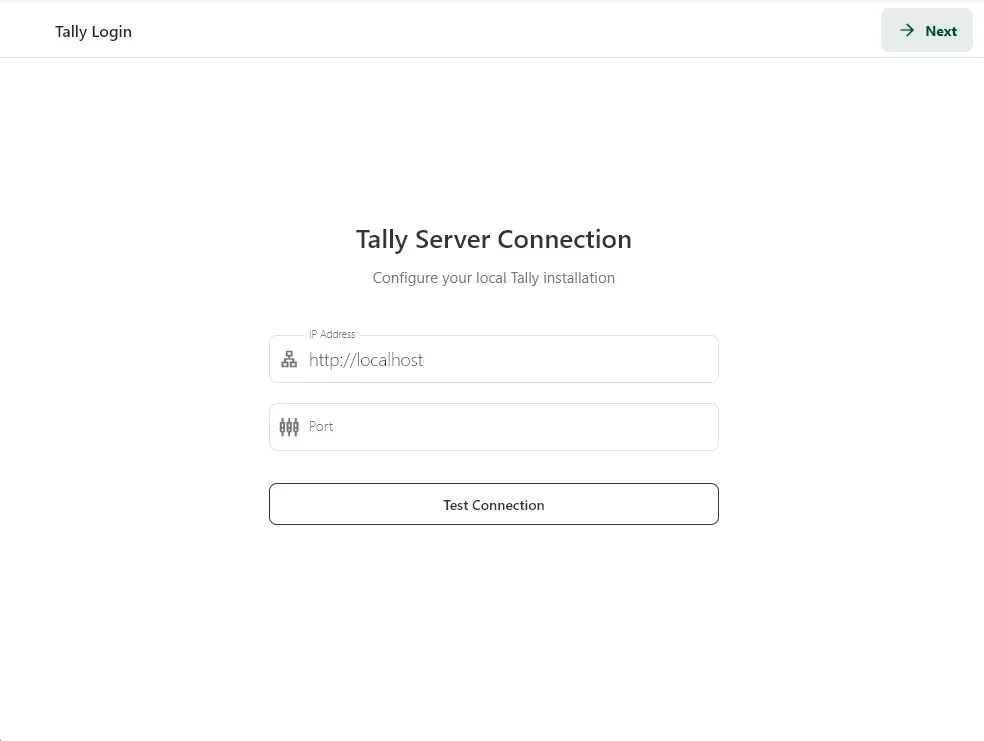
Step 4: Login to Tally Server
Enter Tally server details and click Next.
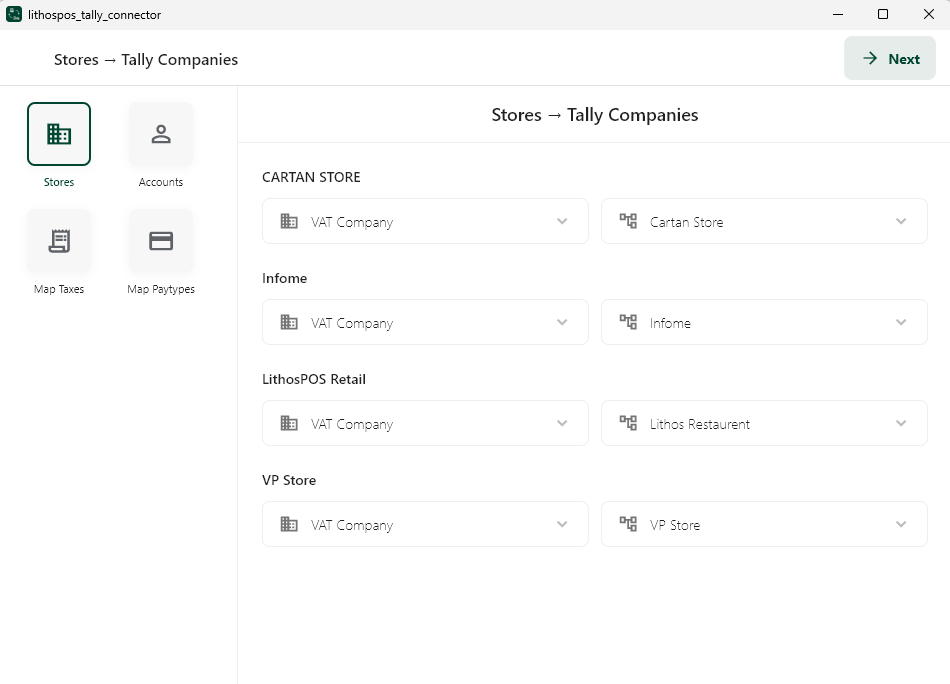
Step 5: Map Lithos POS Stores
- Select Tally Company and Cost Centre you want to connect to every Lithos POS Store
- Cost Centre selection is not mandatory but highly recommended if you are managing multiple stores in a single Tally Company
- After completing the mapping, click Next
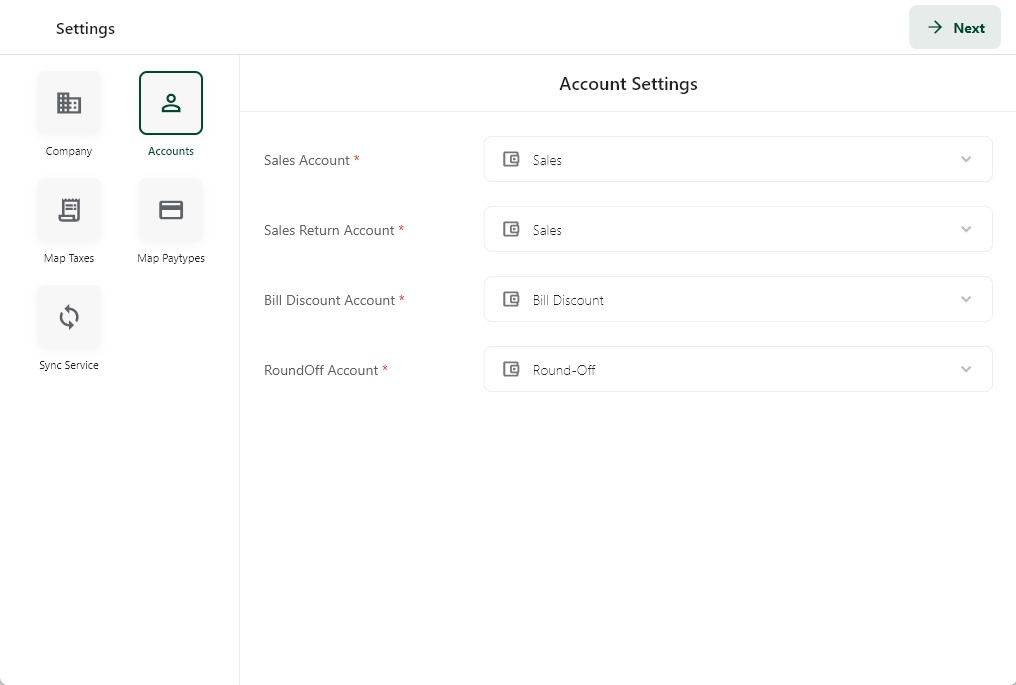
- Step 6: Configure Tally Accounts
Map Lithos accounts to corresponding Tally ledgers (Sales, Tax, Discount, etc.) and click Next. - Select the date from which data sync should begin. Useful if data was entered manually before the integration was set up.
- Map Lithos Accounts to corresponding Tally ledgers (Sales, Tax, Discount, etc.) and click Next.
Step 7:Map Taxes
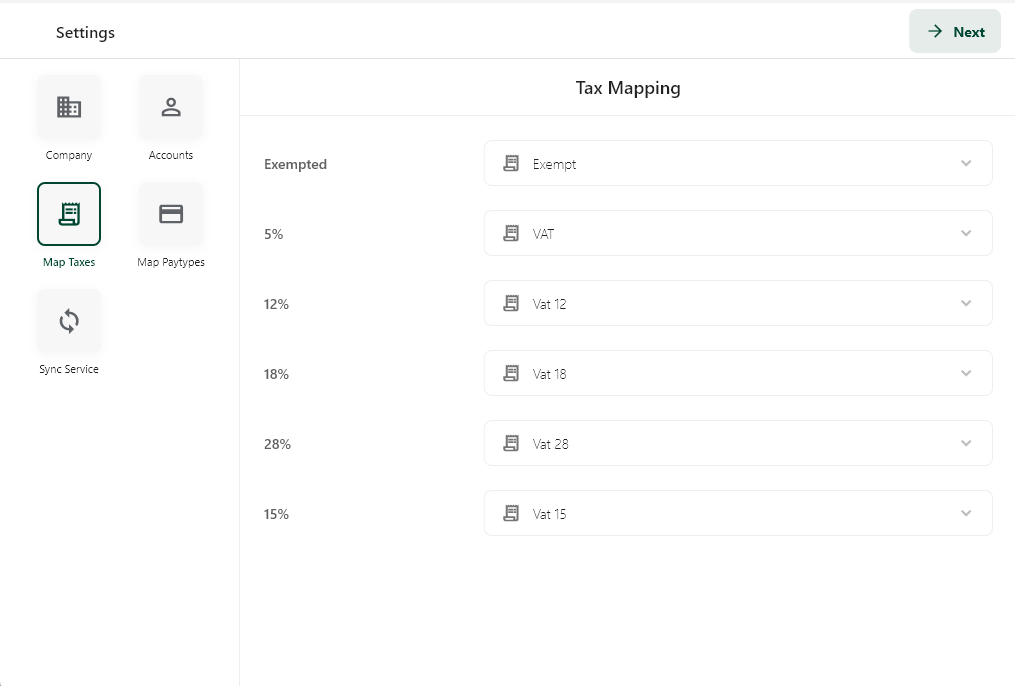
- Map Lithos taxes to Tally taxes and click Next.
Step 8: Map Payment Types
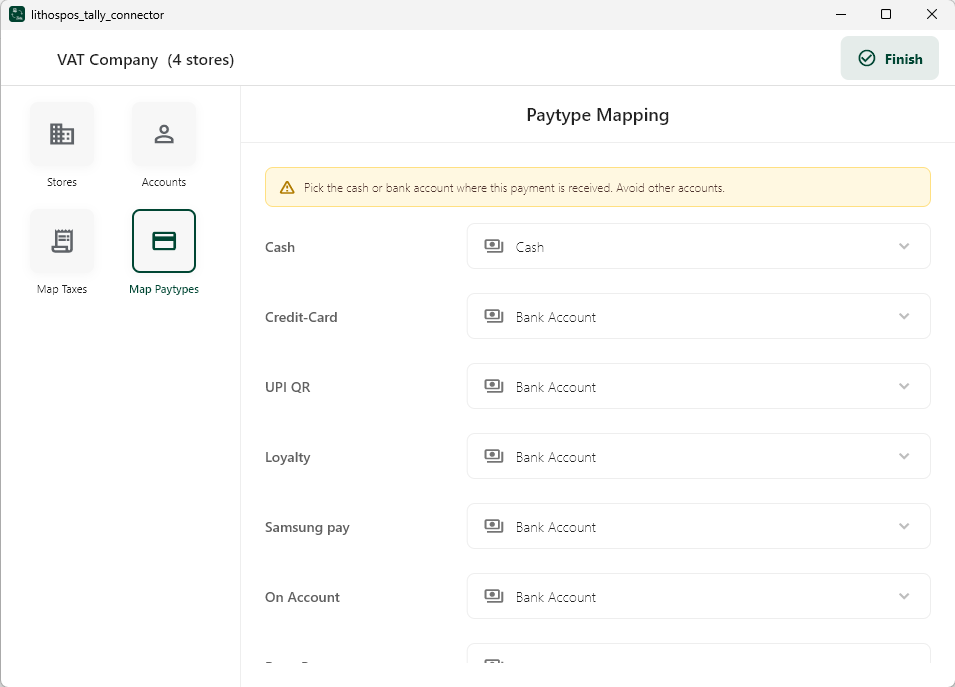
- Map Lithos payment methods (Cash, Card, UPI, Wallet) to Tally ledgers and click Next.
Step 9: Open Sync Service
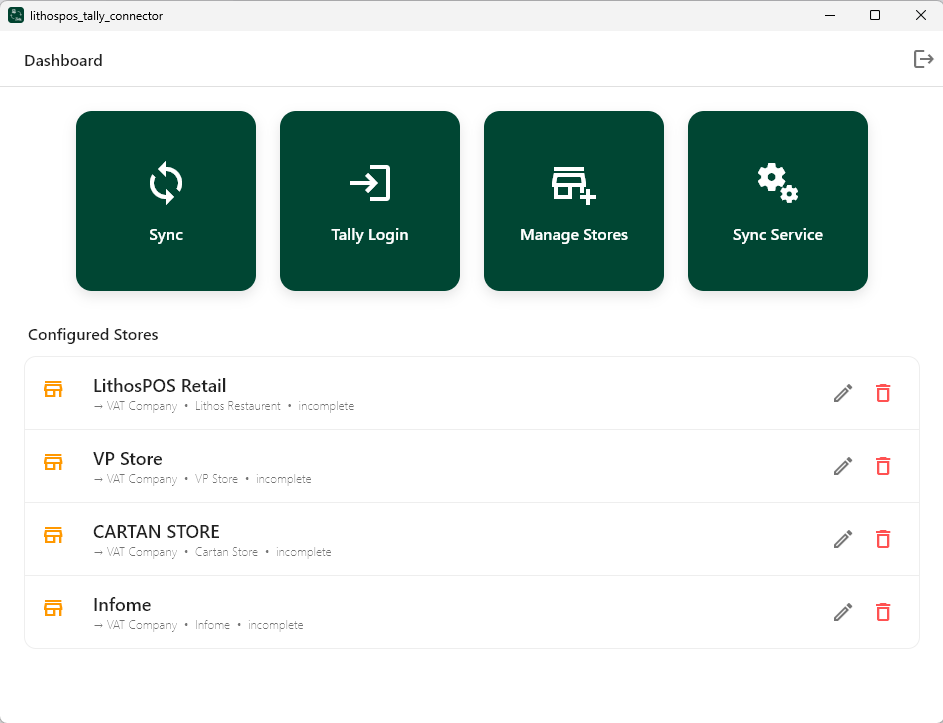
- Once all mappings have been configured, the Dashboard will be available here, providing access to view and manage your connected stores.
- Restart the application as administrator and click Sync Service
Step 9: Install Sync Service
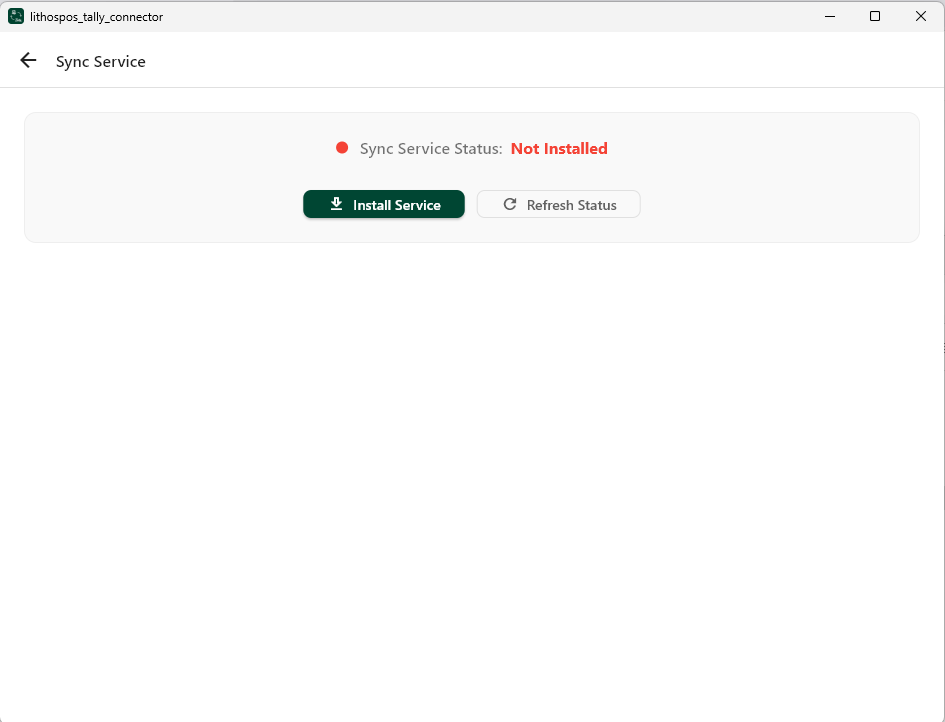
- To automate syncing, Lithos Tally Connector runs as a Windows Service.
Click Install Service.
Step 10: Start Sync Service
- After installation, click Start Service.
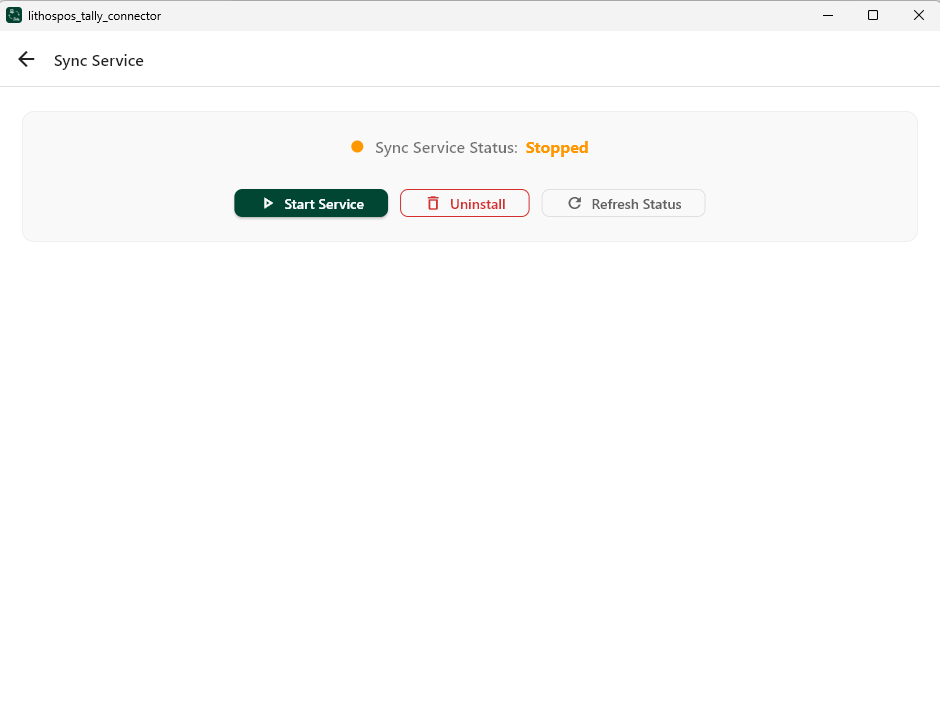
Step 11: Service Running
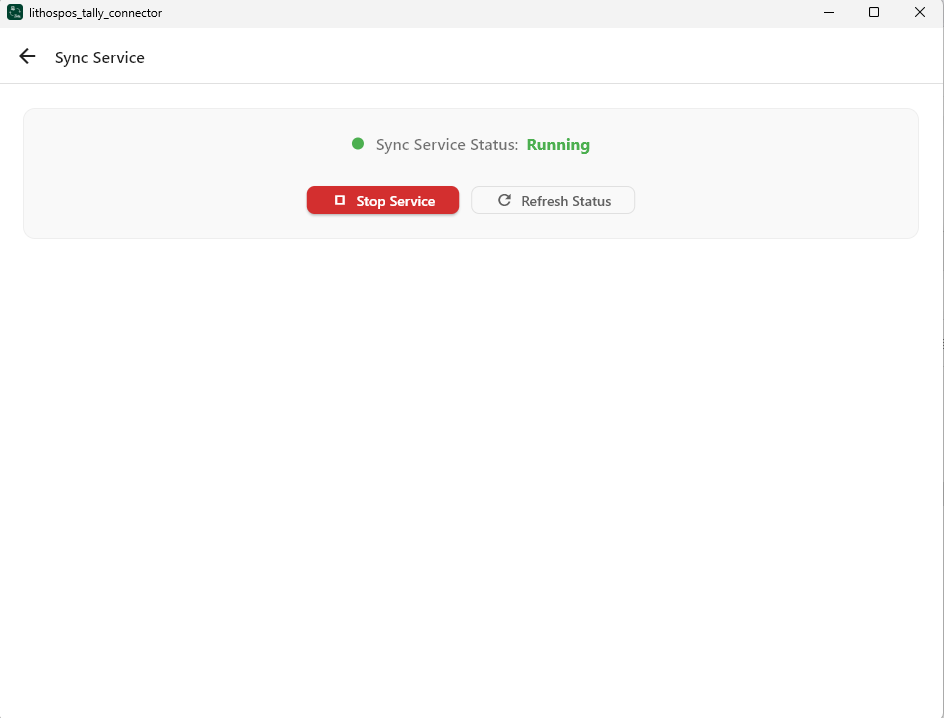
- The service will run in the background and periodically sync data to Tally
Part 3: Manual Syncing
Step 1: Start Sync
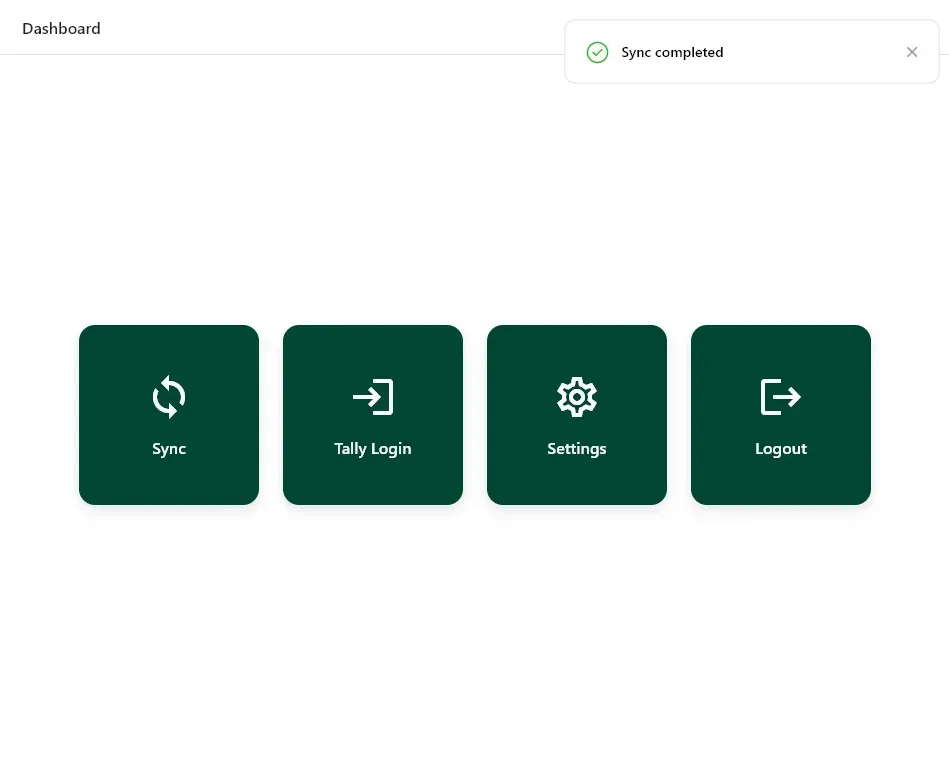
- Close the Settings and Click Sync from the Dashboard and wait for the data transfer to complete.
Step 2: Sync Completion
- After successful sync, a confirmation message will be displayed.
How the Connector Works
- Lithos POS sends sales and payment data to the connector
- Connector converts data into Tally-compatible XML format
- Data is pushed to Tally automatically
- Sync runs on schedule when Windows Service is enabled
Support & Troubleshooting
Common Issues
- Company name mismatch between Tally and Lithos
- Tally XML interface disabled
- Connector not run as Administrator
- Windows Service not started
- Firewall blocking Tally port
Tips
- Use a dedicated PC/server for continuous sync
- Connector converts data into Tally-compatible XML format
- Avoid changing ledger names after mapping
- Monitor logs for failed syncs
Connect with us to know more
To learn more about it feel free to book a meeting with our team
Was this article helpful?