
Neonet Soft POS Payment Integration in LithosPOS
LithosPOS supports Soft POS payments, allowing you to process transactions securely and efficiently.
Updated
Configuring Neonet Soft POS Payment Integration in LithosPOS Back Office
To add and configure Neonet Soft POS payments as a payment option in LithosPOS, follow these steps:
- Log in to the Back Office and select 'Settings' from the side menu.
- Navigate to ‘Payment Types’.
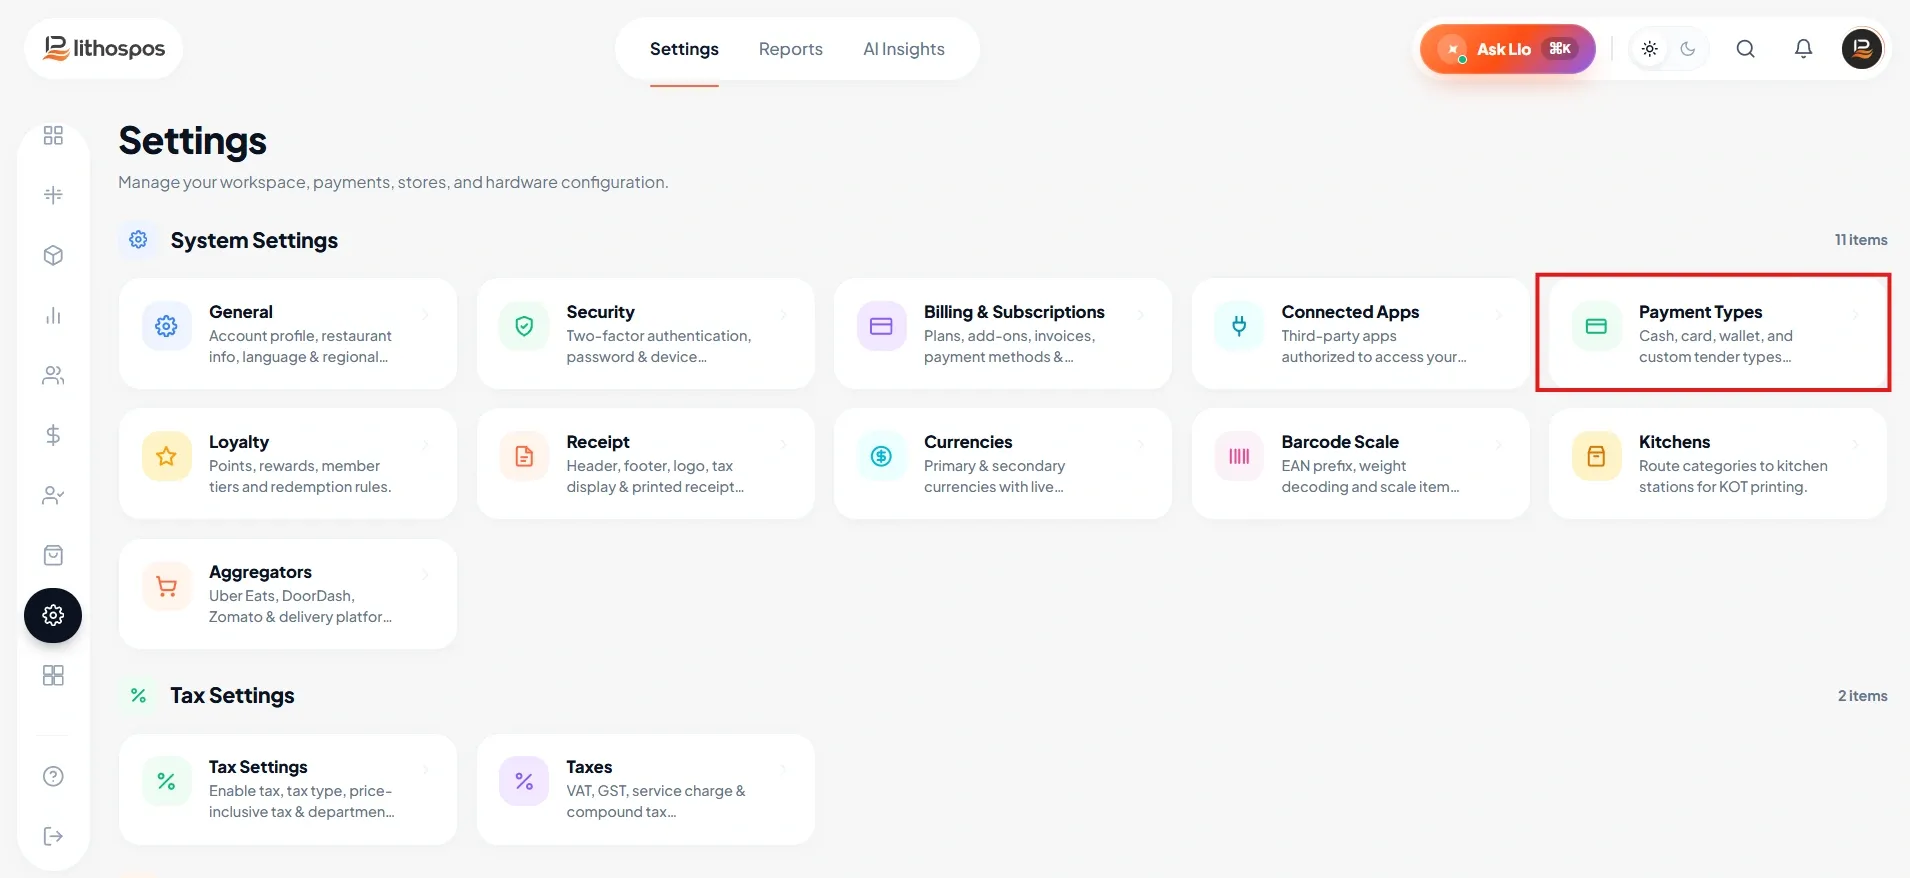
- Click on ‘+ Add Payment Type’ at the top-right corner of the screen.
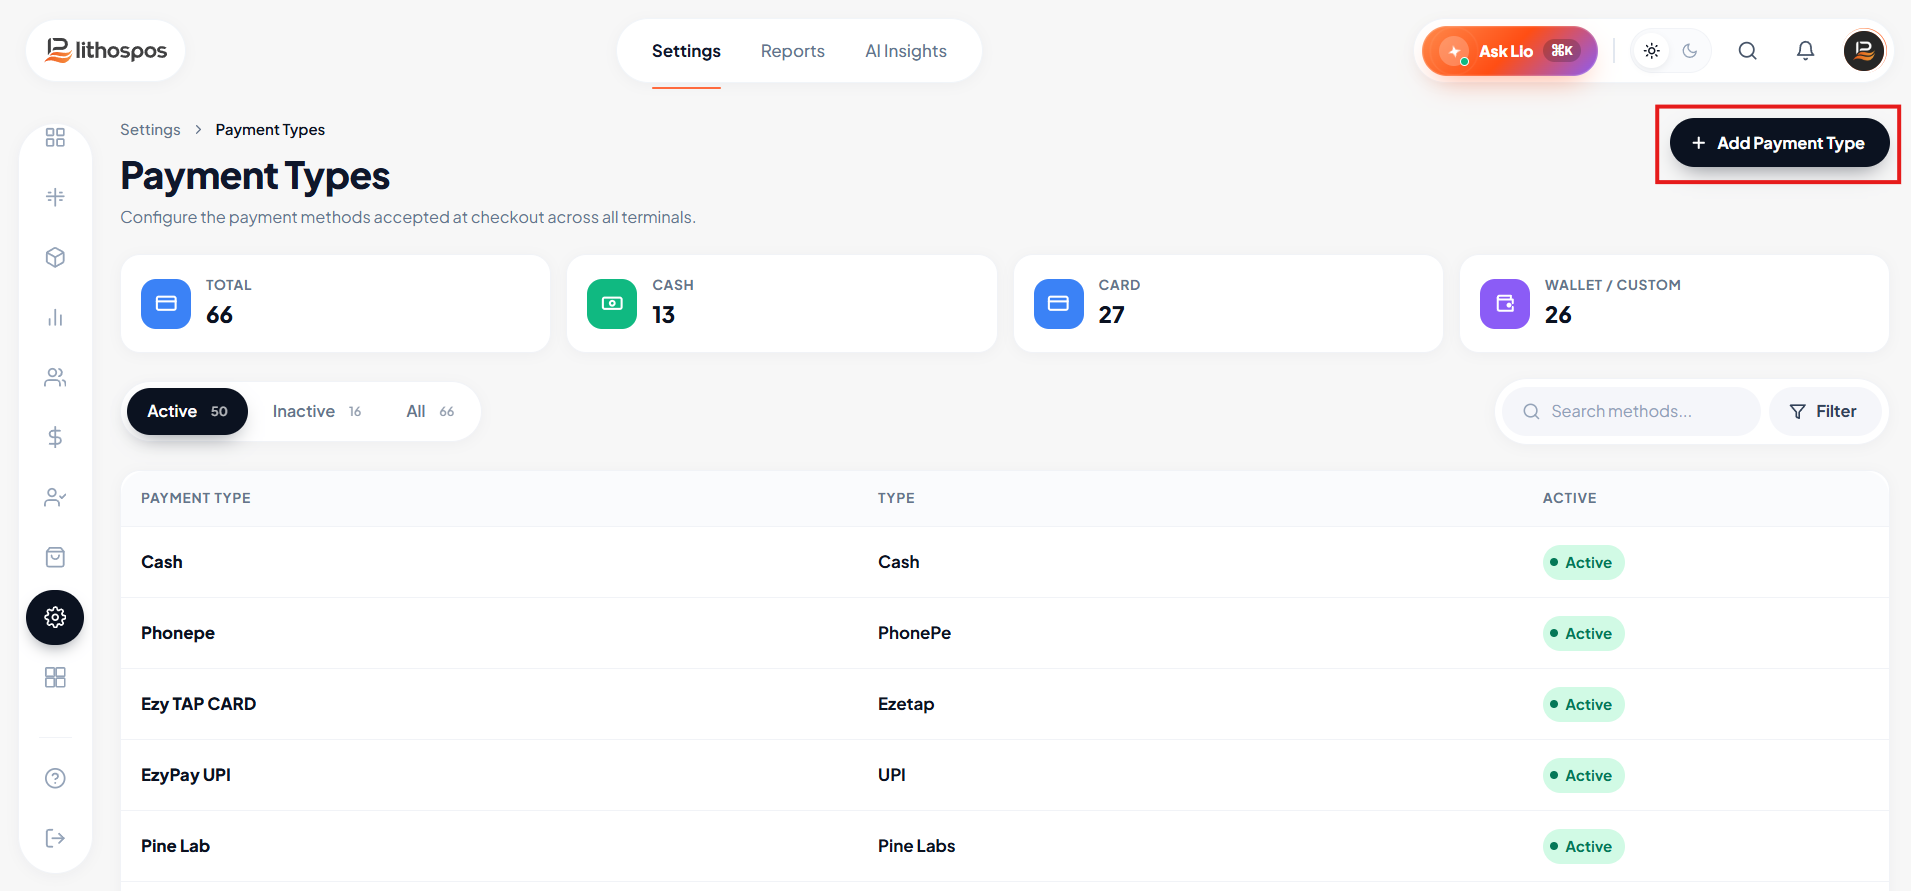
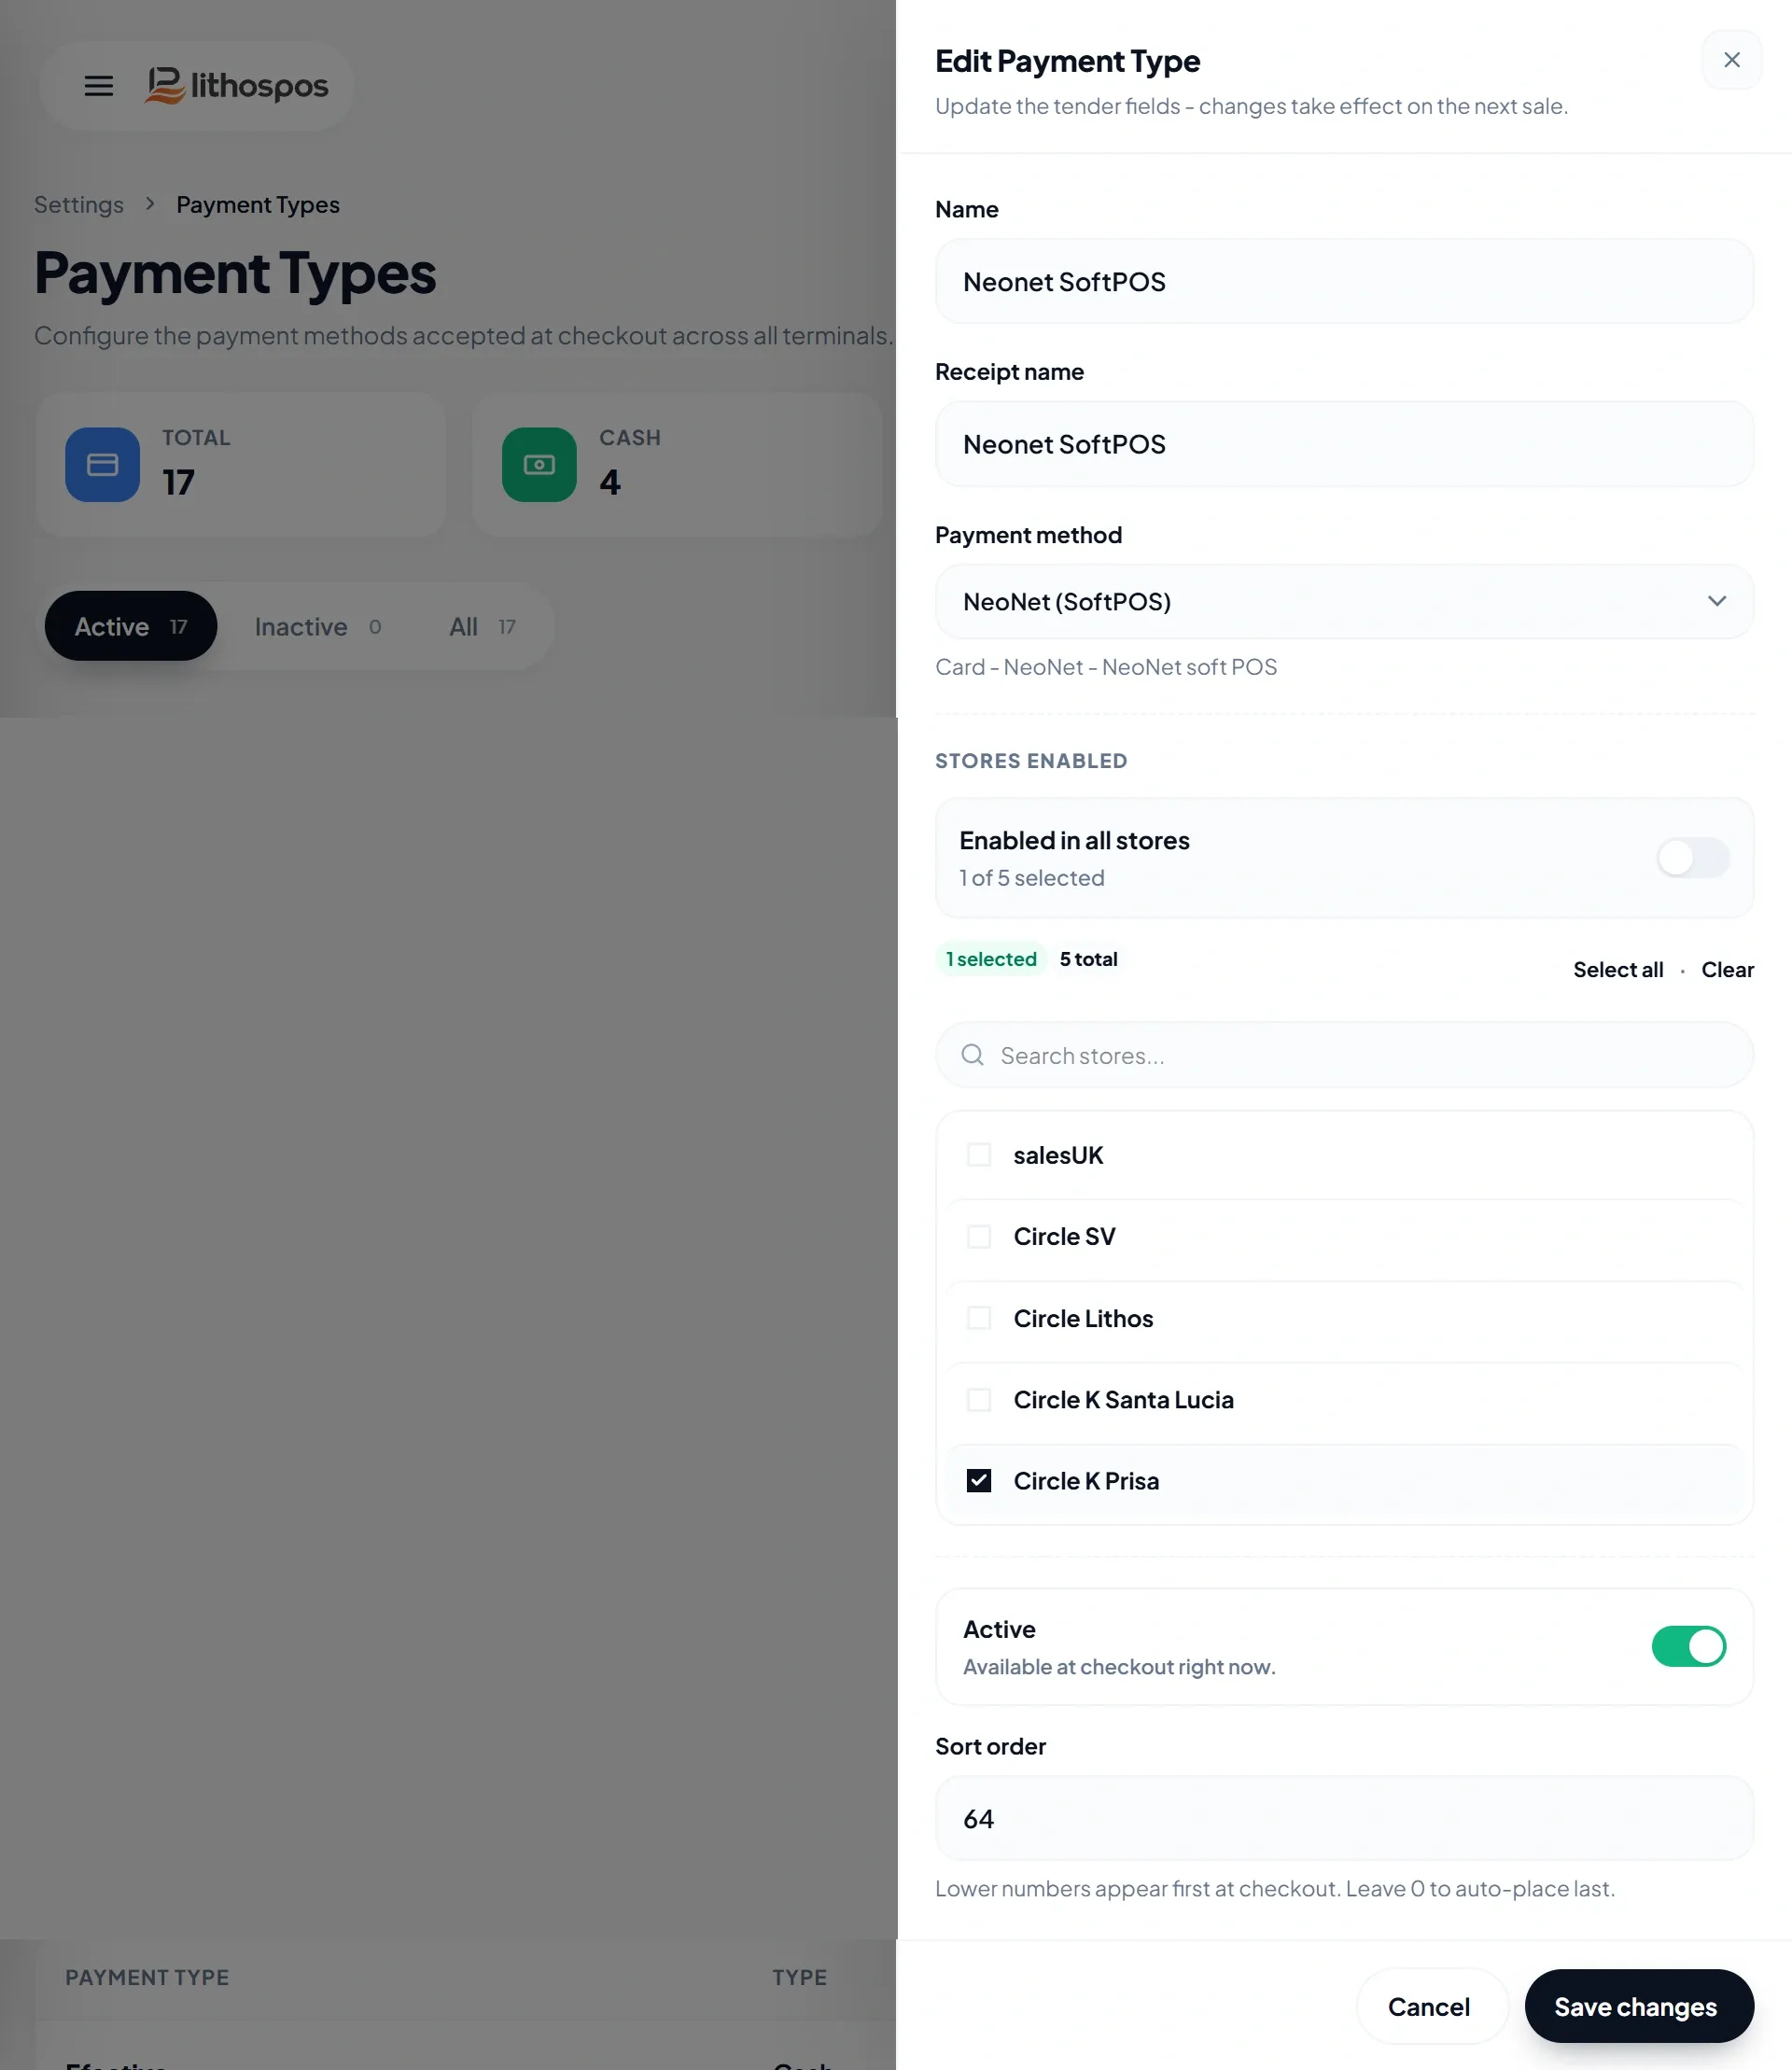
- In the Name field, enter 'Neonet Soft POS'—this will appear on the POS payment screen for easy identification.
- In the Receipt Name field, type 'Neonet Soft POS' to define how this payment type will appear on customer receipts.
- From the Payment Method dropdown, select Neonet Soft POS.
- Under the Stores section, select the stores where you want Neonet available, or select Enabled in all stores to make Neonet available across all stores.
- Toggle the Activate/Deactivate button to enable or disable this payment method.
- Sort Order: Set the display order of the payment type at checkout. Lower numbers appear first, while higher numbers appear later. Leave the field as 0 to automatically place the payment type last.
- Click Save Payment Type to save your settings.
- After saving, sync your POS system to make the 'Neonet Soft POS' payment option available during transactions.
Settings in the POS
To configure Neonet Soft POS settings directly on the POS:
- On the POS screen, click on 'Settings' from the left-side menu.
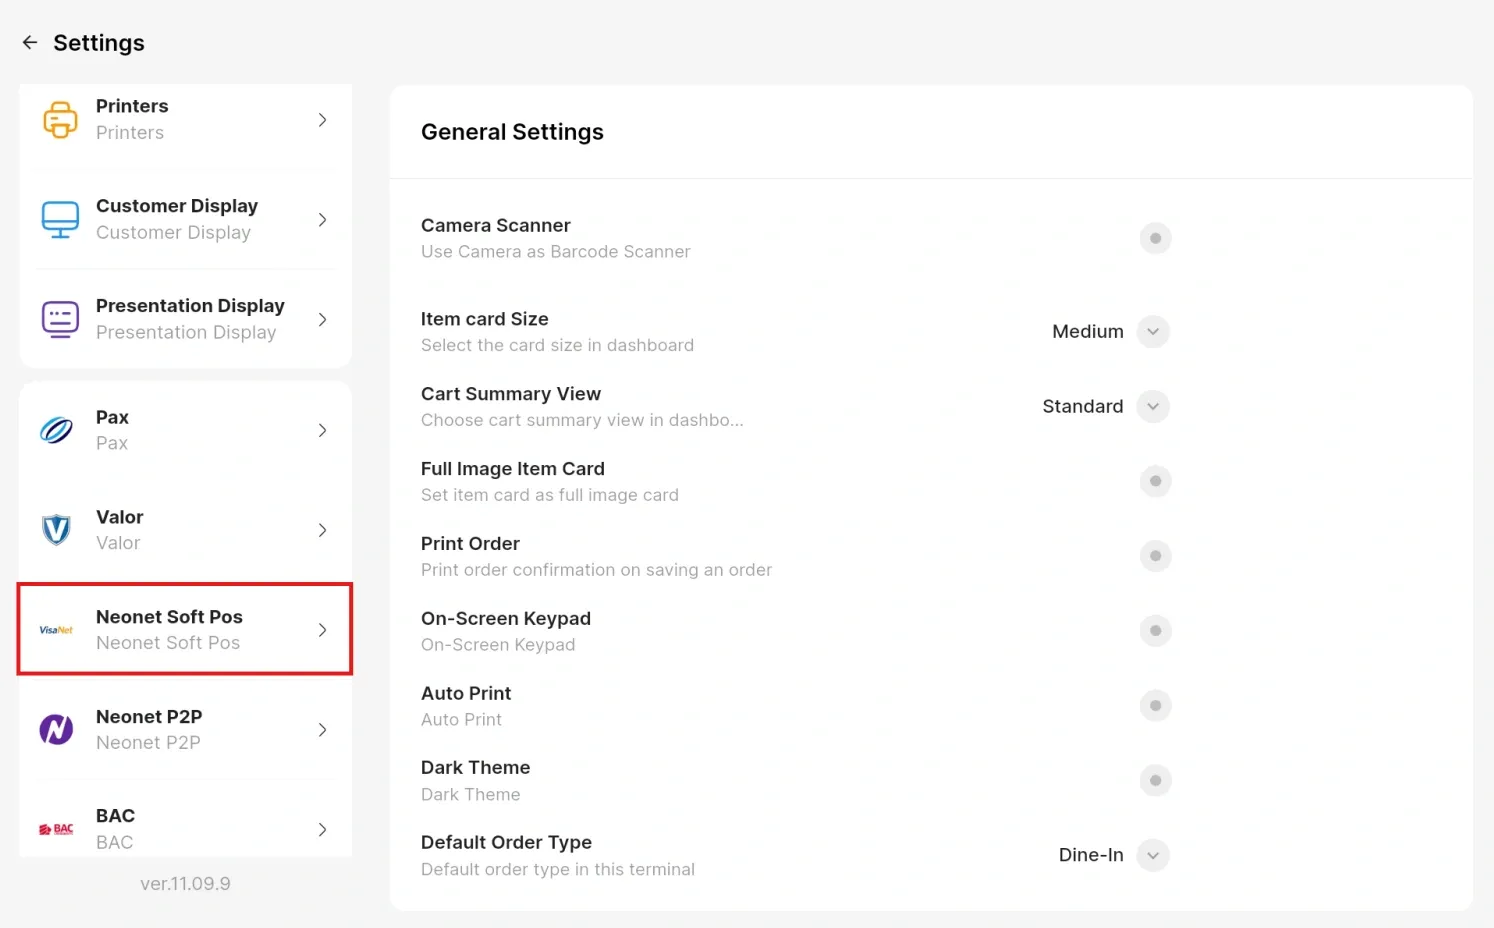
- Select 'Neonet Soft POS' Payment settings.
- Enter the Terminal ID and Account ID.
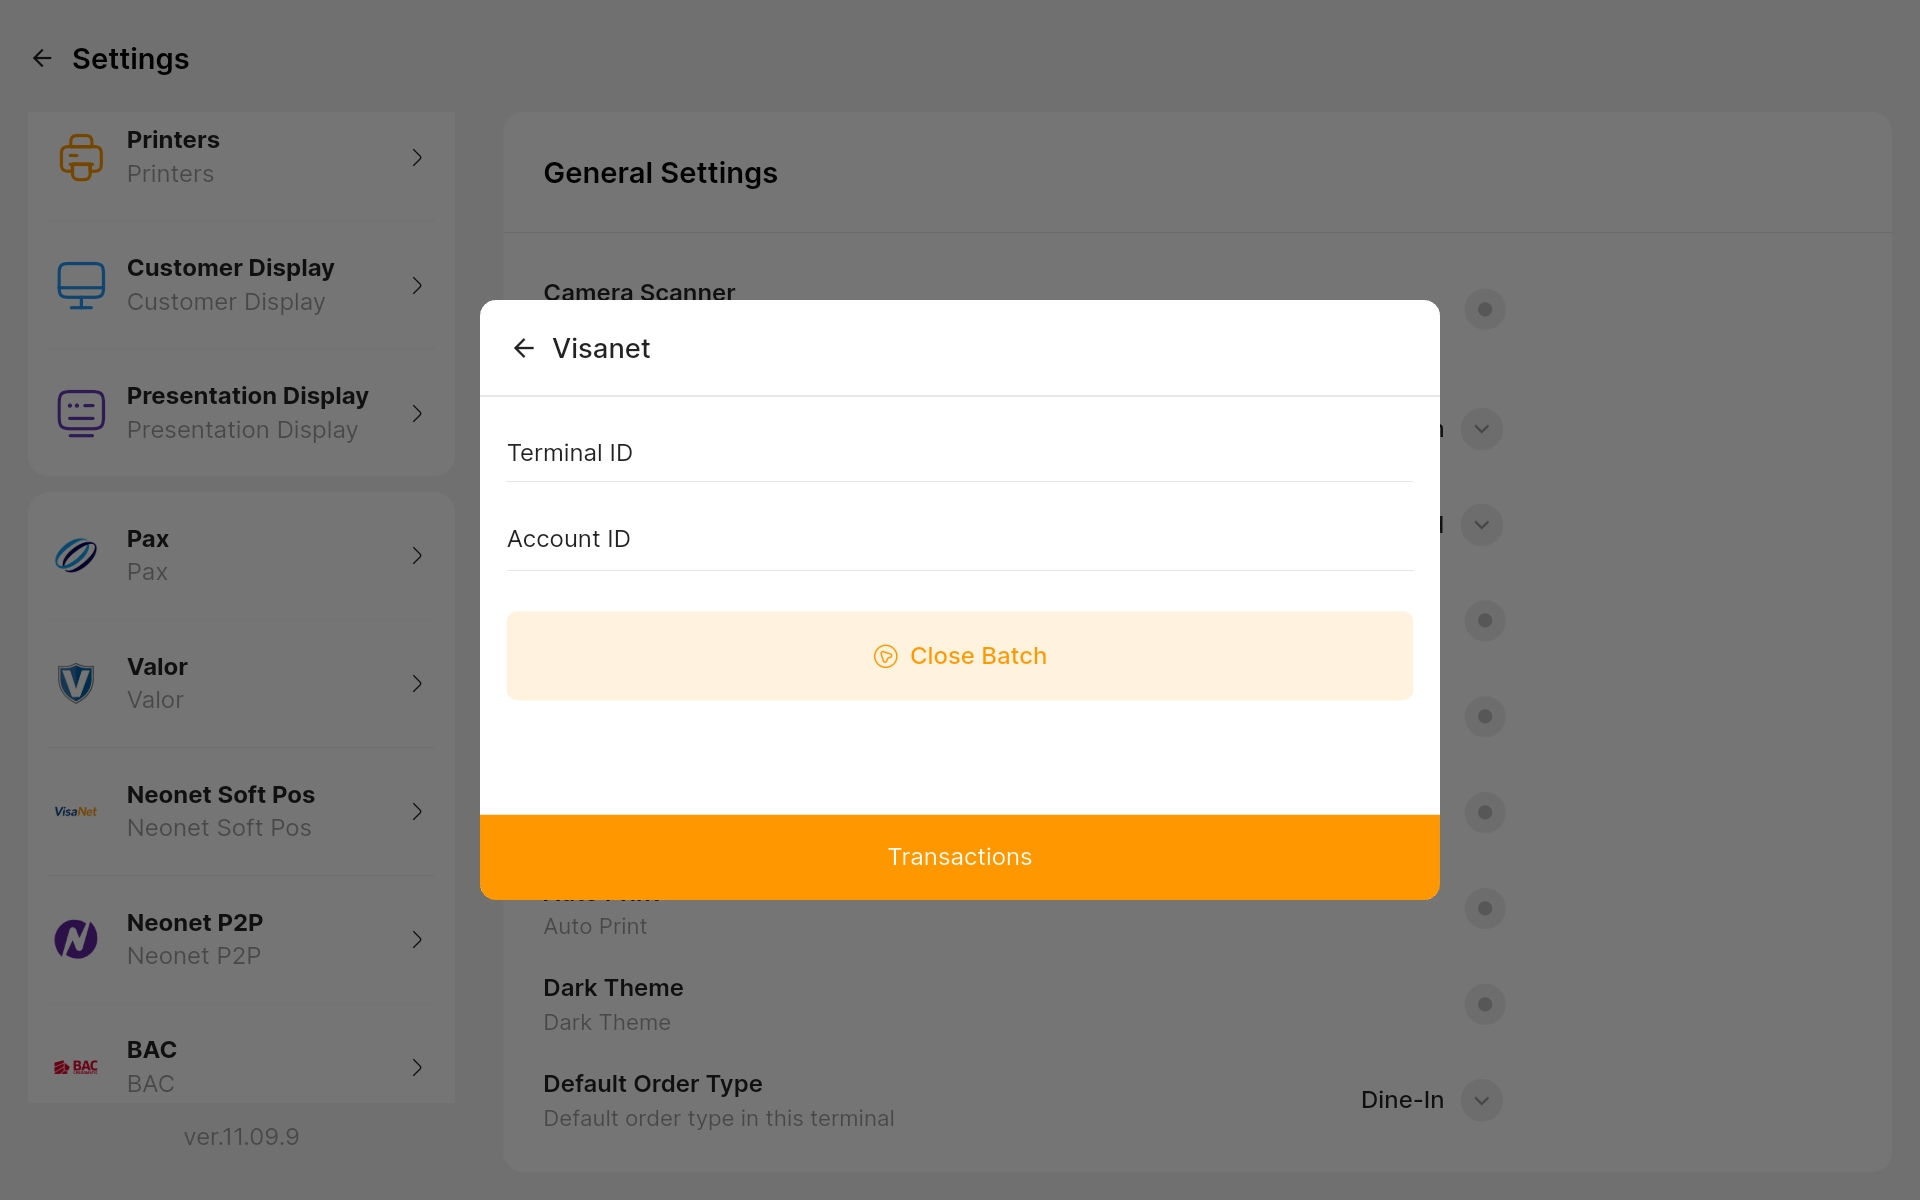
- Click Save to finalize the settings.
Connect with us to know more
To learn more about it feel free to book a meeting with our team
Was this article helpful?