
Xero Integration
Connect a LithosPOS store to Xero and every closed register posts automatically as one sales invoice with its payments, plus a credit note for returns, with totals that match the POS.
The Xero integration posts each store's sales to Xero for you. When a register is closed, LithosPOS sends what the register took to Xero as a sales invoice with its payments, so your books match the register close report without manual entry. Each store is connected, mapped and monitored from Integrations > Xero in the Back Office.
What the integration does
- Posts every closed register automatically. LithosPOS posts closed registers every 30 minutes. Post now posts the waiting ones straight away.
- One invoice per register. A register's sales post as one authorised sales invoice numbered
LPOS-<store>-<register>(for exampleLPOS-25-147), paid by one payment per payment type. Its returns post as a credit noteLPOS-<store>-<register>-CNwith the refunds. The register's business date is the date of every document. - Totals match the POS. Revenue is posted net of every discount, voided bills and inactive returns are left out, and the tax is the tax the till charged. A register whose figures do not add up is held instead of posted.
- Sales that arrive late still reach Xero. A bill or return that syncs after its day was posted is sent as an extra invoice or credit note (
LPOS-25-147-2), so the posted invoice is never changed. - Nothing is posted twice. The fixed document numbers make Post now, Retry and every automatic run safe.
- Several stores, one or many organisations. Each store connects to one Xero organisation, and stores can share one.
- Everything is visible. Each store has a History of every closed register, with what Xero recorded, the reason a day was held and Retry.
Before you start
- You need a Xero business organisation and a Xero user who can connect apps to it. Its base currency must be the same as your business's currency in LithosPOS.
- Make sure the store's taxes, payment types and item groups are set up in LithosPOS.
- In Xero, have a bank or clearing account for each payment type you take (an account of type Bank, or one with Enable payments to this account turned on), and an account for on-account sales.
- The Xero app must be installed in Integrations. It needs the Pro plan.
Connect a store
- In the Back Office, go to Integrations and open Xero under Accounts.
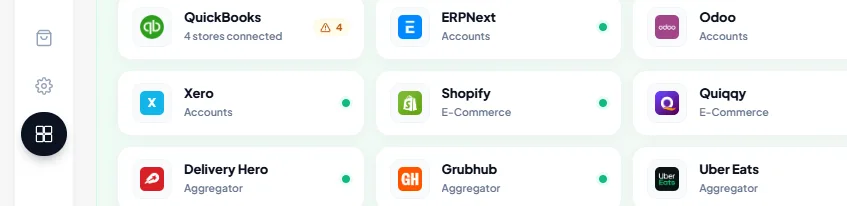
- Click Connect a store (or New connection when a store is already connected). The connection takes about three minutes, and you can stop and finish later.
Step 1: Choose the store
Pick the store to connect. Each store posts to one Xero organisation; stores that are already connected are not listed. Click Sign in to Xero.
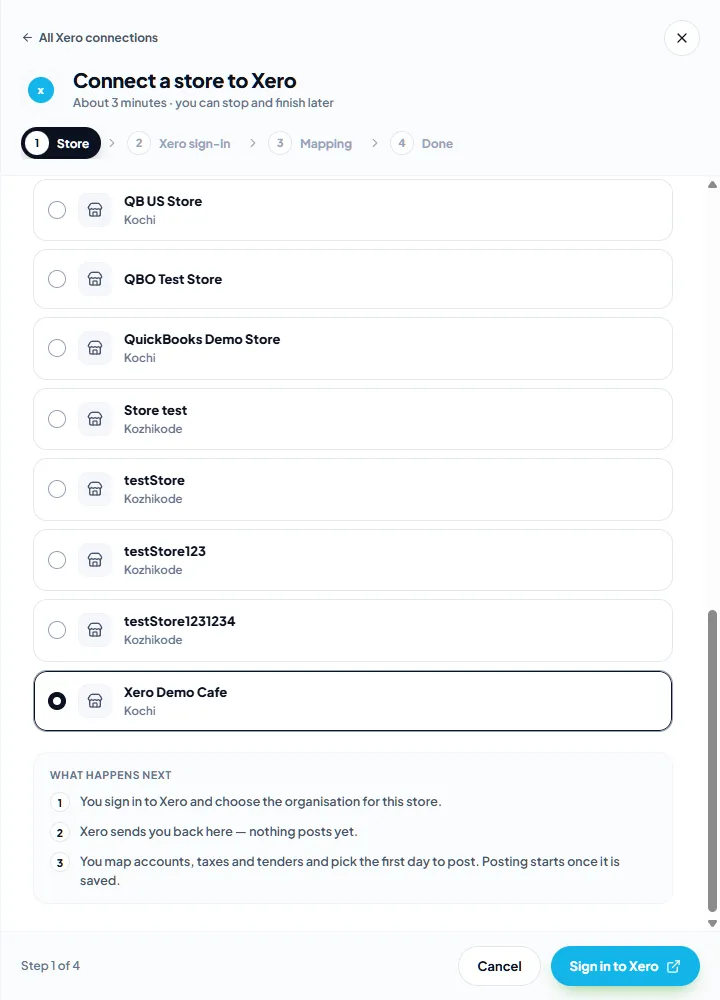
Step 2: Sign in to Xero
Xero opens. Sign in, choose the organisation this store should post to and click Allow access. You come back to LithosPOS on the store's Mapping. Nothing has been posted yet.
If you allowed access to more than one organisation, LithosPOS asks which one the store posts to. An organisation that cannot raise invoices, or whose currency differs from your business's currency, is refused and nothing is connected.
Step 3: Map the store and choose the start date
Mapping tells LithosPOS which Xero account and tax rate to use for each kind of money a register takes, and which bank or clearing account each payment type is paid into. It is explained in Xero mapping and what a day posts.
At the minimum, set:
- Posting options > Post days from — registers whose business date is on or after this day post automatically. Earlier registers are never posted.
- Accounts — Default sales, Rounding and Unsettled / suspense.
- Tax rates — a Xero tax rate for every LithosPOS tax the store charges.
- Payment types — a bank or clearing account for every payment type the store takes.
Click Save changes. The store shows Connected, and its closed registers post on the next run, within 30 minutes.
After you connect
- Xero mapping and what a day posts — posting options, accounts, item groups, charges, tax rates, payment types and what a register looks like in Xero.
- Xero posting history and fixes — History, Preview, Post now, Retry, sales added after posting and every reason a day is held.
- Xero store management — connection statuses, the store overview, checking and reconnecting the connection, disconnecting a store and uninstalling Xero.
Connect with us to know more
To learn more, book a meeting with our team.
Was this article helpful?