
Purchase Order
Learn how to create, manage, and finalize purchase orders, including handling partial receipts and returns efficiently in LithosPOS.
This guide will walk you through the process of creating, managing, and finalizing purchase orders in LithosPOS. Whether you’re handling a simple order or managing partial receipts and returns, this documentation will help you efficiently use the purchase order features.
Navigate to Purchase Orders
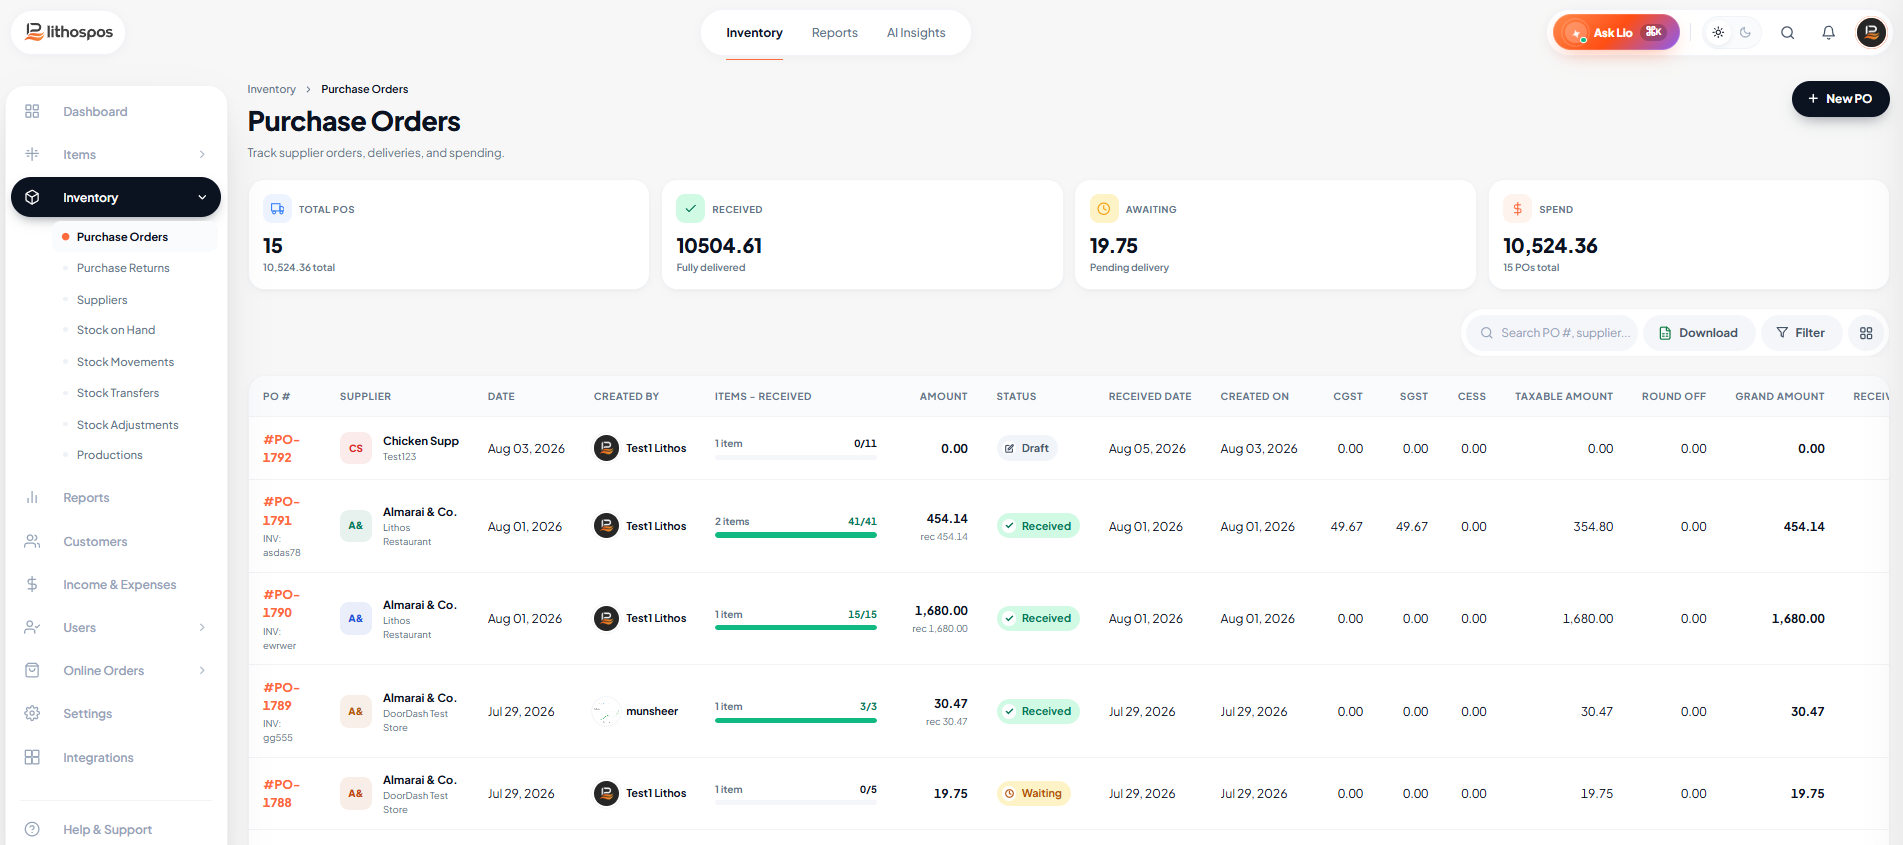
- To begin, Log in to the back office and navigate to "Inventory" from the side menu and click on Purchase Orders.
Create a New Purchase Order
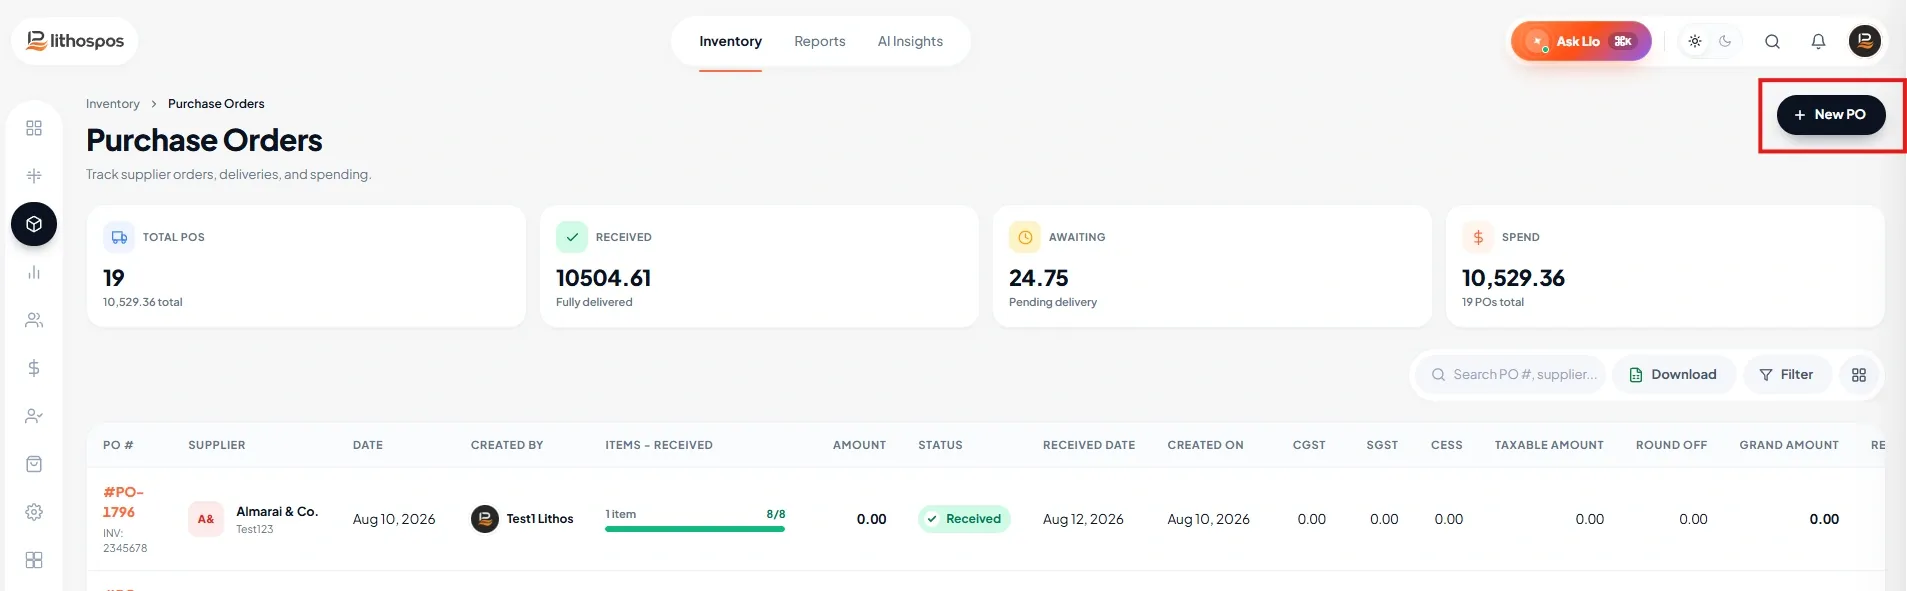
- Click the "New Purchase" button to start a new order.
Fill in Purchase Order Details
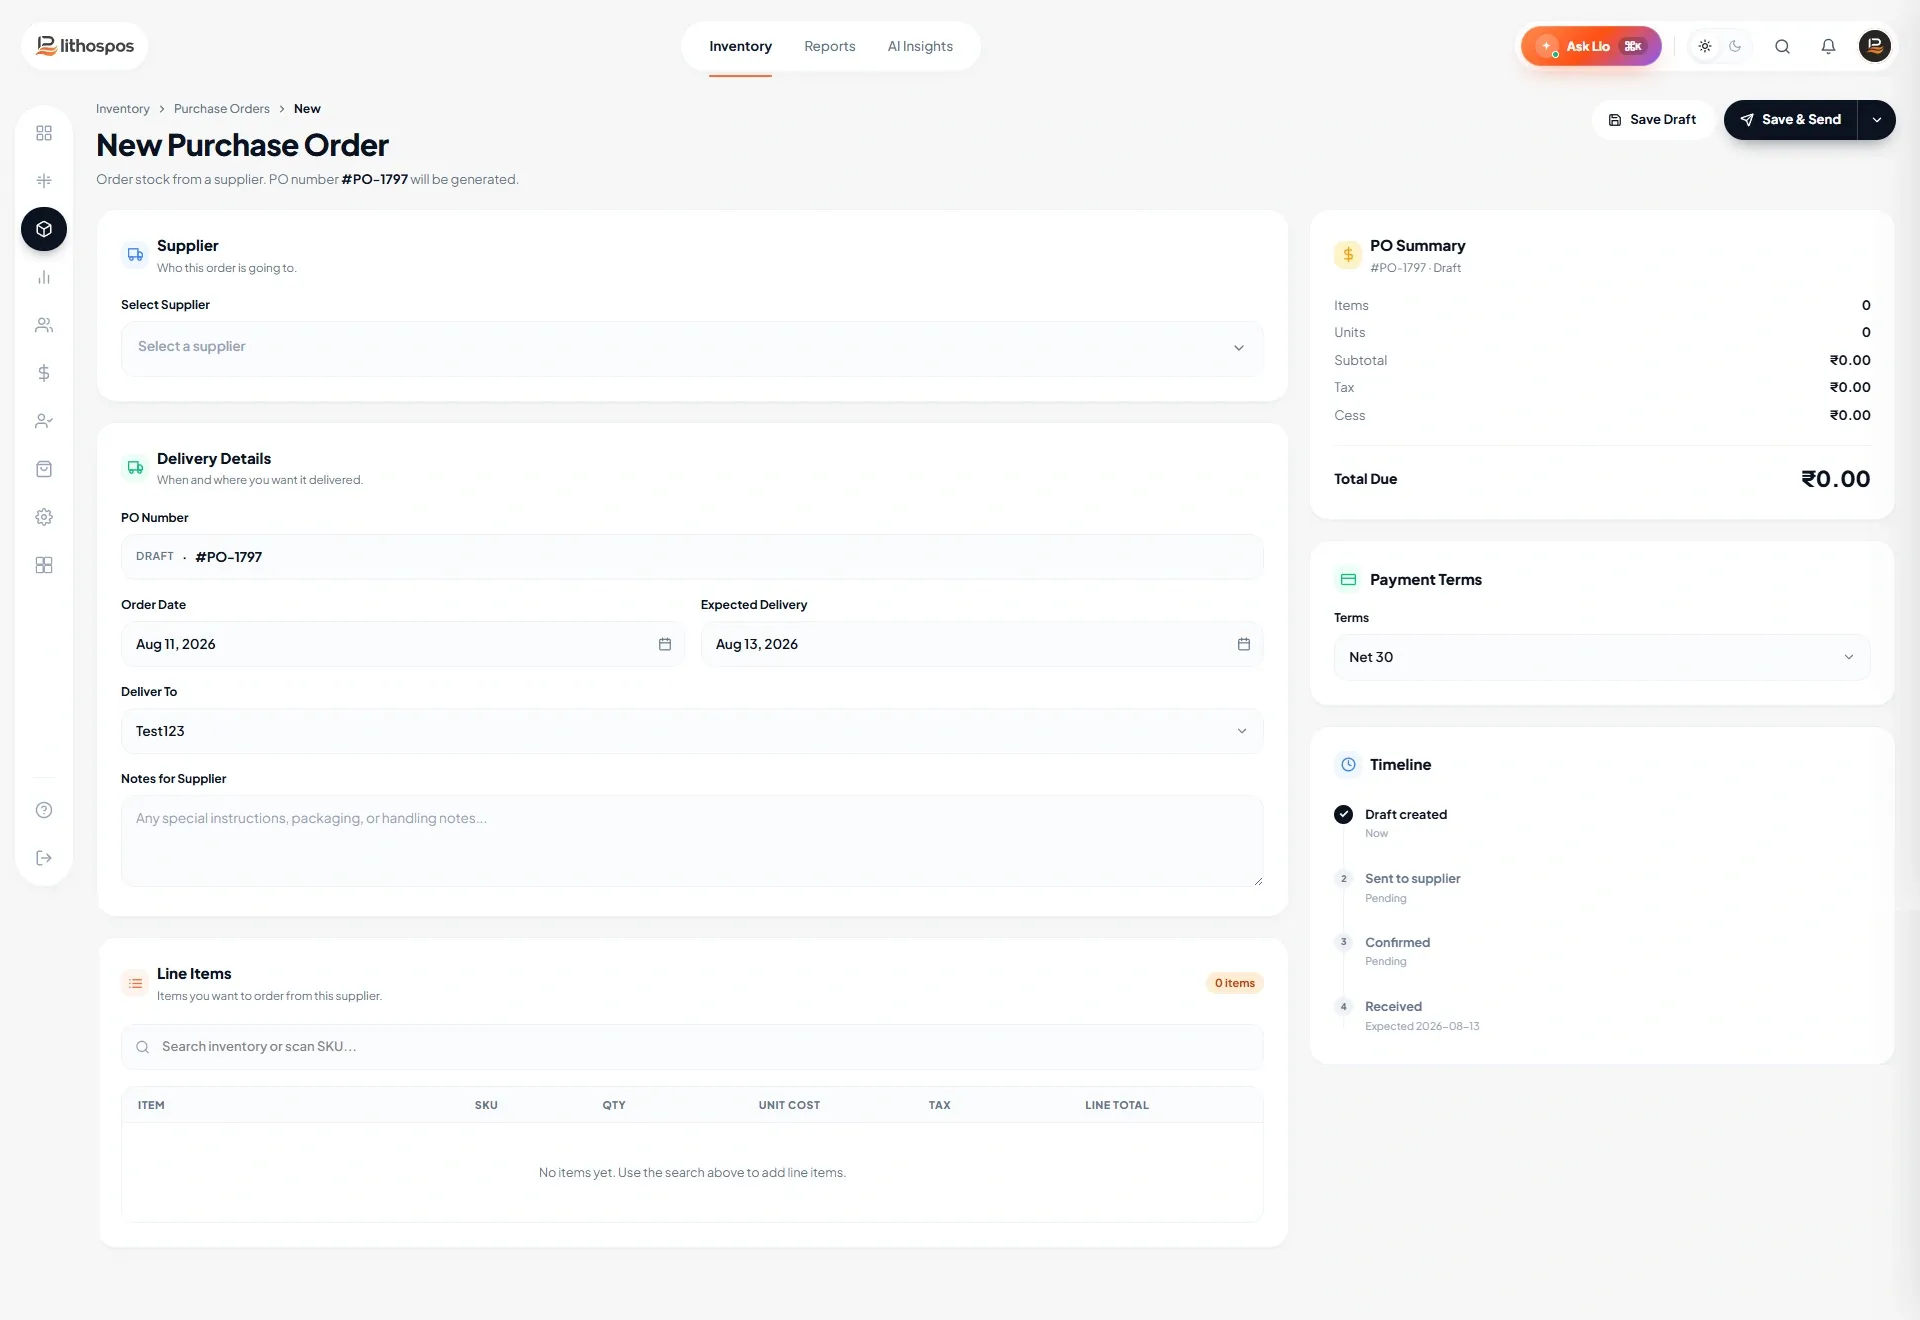
1. Choose the Supplier
Select the supplier from the dropdown menu. You have to add the suppliers in the back office in
order to make them listed in the supplier list here
2. Set Dates
Choose the order date and set an expected receive date.
3. Select Store/Warehouse
Choose the store or warehouse where the items will be received.
4. Currency
Select the currency type from the dropdown.
5. Exchange Rate
Fill the exchange rate field.
5. Add Notes (Optional)
Use the Narration field for any additional notes.
6. Toggle button
If item rates are tax-inclusive, turn on the corresponding toggle button.
Add Items to the Purchase Order
1. Search for Items
In the 'Item Search' column, search for and select the items to add to the purchase order.
2. Specify Quantity and Price
Enter the quantity and price for each item.
3. Add Items to the List
Click the "Plus" button to add the item to the purchase list.
Repeat the process for all
items.
Save the Purchase Order
- After adding all the items, click on the Save button to save the order.
- The saved order will appear in the list with a status of ‘Order Sent’.
Manage the Purchase Order
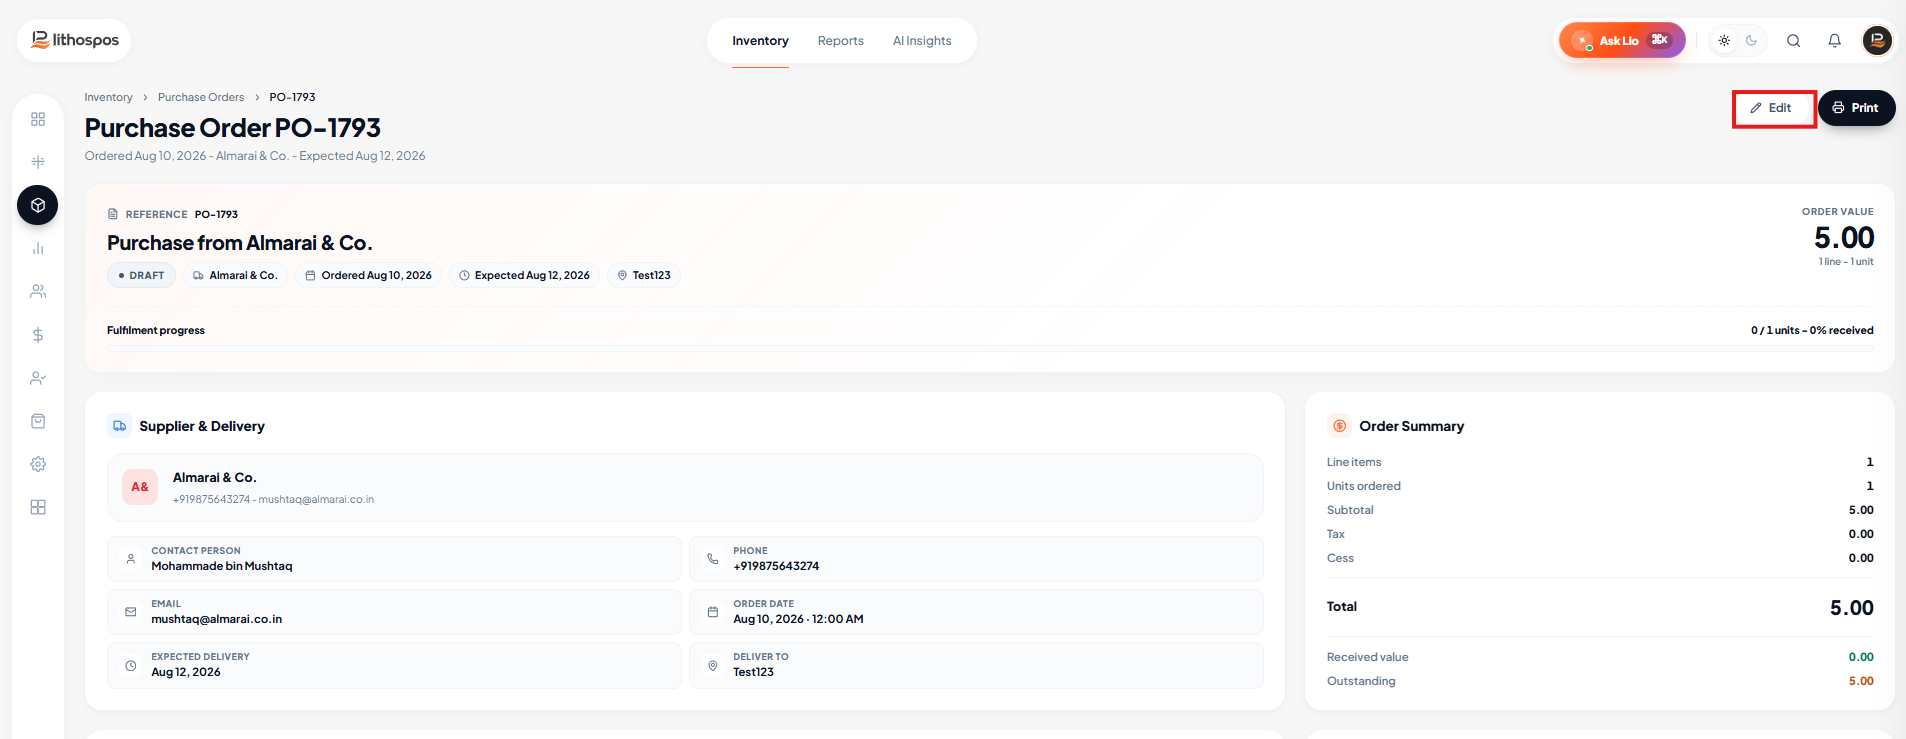
1. Edit or Void the Order
- Click on the purchase order number to open the order.
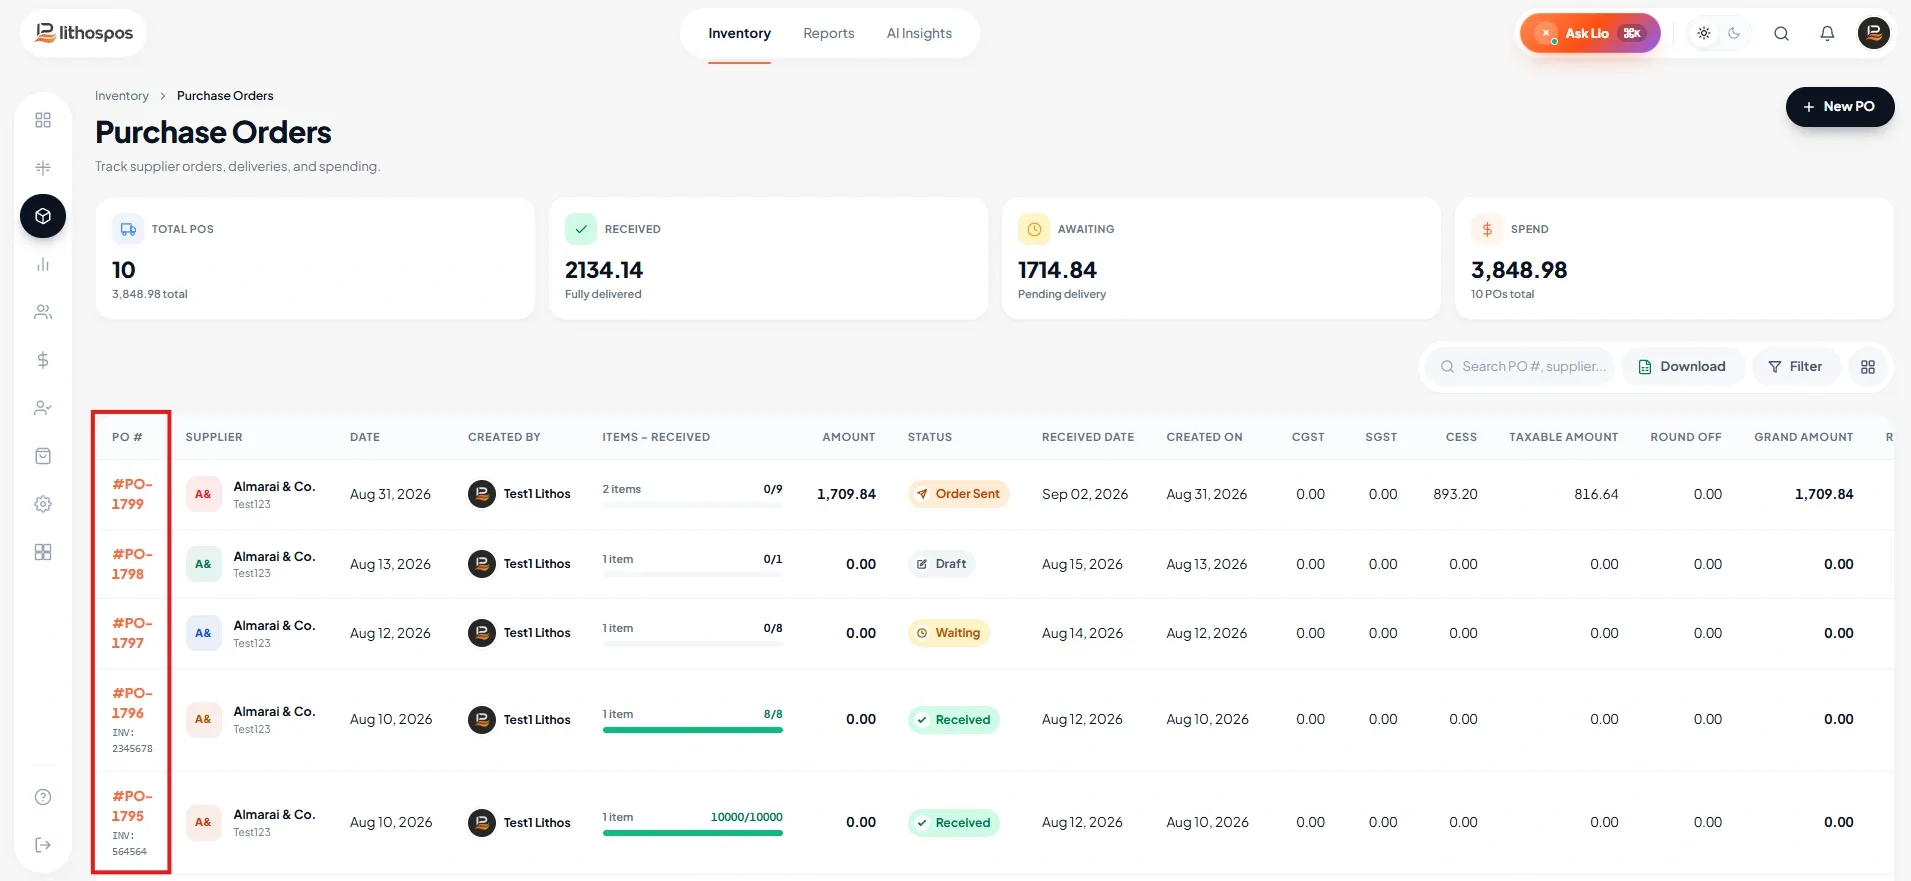
- You can either void or edit the order as needed.
2. Print or Email the Order
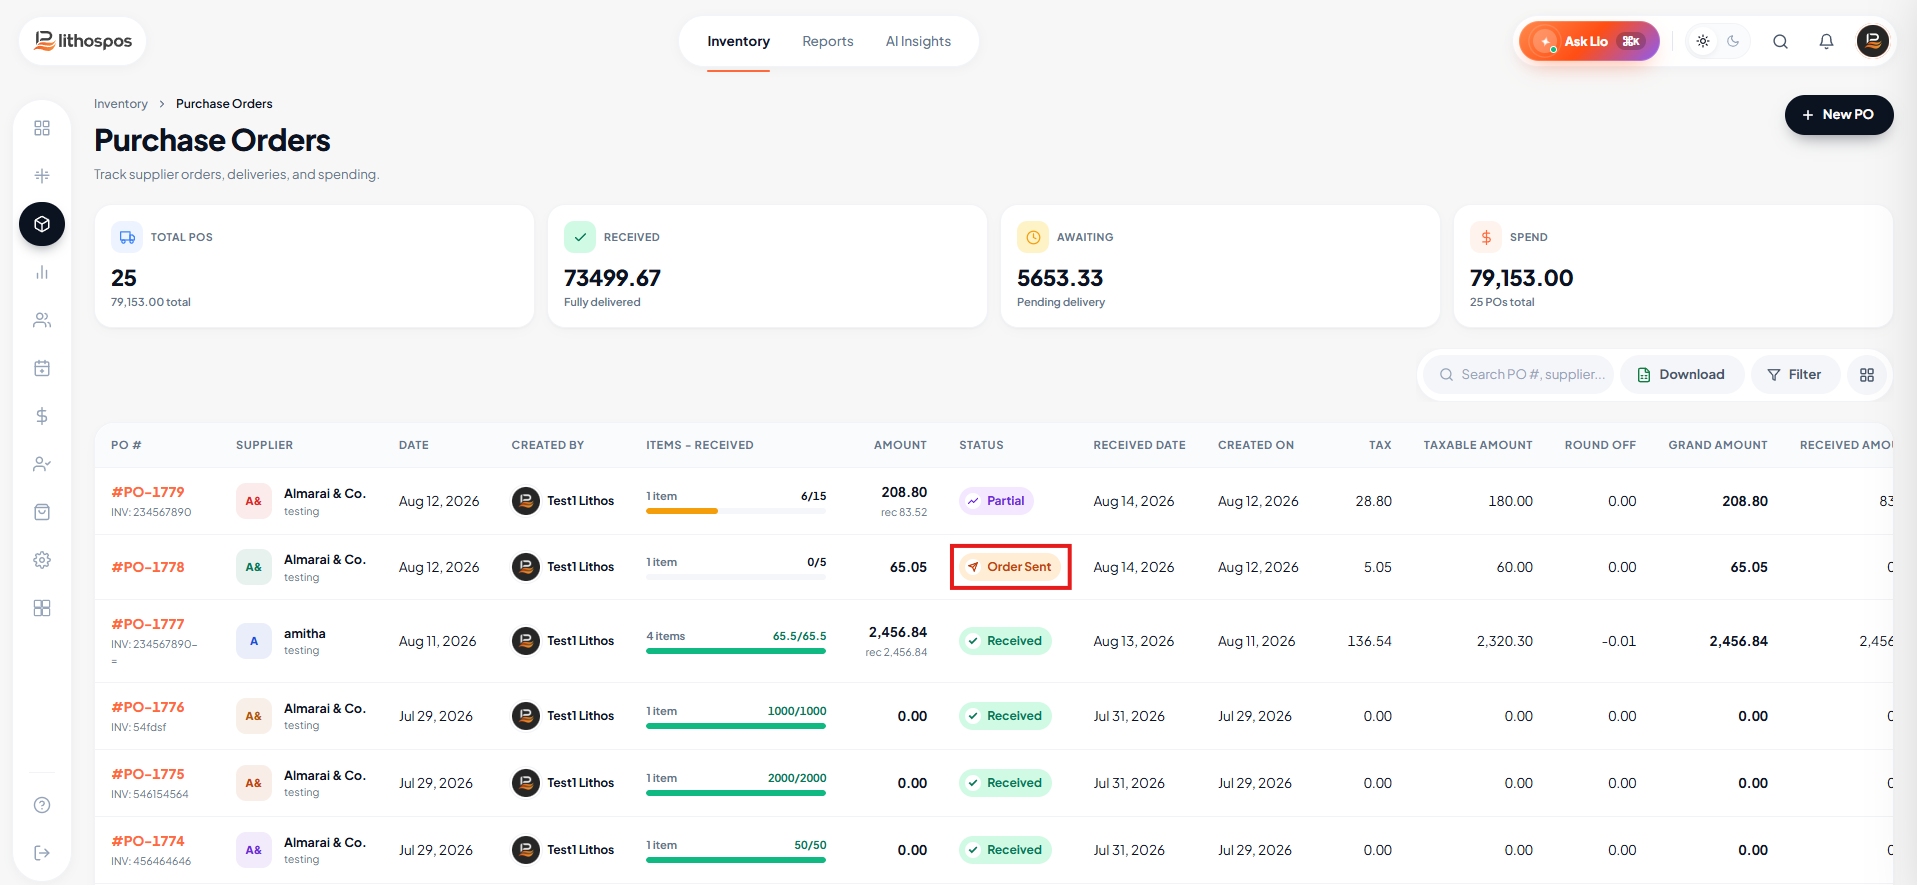
- Click on the ‘Order Sent’ status to open the order.
- Use the Printer button to print the order.
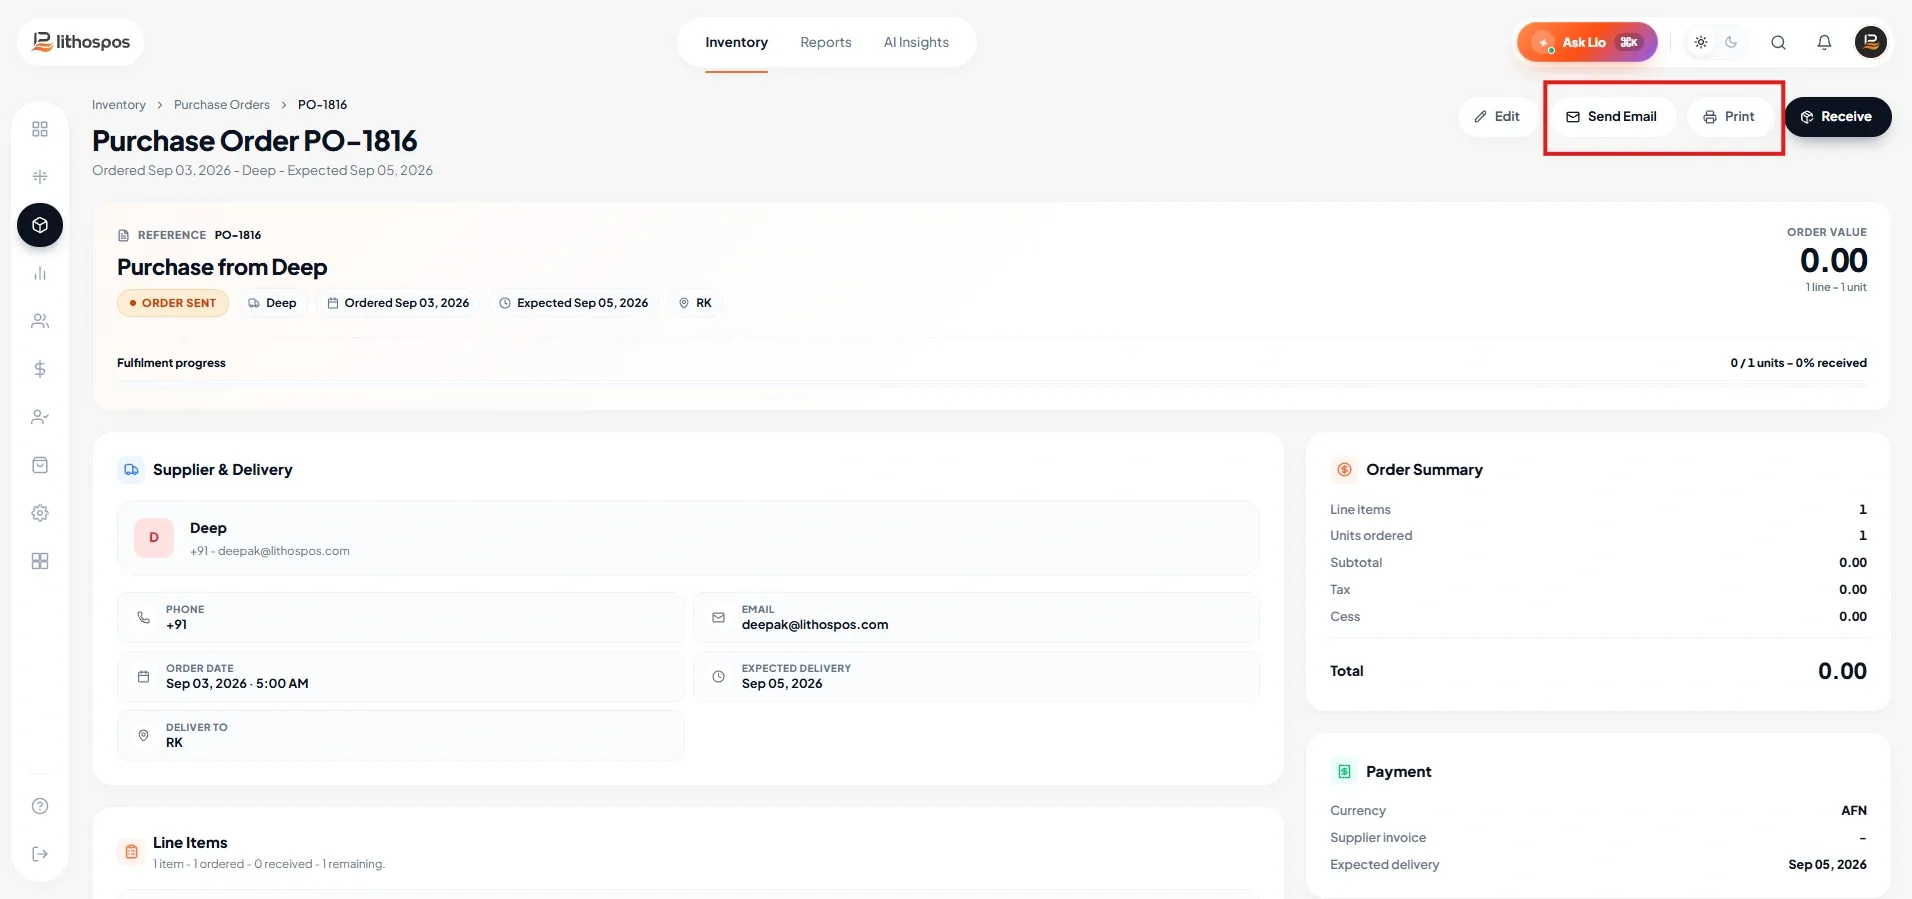
- Use the Send Email button to email the order to the supplier.
Receive Items
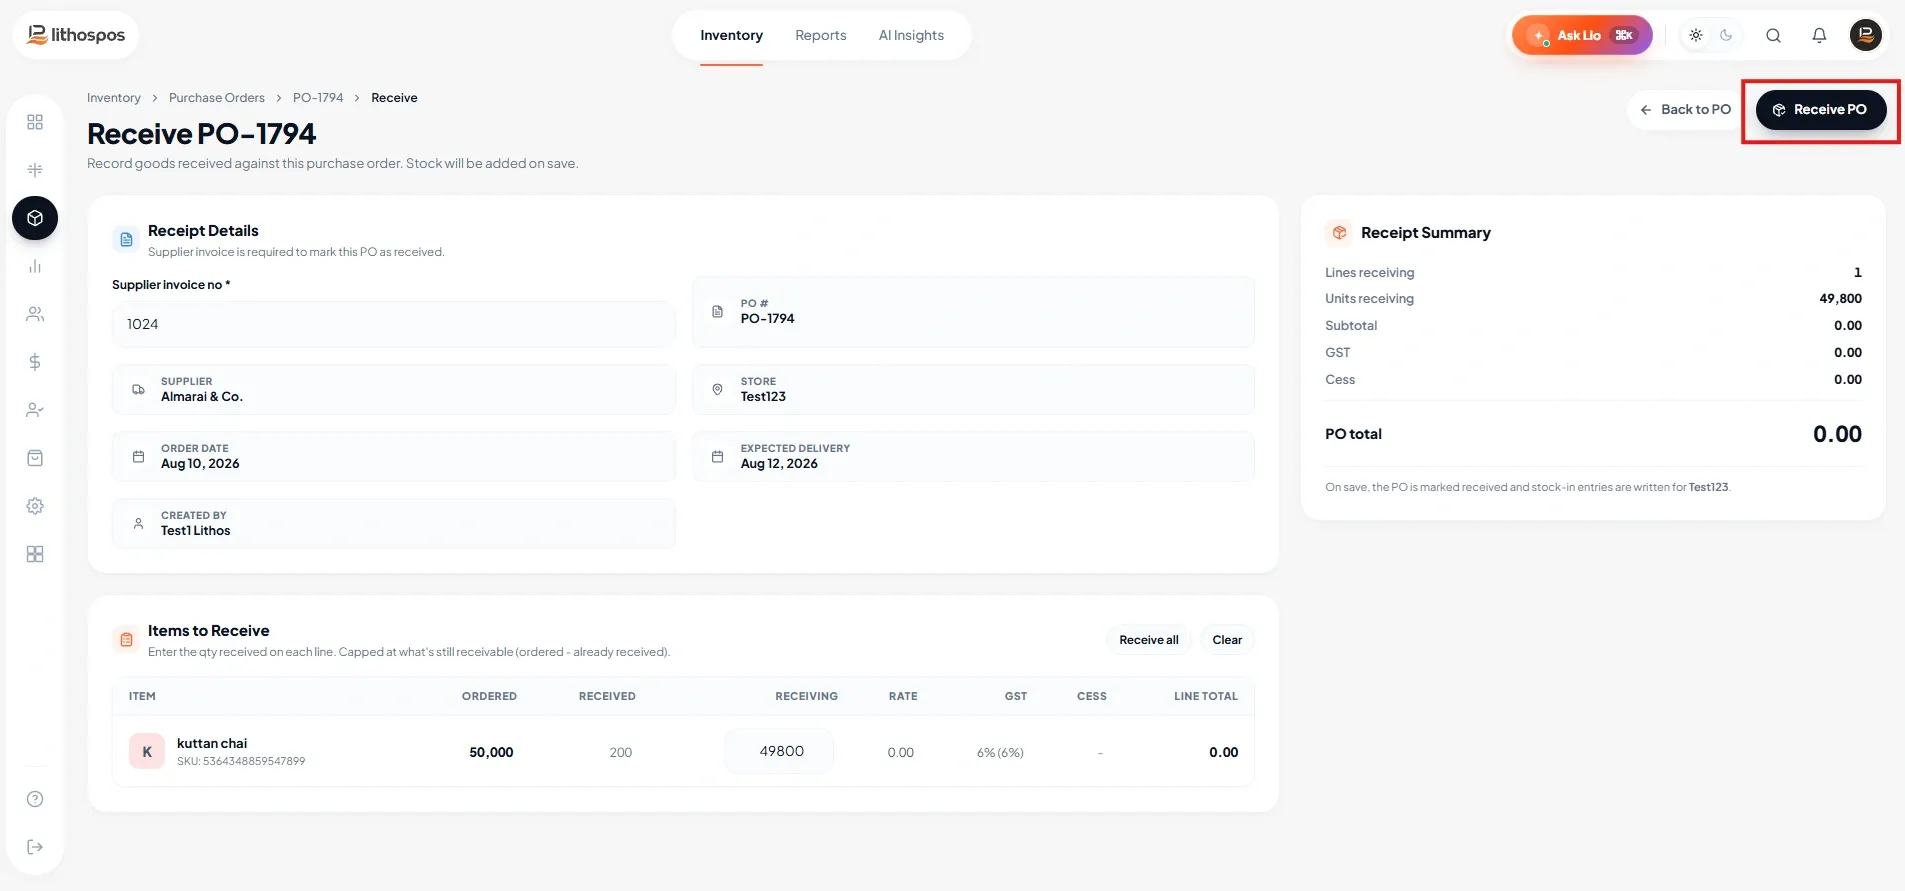
1. Partial Receipt
- If items are received partially, enter the invoice number and the quantity of received items.
-
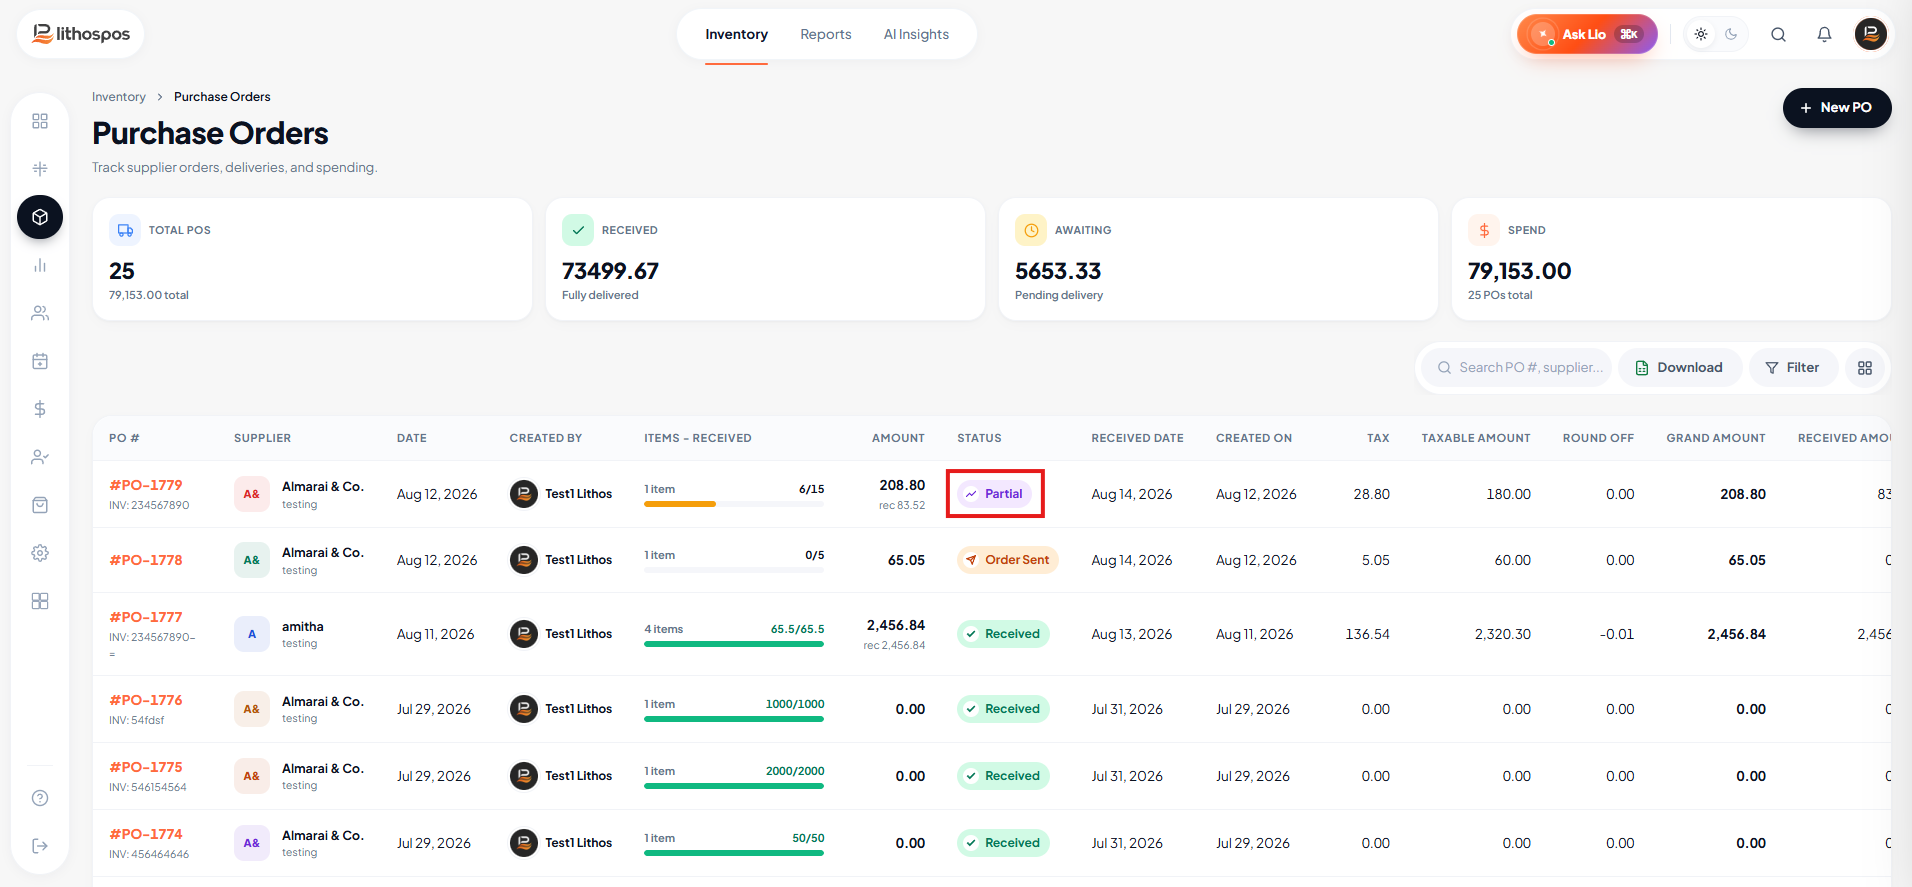
Click the Receive button. The purchase order will now be marked as ‘Partially
Received’ in the list.
2. Complete Receipt
- To receive the remaining items, select the purchase order, then click on ‘Partially Received’.
- Enter the remaining quantity and click Receive. The purchase order status will now be ‘Received’.
3."Save and Receive" Purchase Orders
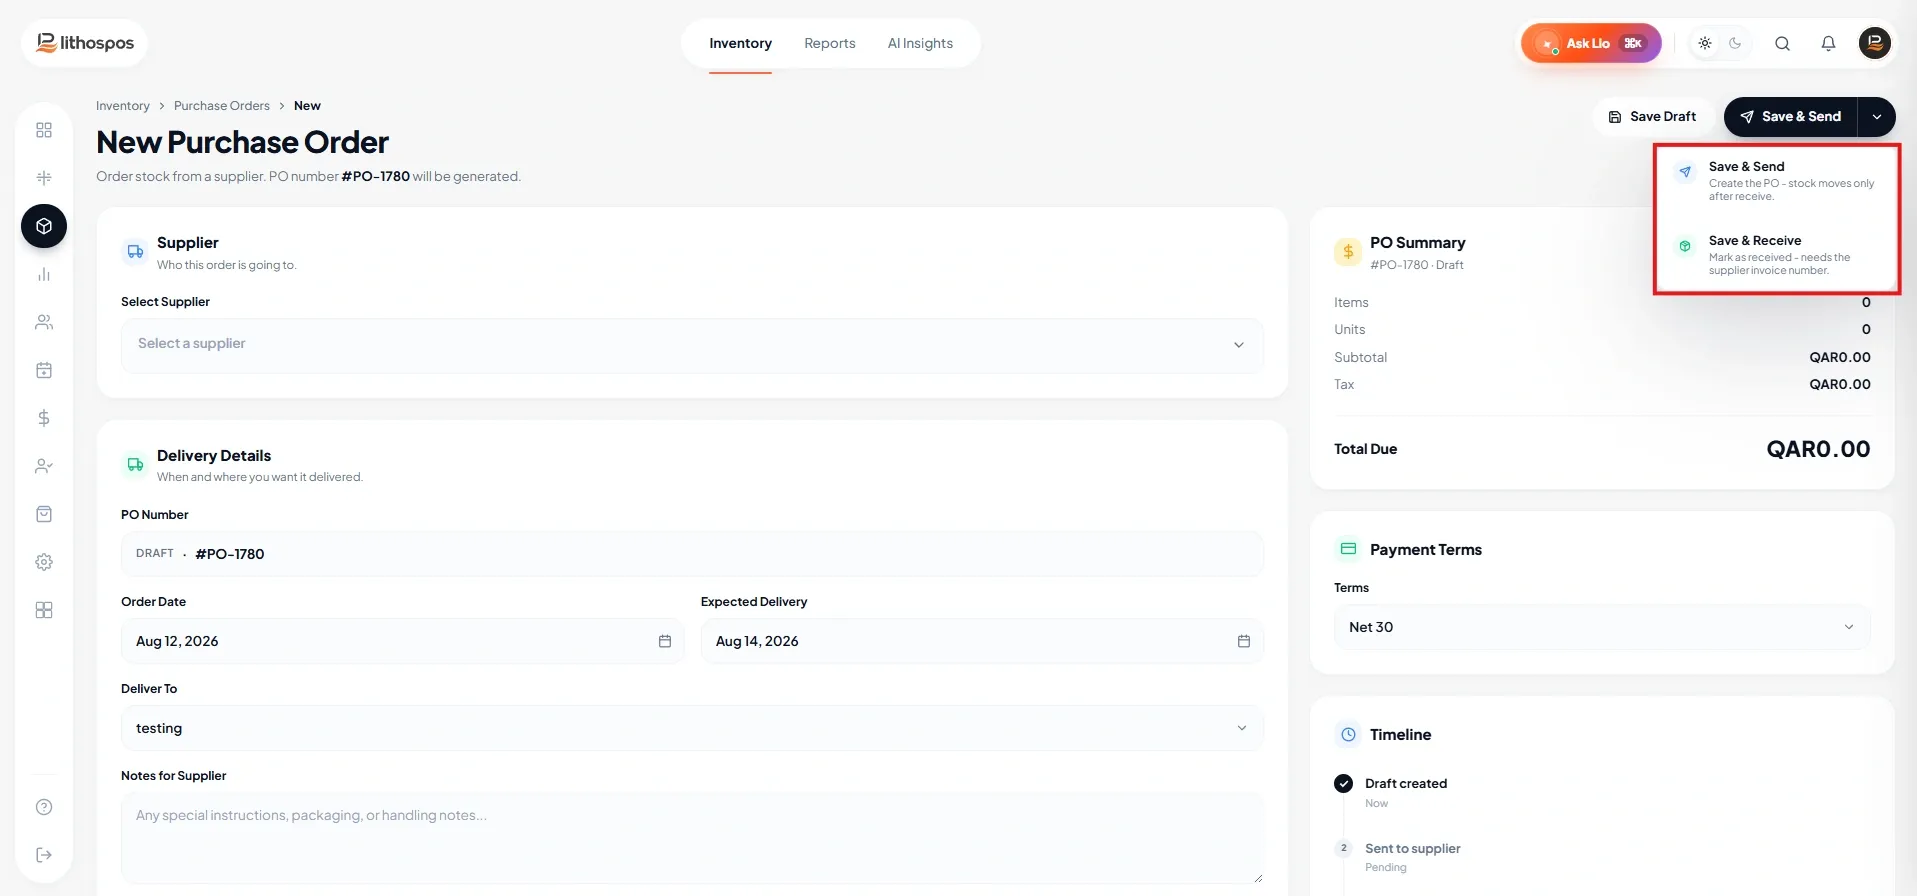
After adding the items to the purchase order, click "Save and Send" to send the purchase order to the vendor. In this case, you will need to receive the order later.
Alternatively, use the drop-down menu and select "Save and Receive". This option automatically marks the purchase order as received when you save it, eliminating the need to receive it manually later.
Connect with us to know more
To learn more about it feel free to book a meeting with our team
Was this article helpful?