On Account Sale
The On Account Sale feature in LithosPOS allows you to manage credit sales efficiently, providing a streamlined way to handle transactions where payment is deferred. This feature is crucial for businesses that offer credit to their customers, as it enables you to track outstanding balances, update repayments, and monitor accounts with ease.
Key Benefits
-
Effortless Credit Sales Management
Easily process sales on credit and keep accurate records of what each customer owes. -
Repayment Tracking
Update repayments as customers pay off their balances, ensuring your records are always up-to-date. -
Customer-Wise Reporting
Monitor individual customer accounts, providing insights into credit usage and repayment patterns, helping you make informed decisions. -
Enhanced Financial Control
Improve your business's financial management by keeping a close eye on credit sales, reducing the risk of bad debt, and ensuring timely repayments.
Setting up the ‘On Account’ feature in the Back Office
-
Install the ‘On Account’ feature
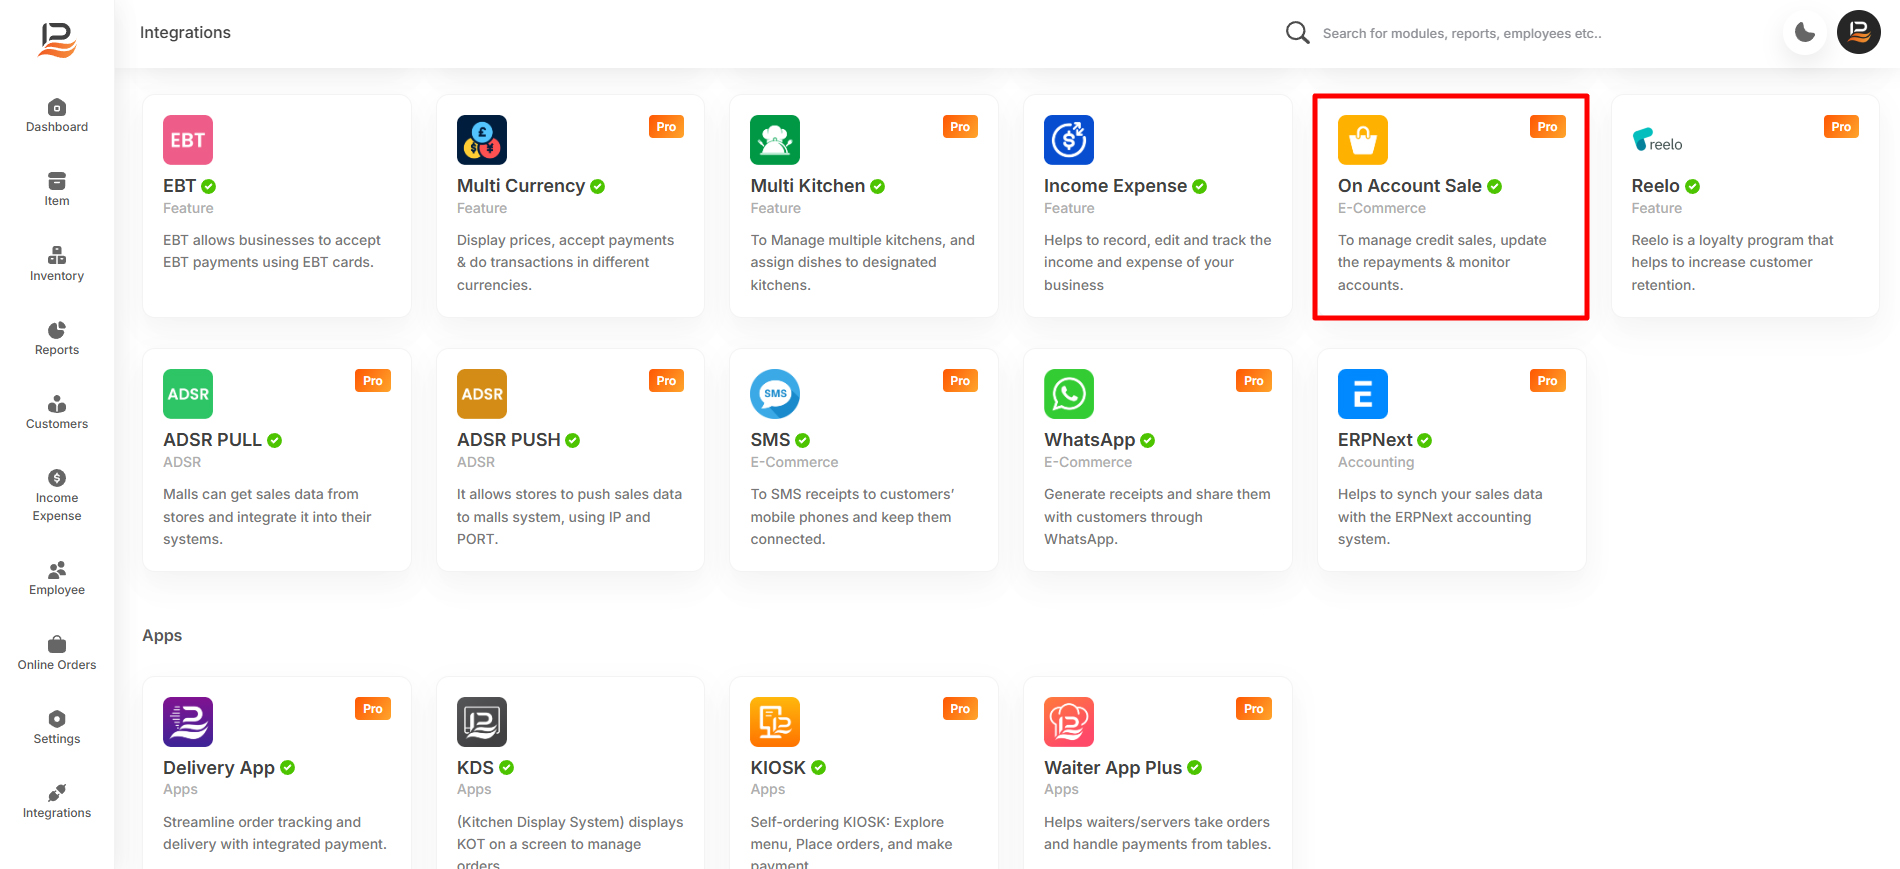
- Login to the Back office and select 'Integrations' in the side menu.
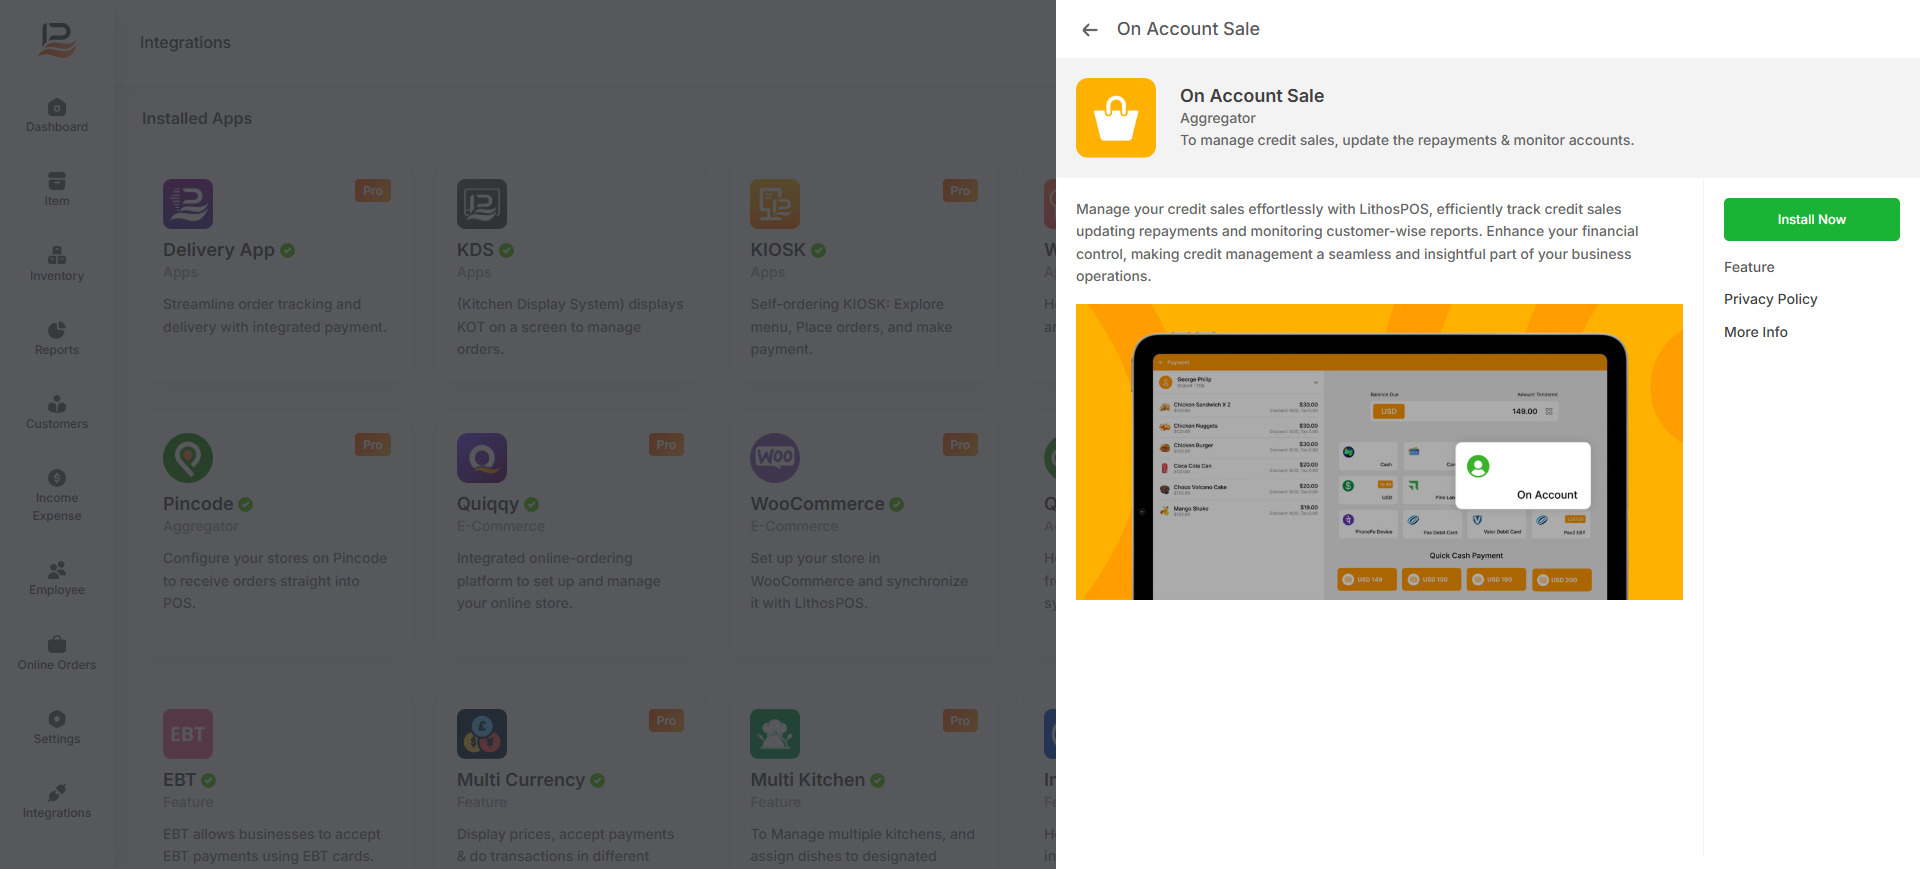
- Click on the On Account app and cllick 'Install Now' to install the feature.
Note:
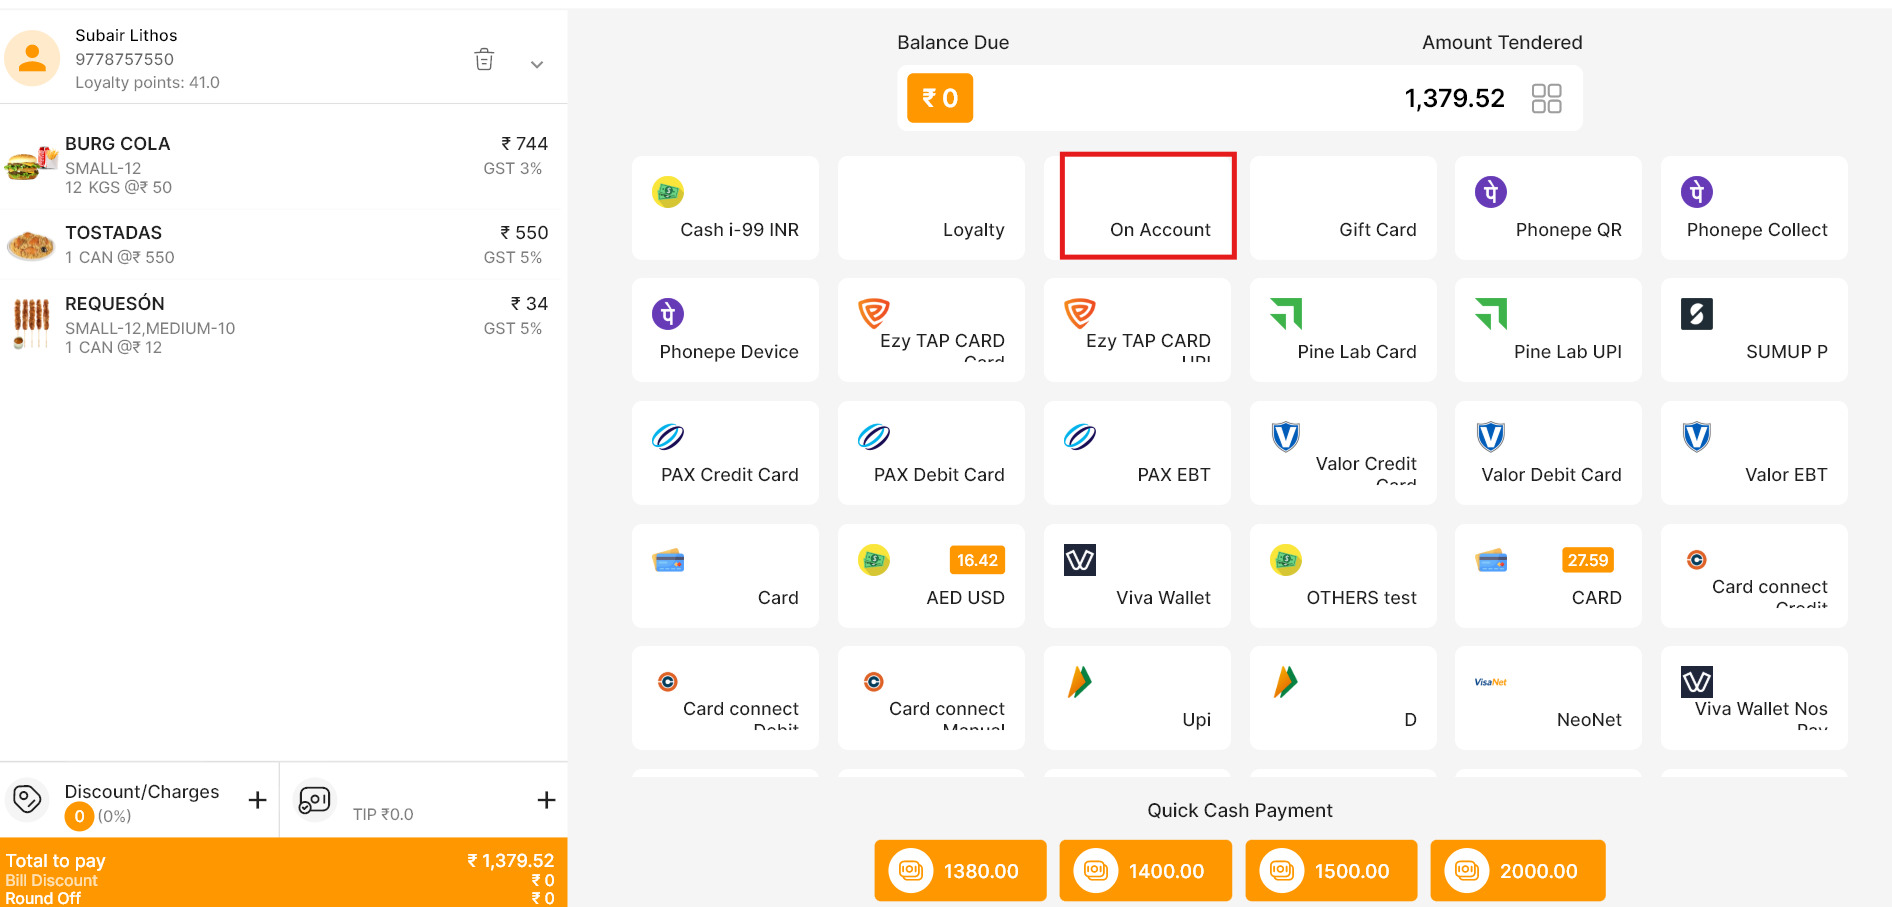
Once the installation is complete, the On Account feature will be activated in the POS. You will see an On Account tab below the payment window.
-
On Account feature in the POS Settings
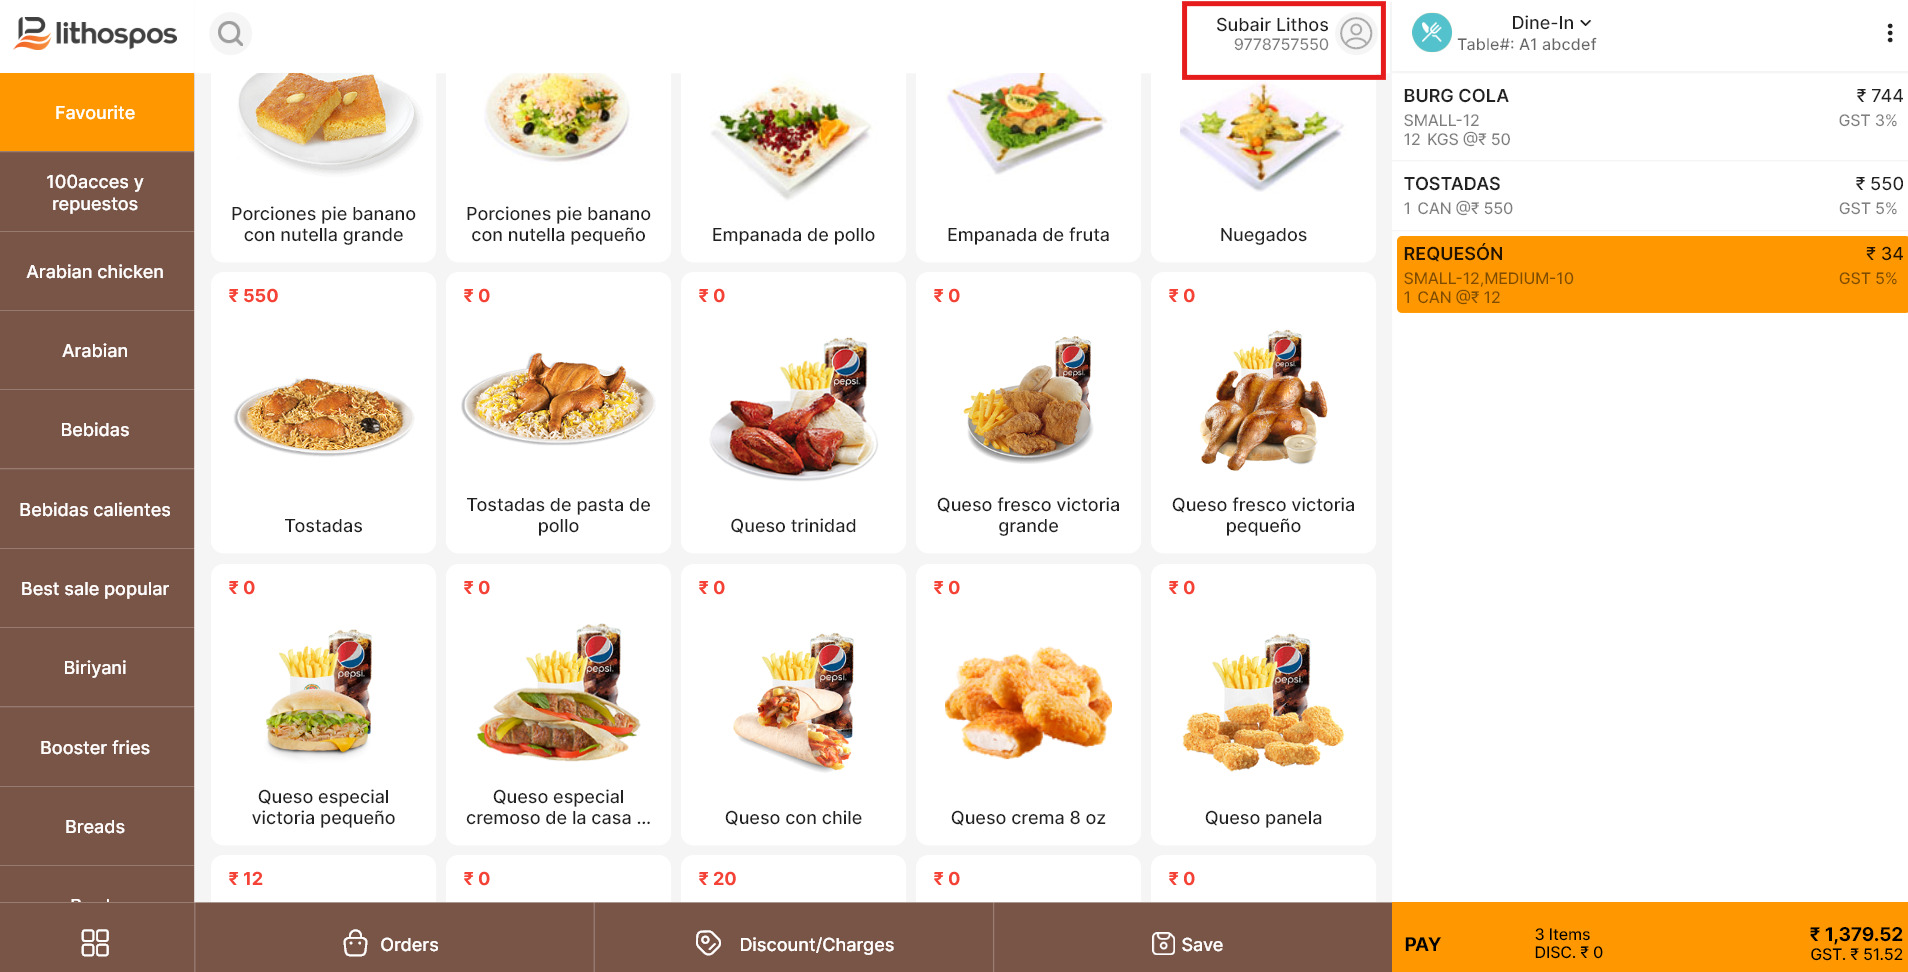
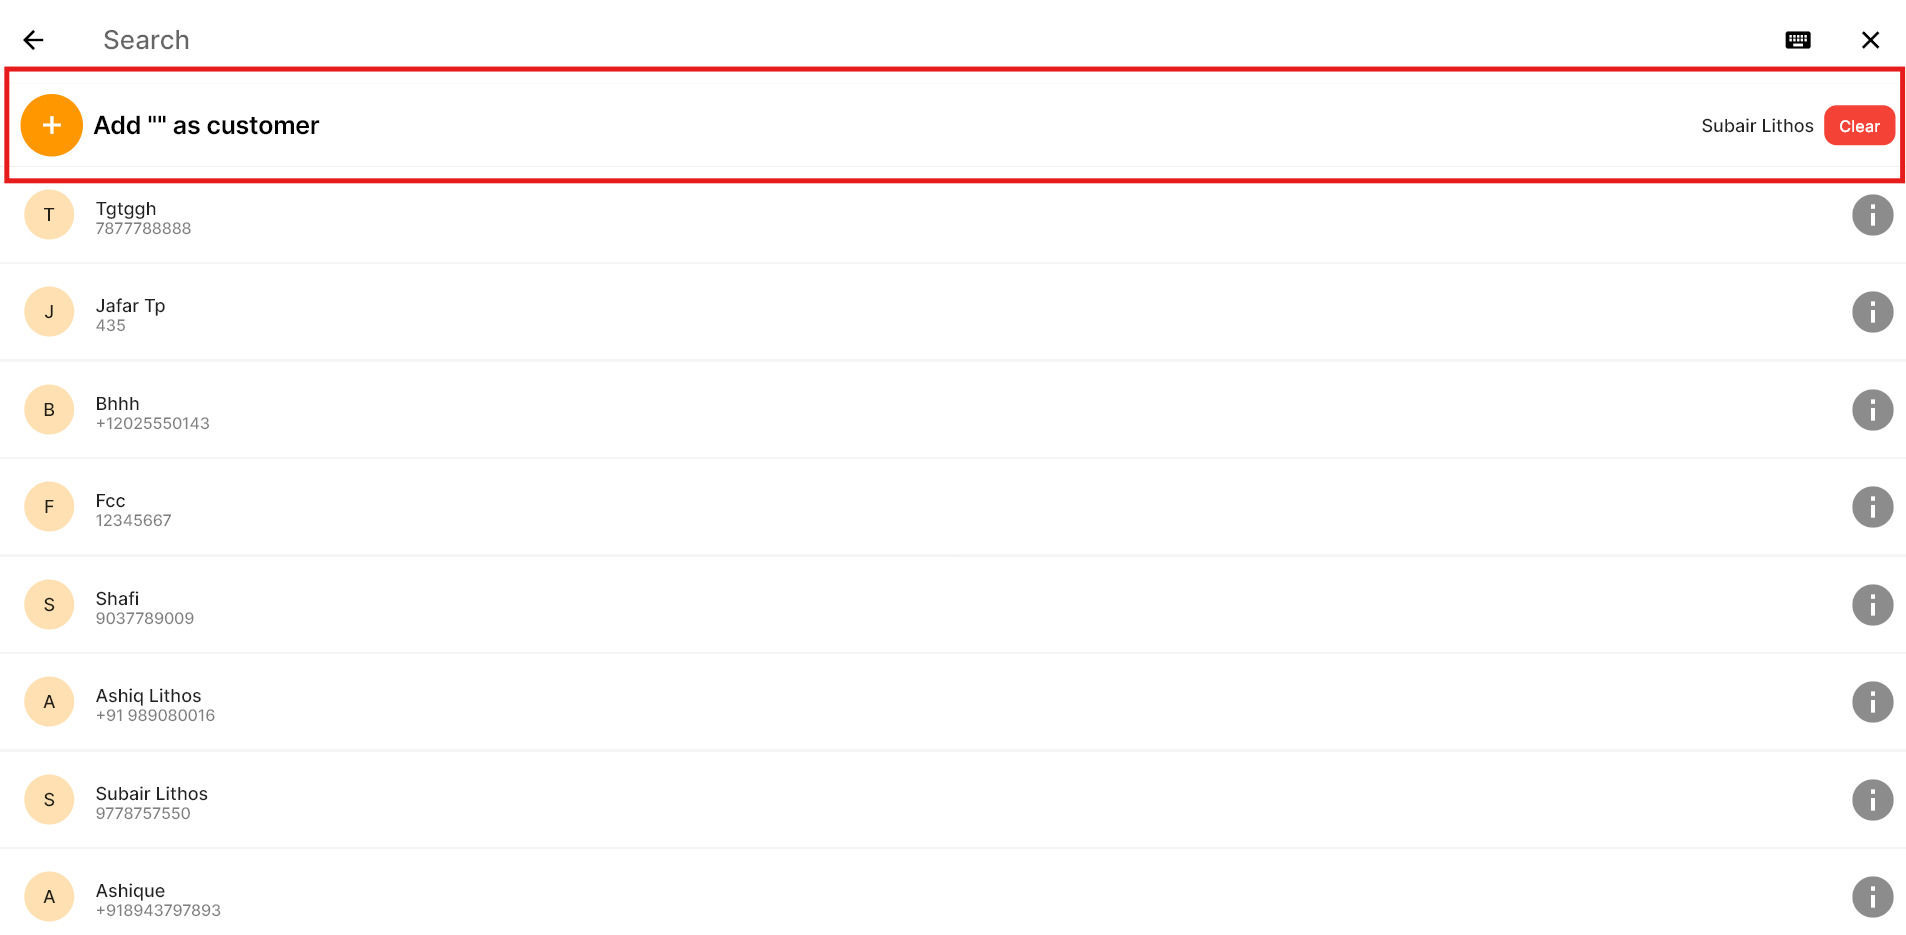
- In the POS app, select the customer name (for the customer to whom you want to provide a credit sale). If it is a new customer, add their details, such as name and mobile number, and save.
- Add items to the cart and place the order.
- Now, proceed to the payment window by clicking on Payment. (The On Account option will now be available in the payment options.)
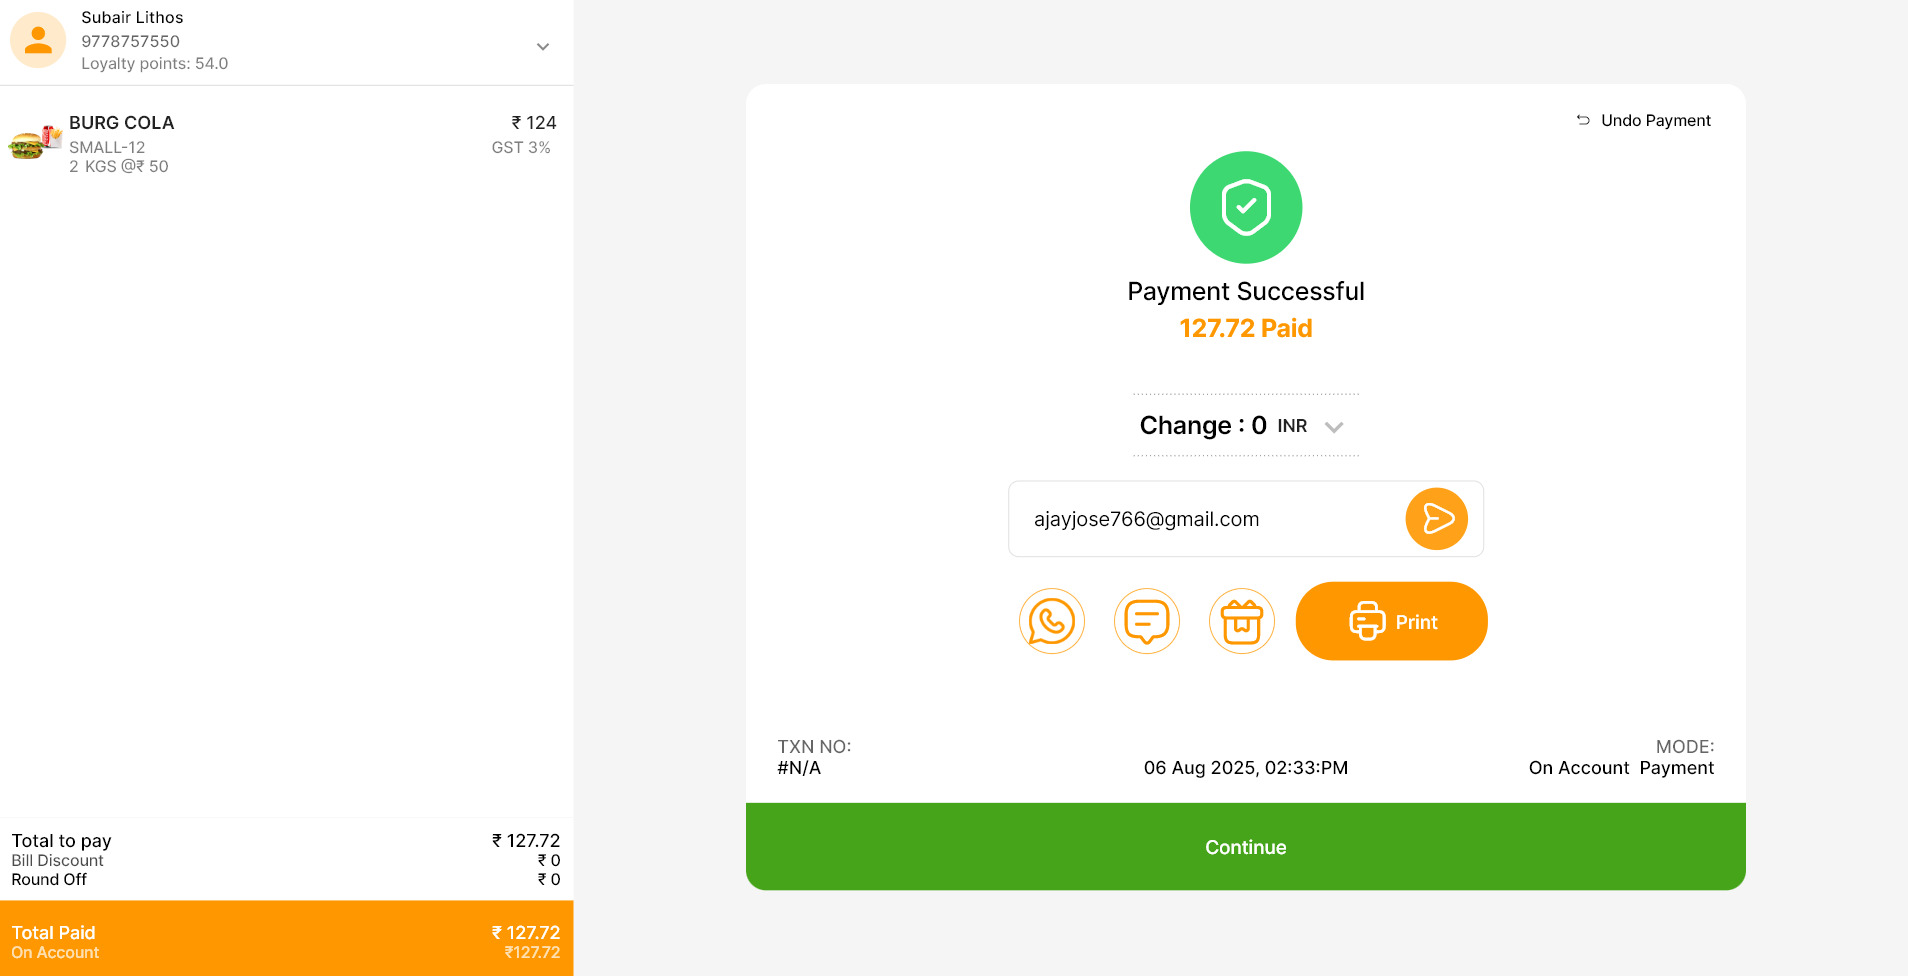
- Click ‘On Account’ and complete the order. (The sale value of the order will be added as credit for the selected customer.)
-
Make Repayment on the POS app
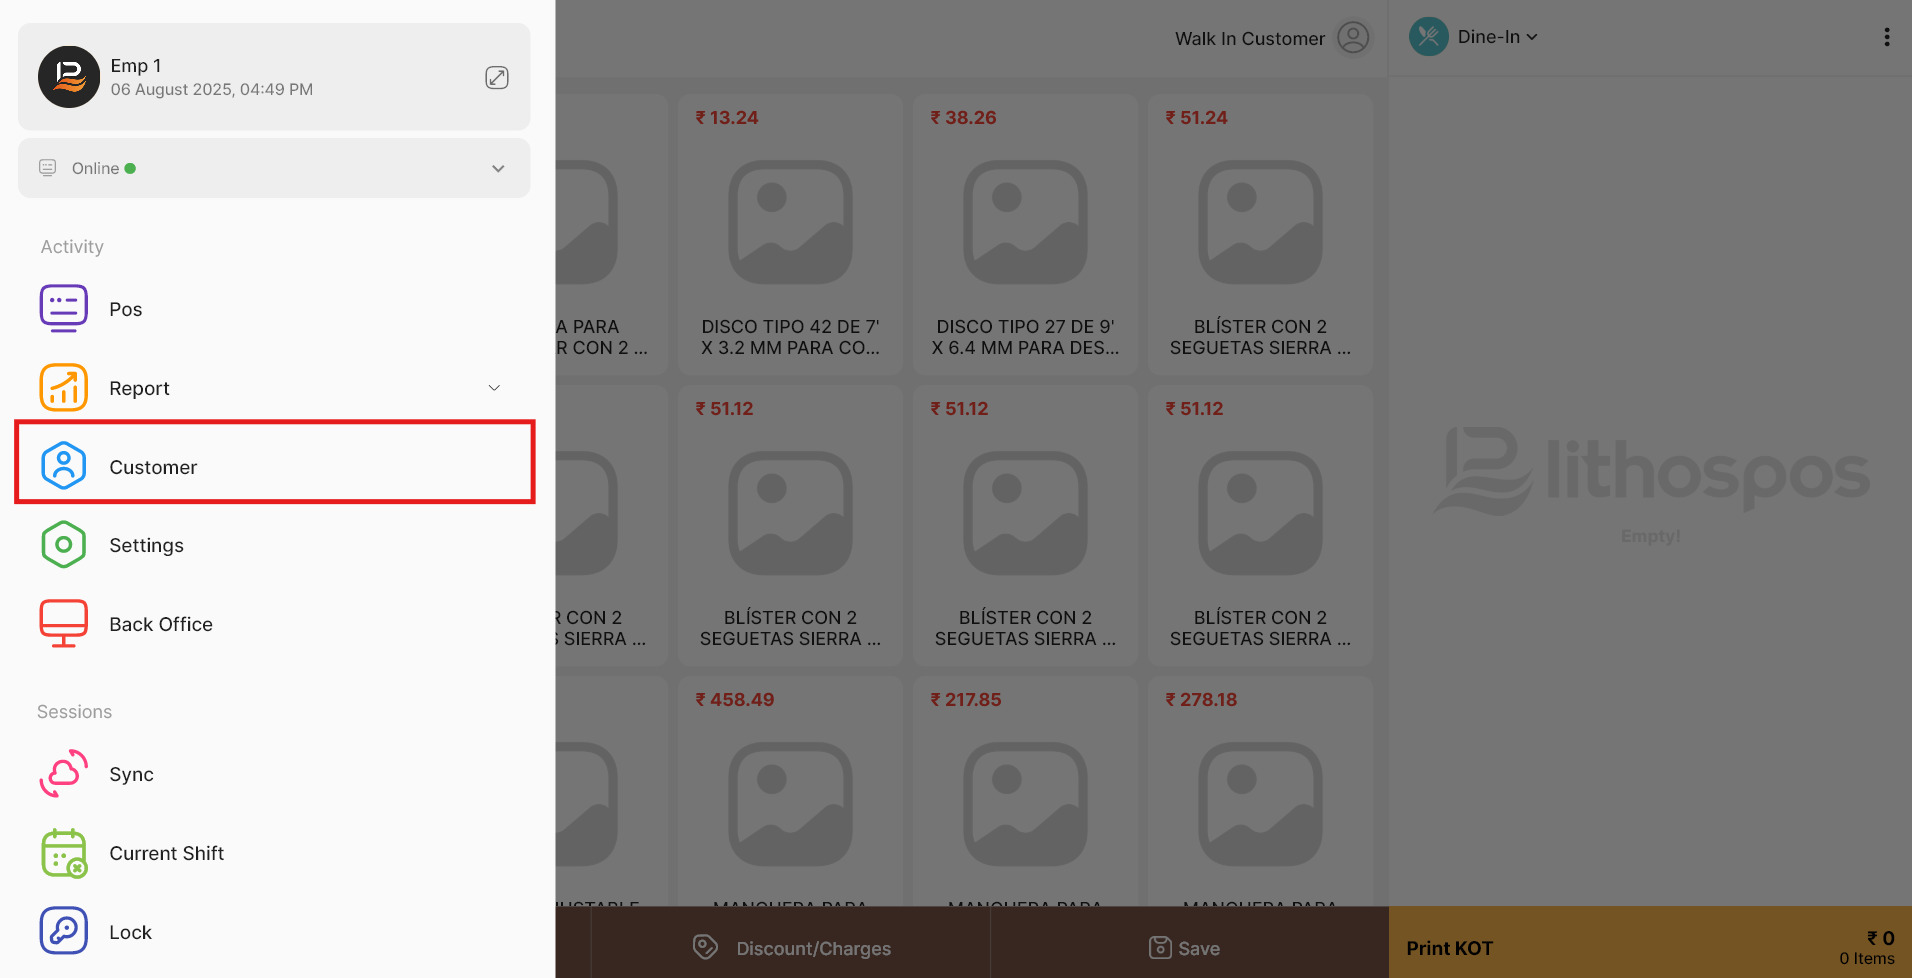
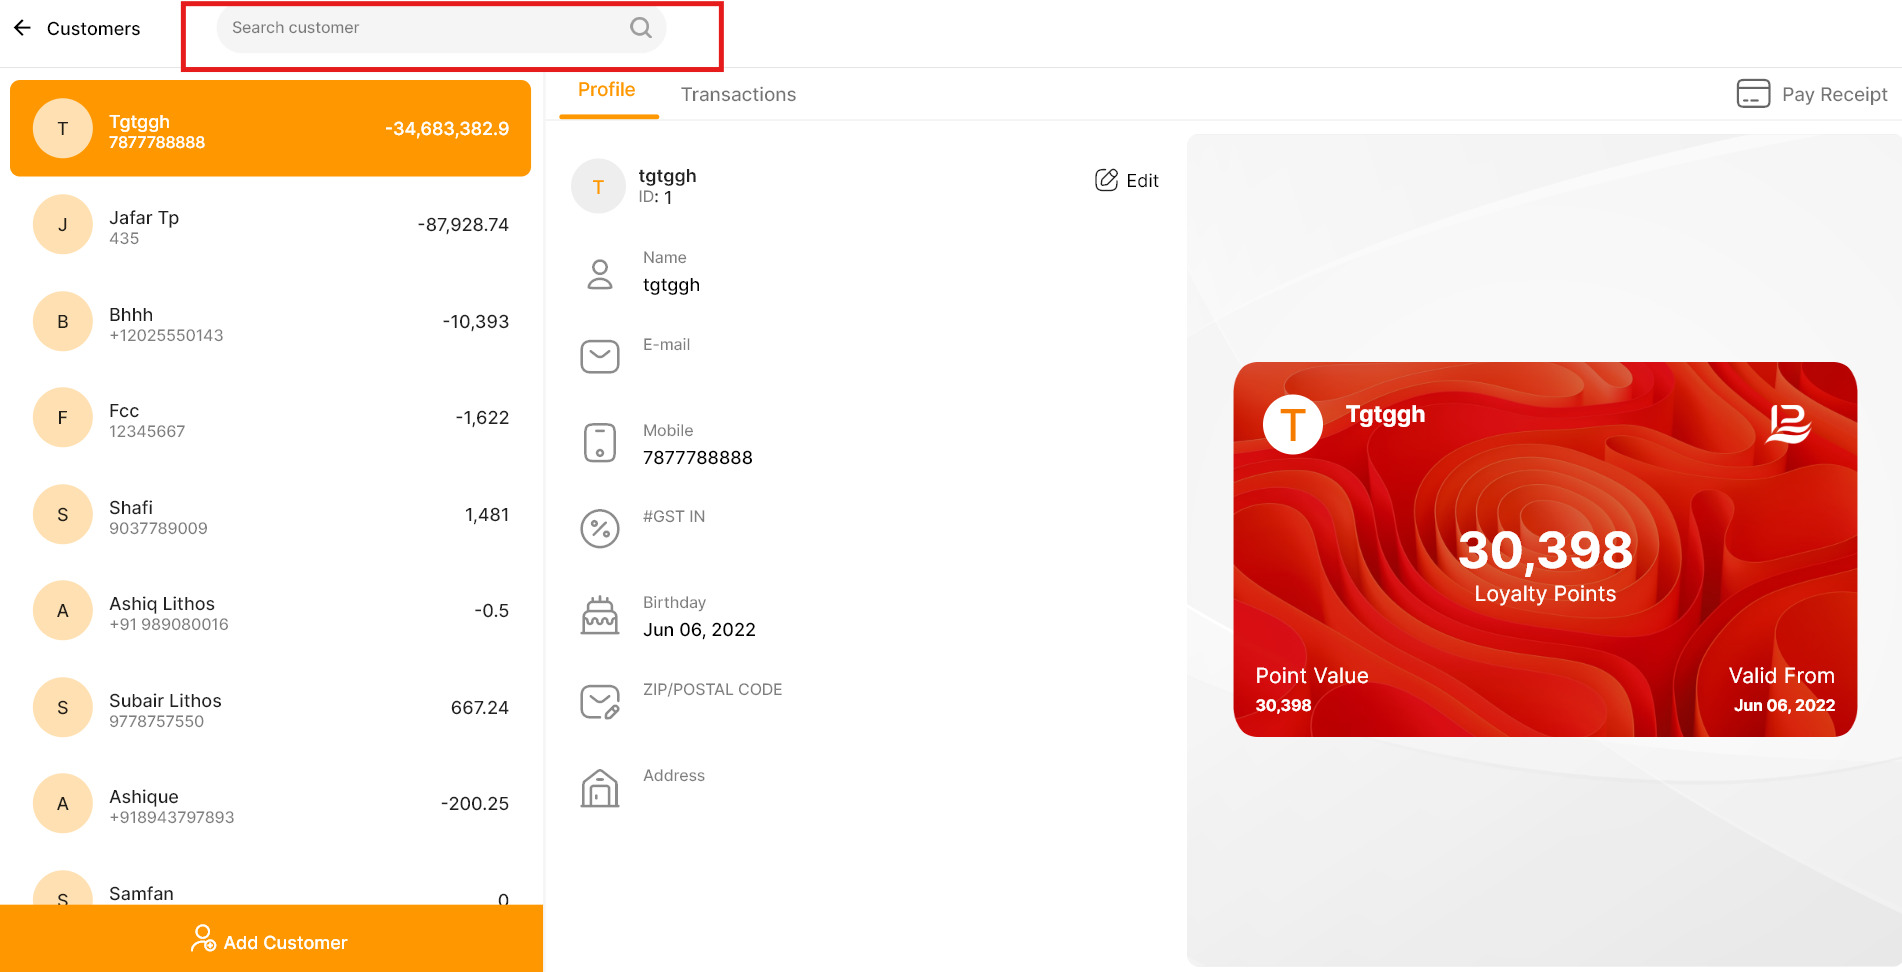
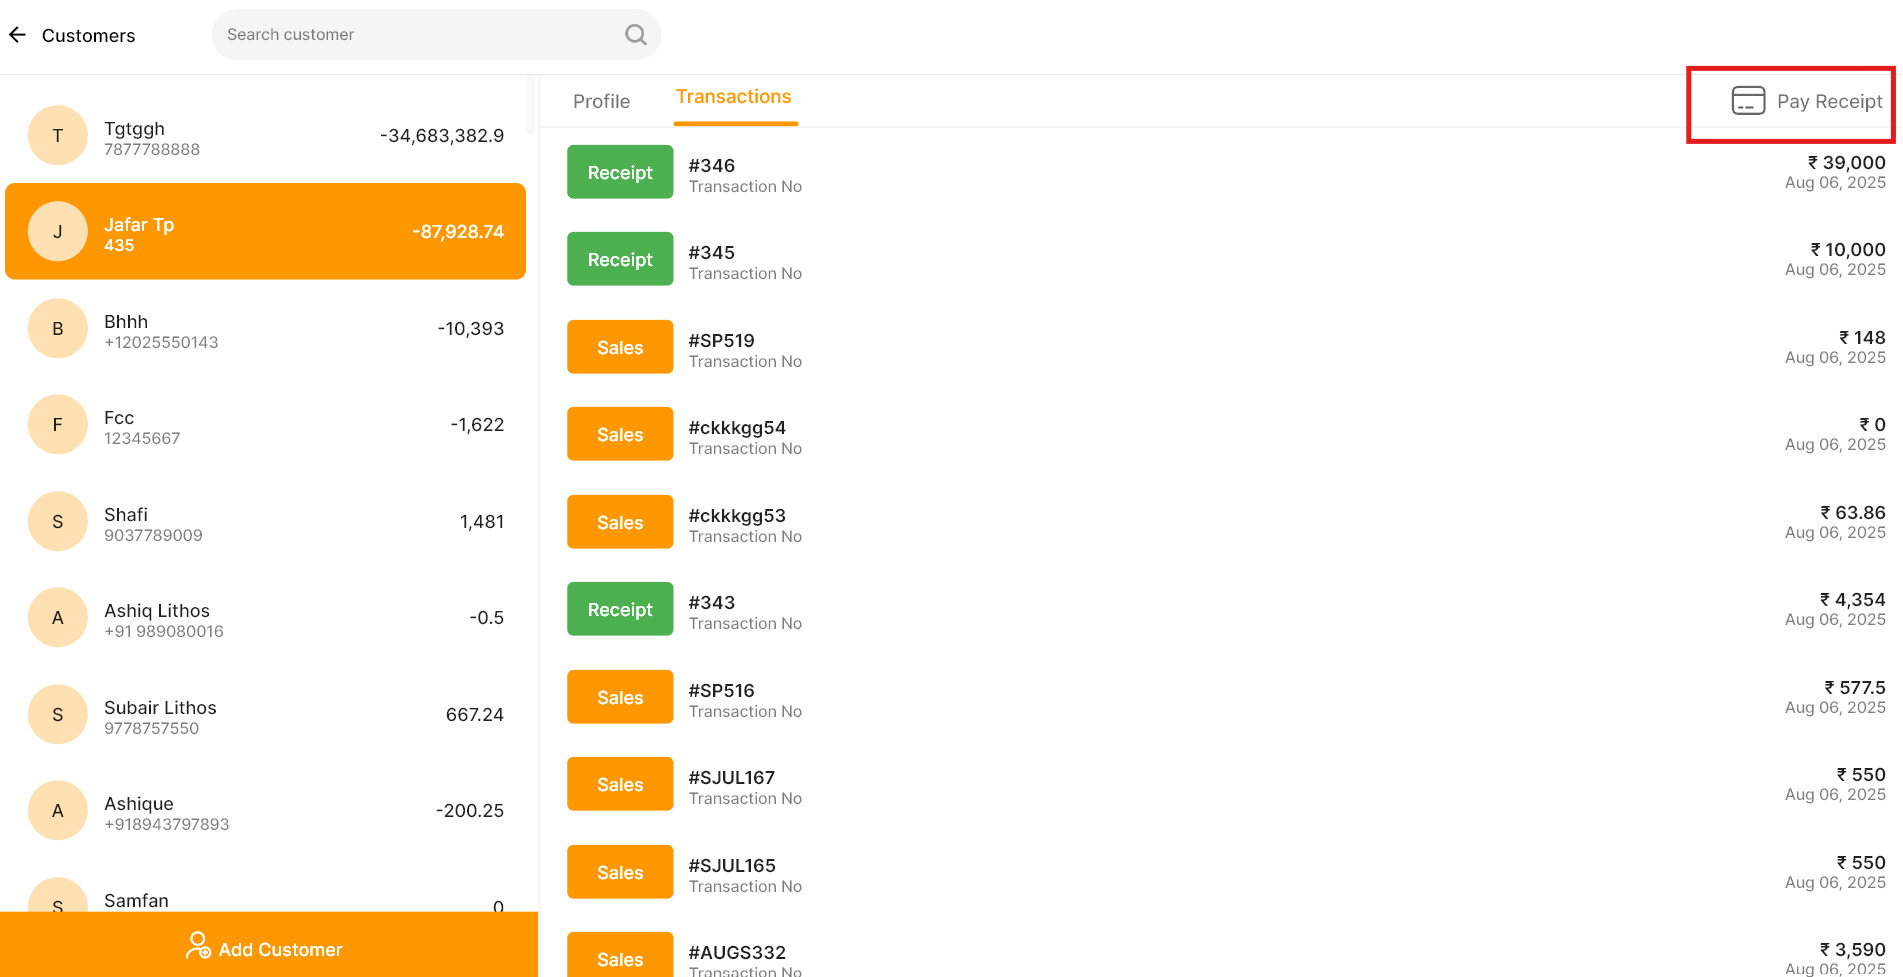
- Click on the POS menu and select Customers. (The customer's name along with their balance will be listed.)
- Use the search function to find a customer by entering their name or phone number. (The particular customer with their balance will be listed.)
- Click on the transaction to view the transaction history of the selected customer.
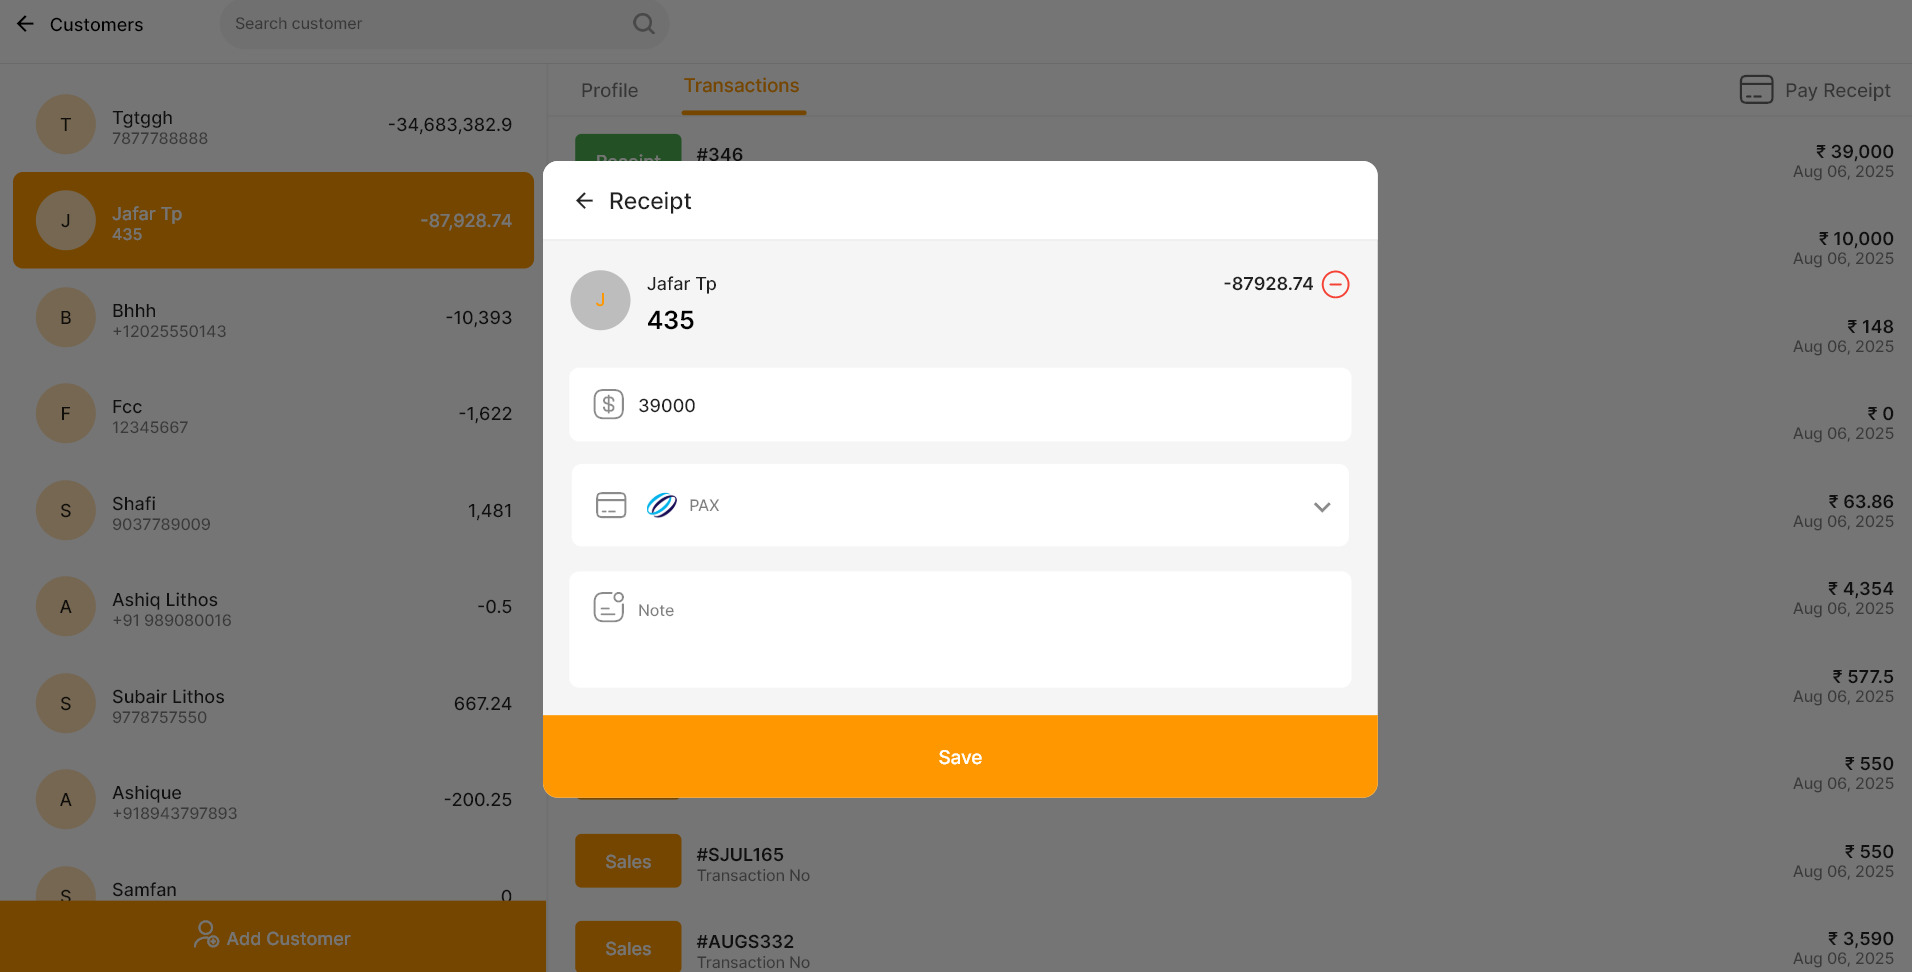
- Click the Pay button at the top right of the screen to make a payment. A pop-up window with the due amount will appear.
- Enter the amount, choose the payment method, and add notes if required. Then click Save and click Yes to confirm.
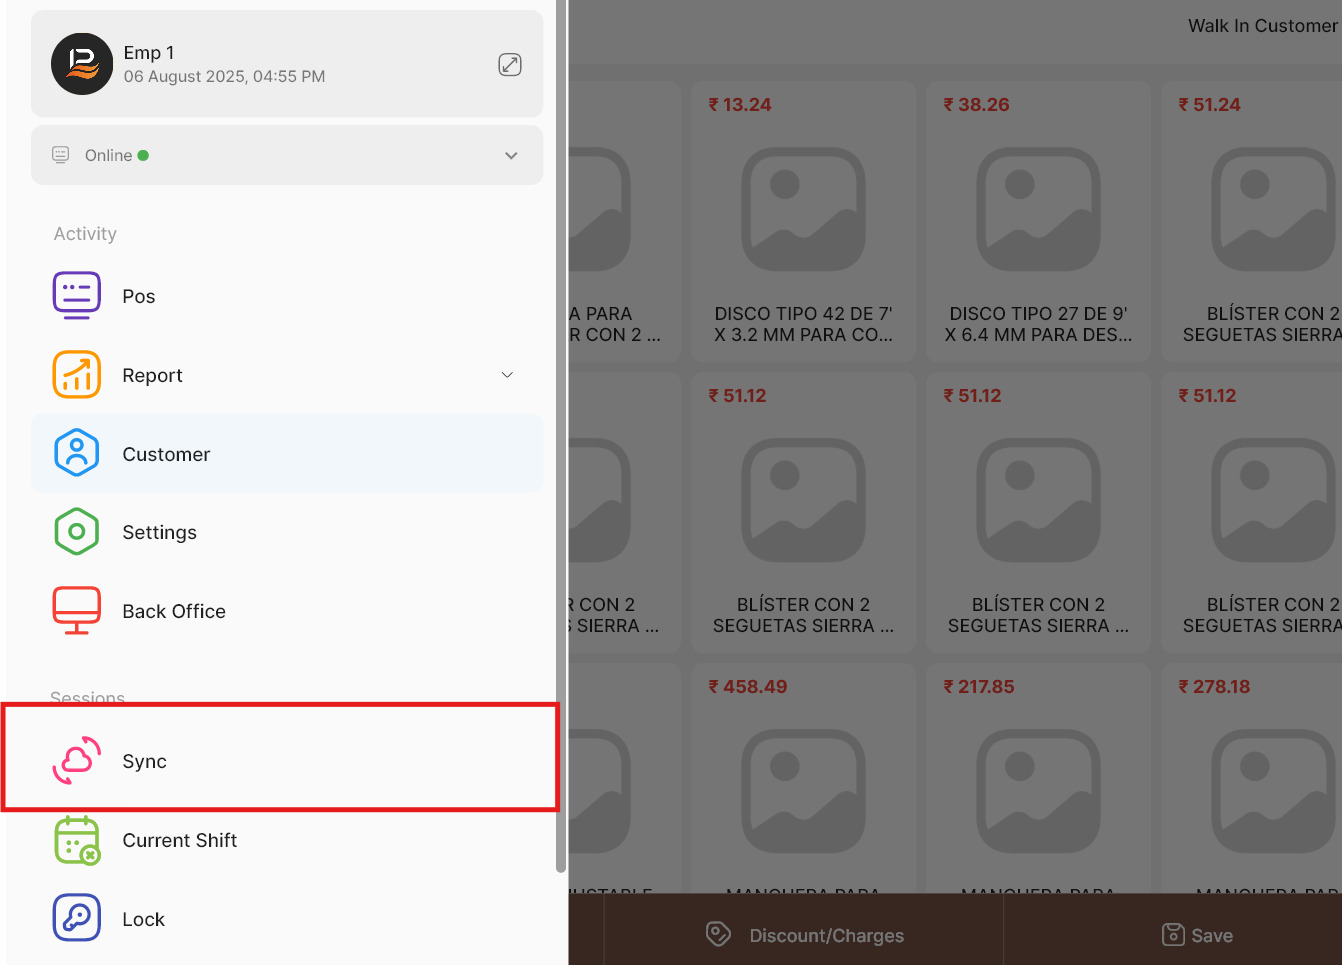
- Now sync the POS to get the updated balance for this customer.
-
Check Customer credit balance in the Back office
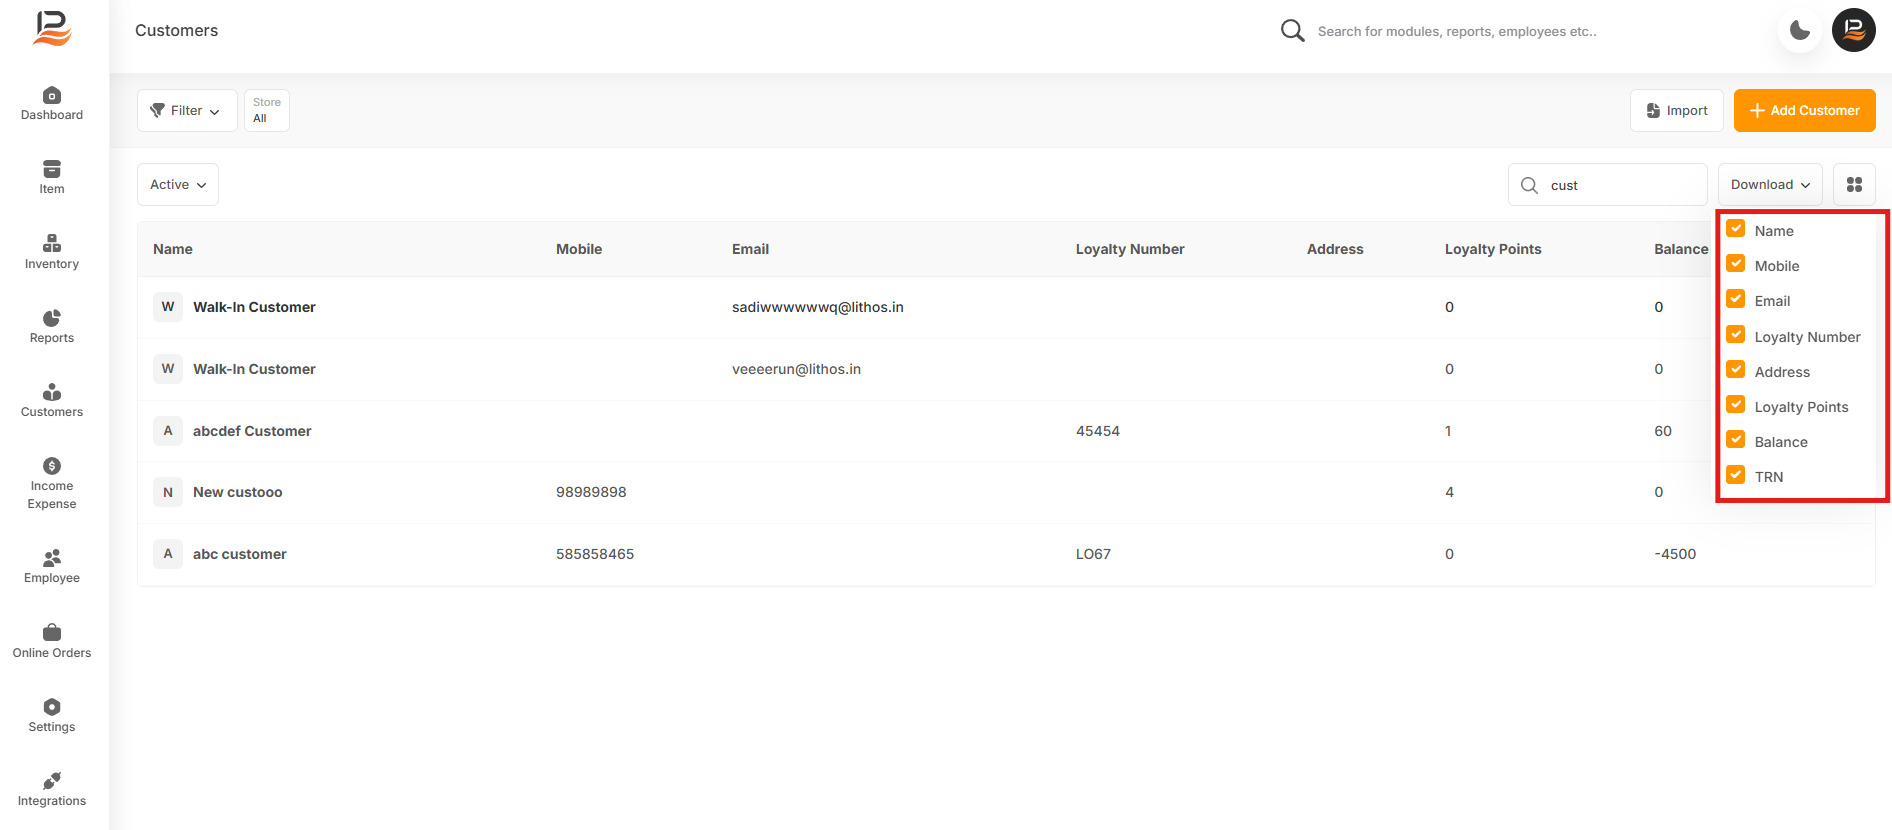
- In the Back Office Select Customers on the side panel.
- Click on search and type the name in the ‘CustomerName’ to filter customers.
- Click on the four dots to view the filtering options and enable balance. Now the customers and their balance will be displayed along with other information.
- You can download this list by clicking on the download icon for offline verification.
Connect with us to know more
To learn more about it feel free to book a meeting with our team


 LithosPOS