
 LithosPOS
Table Management and Floor Plans
Floor Plans
A floor plan in a restaurant is the arrangement of tables and areas. Efficiently managing your restaurant's seating layout is crucial for smooth operations. The floor plan feature allows you to digitally replicate your restaurant's seating arrangement, enabling you to track table occupancy, manage orders, and improve overall efficiency. Additionally, this feature allows you to apply additional charges for special areas or premium seating, if available. While billing an order, you can assign it to a specific table, allowing you to save the order to that table. You can later reopen the order to add or remove items as needed. Additionally, tables can be merged based on requirements
Additionally, this feature allows you to apply additional charges for special areas or premium seating, if available.
While billing an order, you can assign it to a specific table, allowing you to save the order to that table. You can later reopen the order to add or remove items as needed. Additionally, tables can be merged based on requirements.
To set up Floor Plans
-
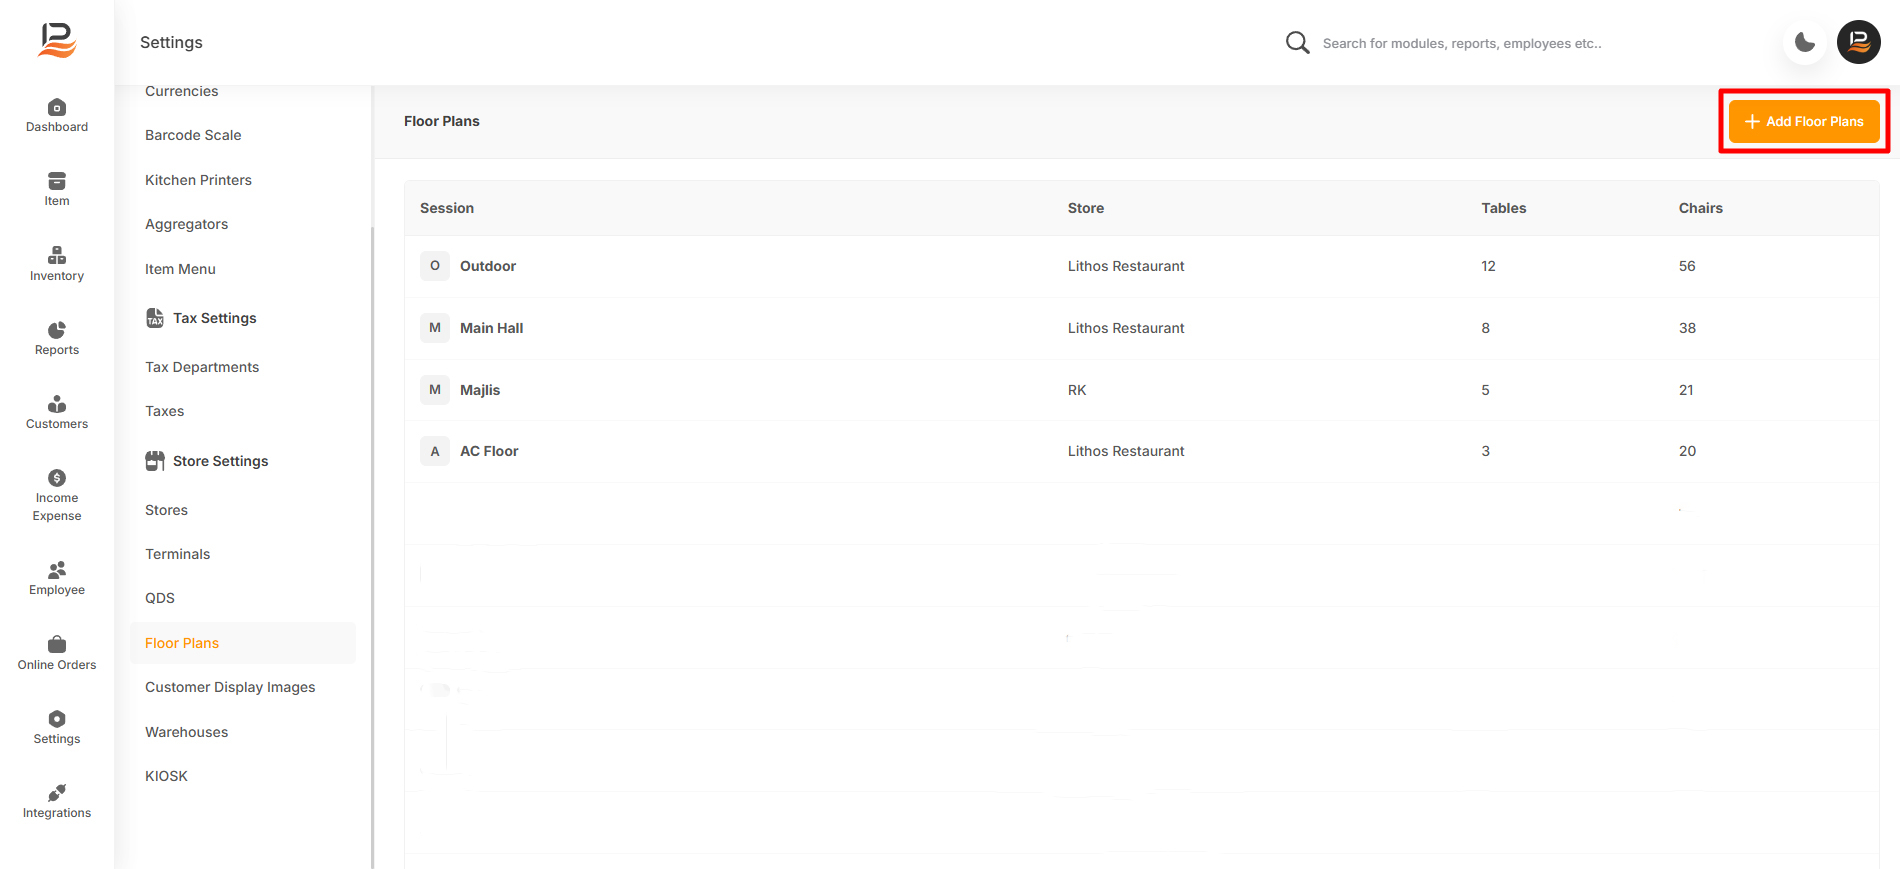
Go to settings in the back office and navigate to the Floor Plans.
-
Click on the ‘+Add Floor Plans’ then enter the Floor/Area/Hall name in the Sessions column.
-
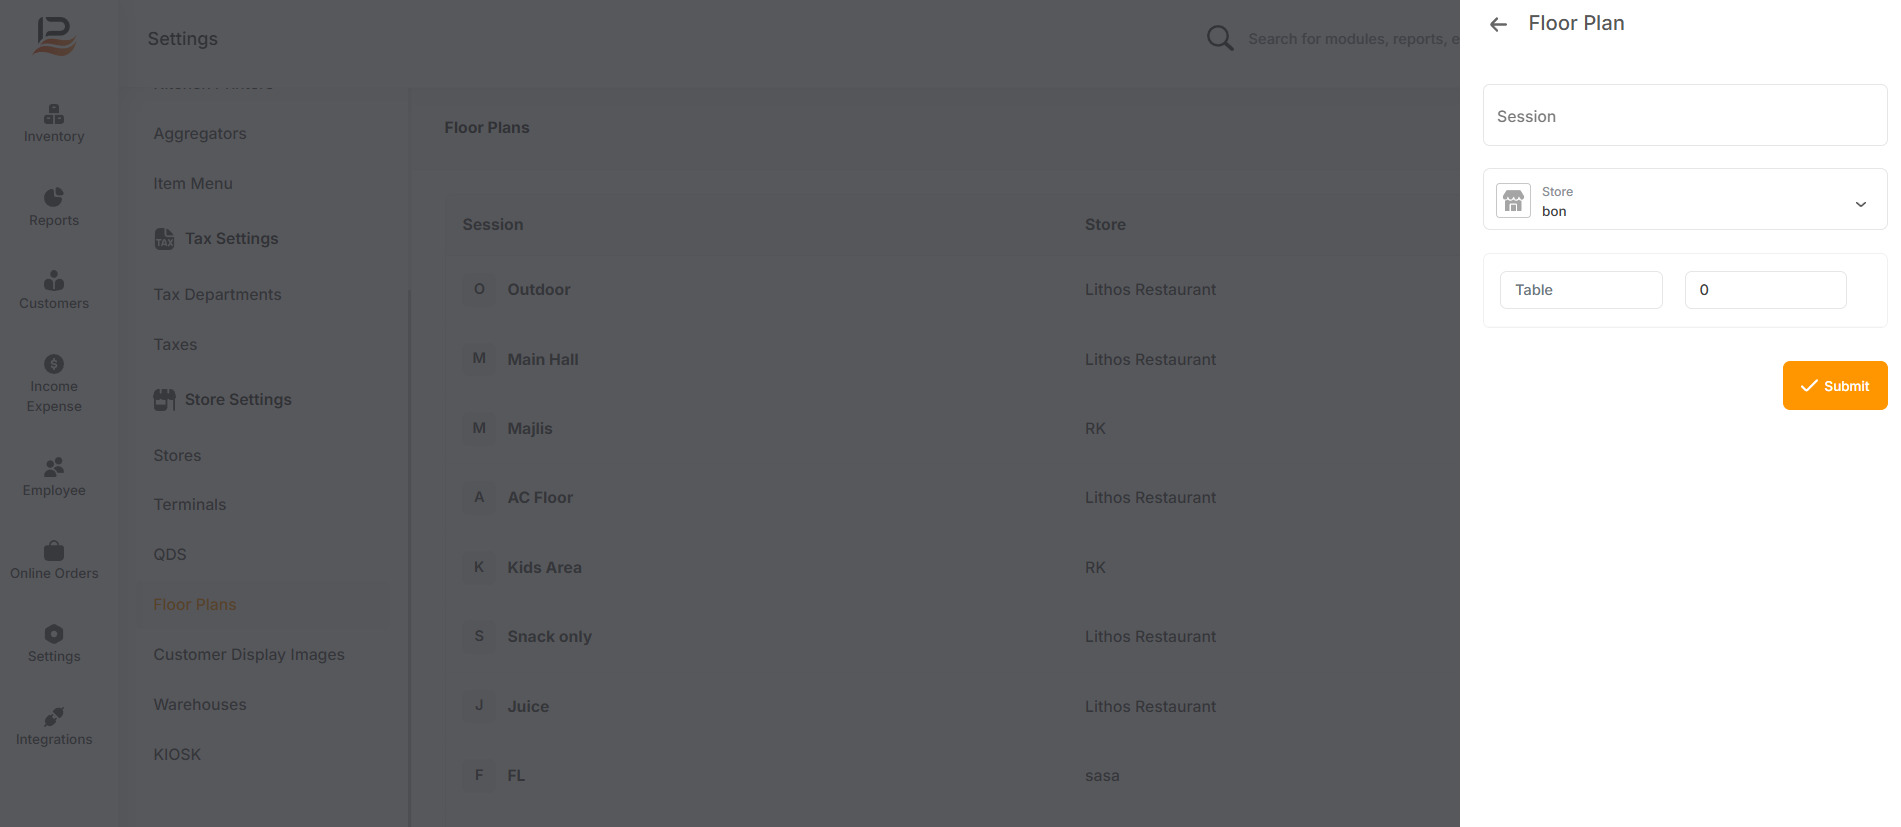
Enter the Session name
-
Select your store
-
Enter a table name and specify the number of guests to be seated at the table
-
Just click outside any box to add the next table.
-
Similarly, Add all the tables and click submit to save the Floor Plan.
Note:
You can open the saved floor plans and edit/deactivate any tables
Start selling with table ordering
-
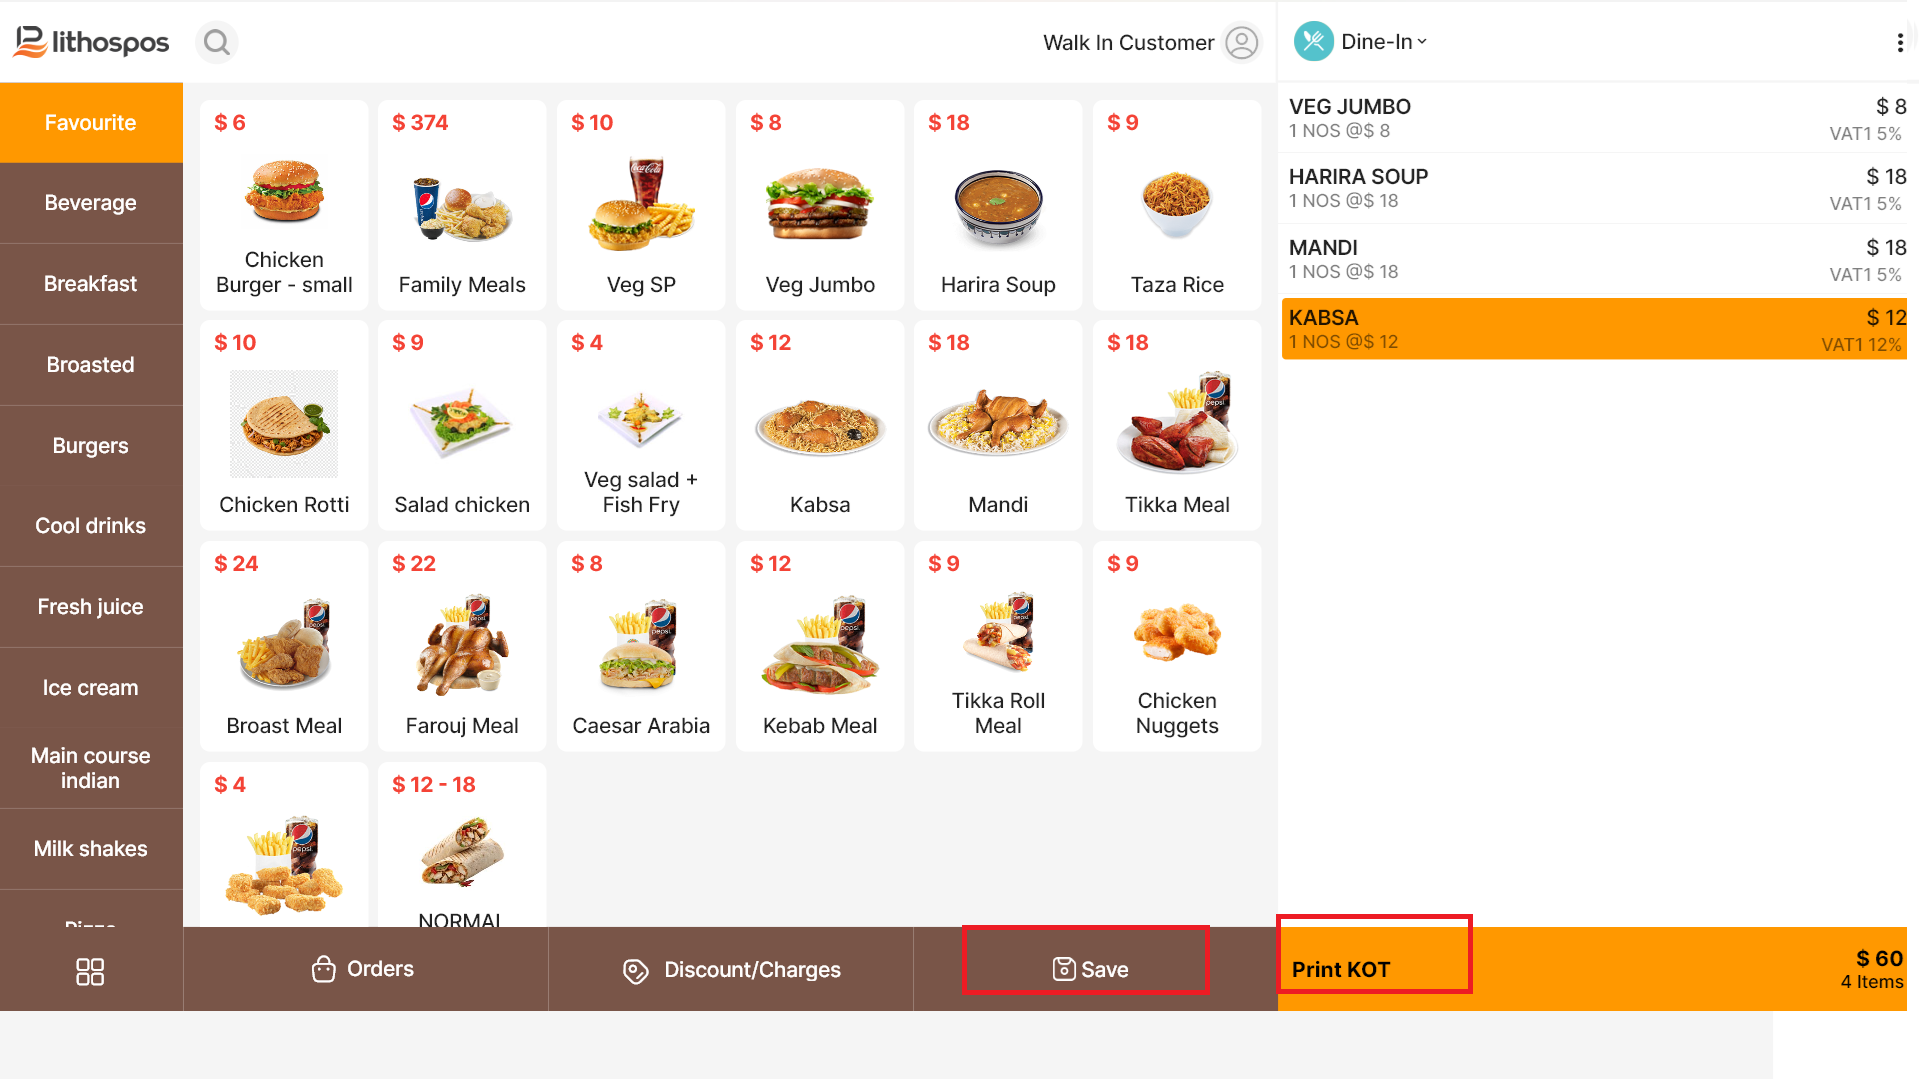
Adding Item To The Cart
Add some items to the cart by taping or scanning barcode.
-
Click on Print KOT or Save button to place the order
Select table and Place the order.
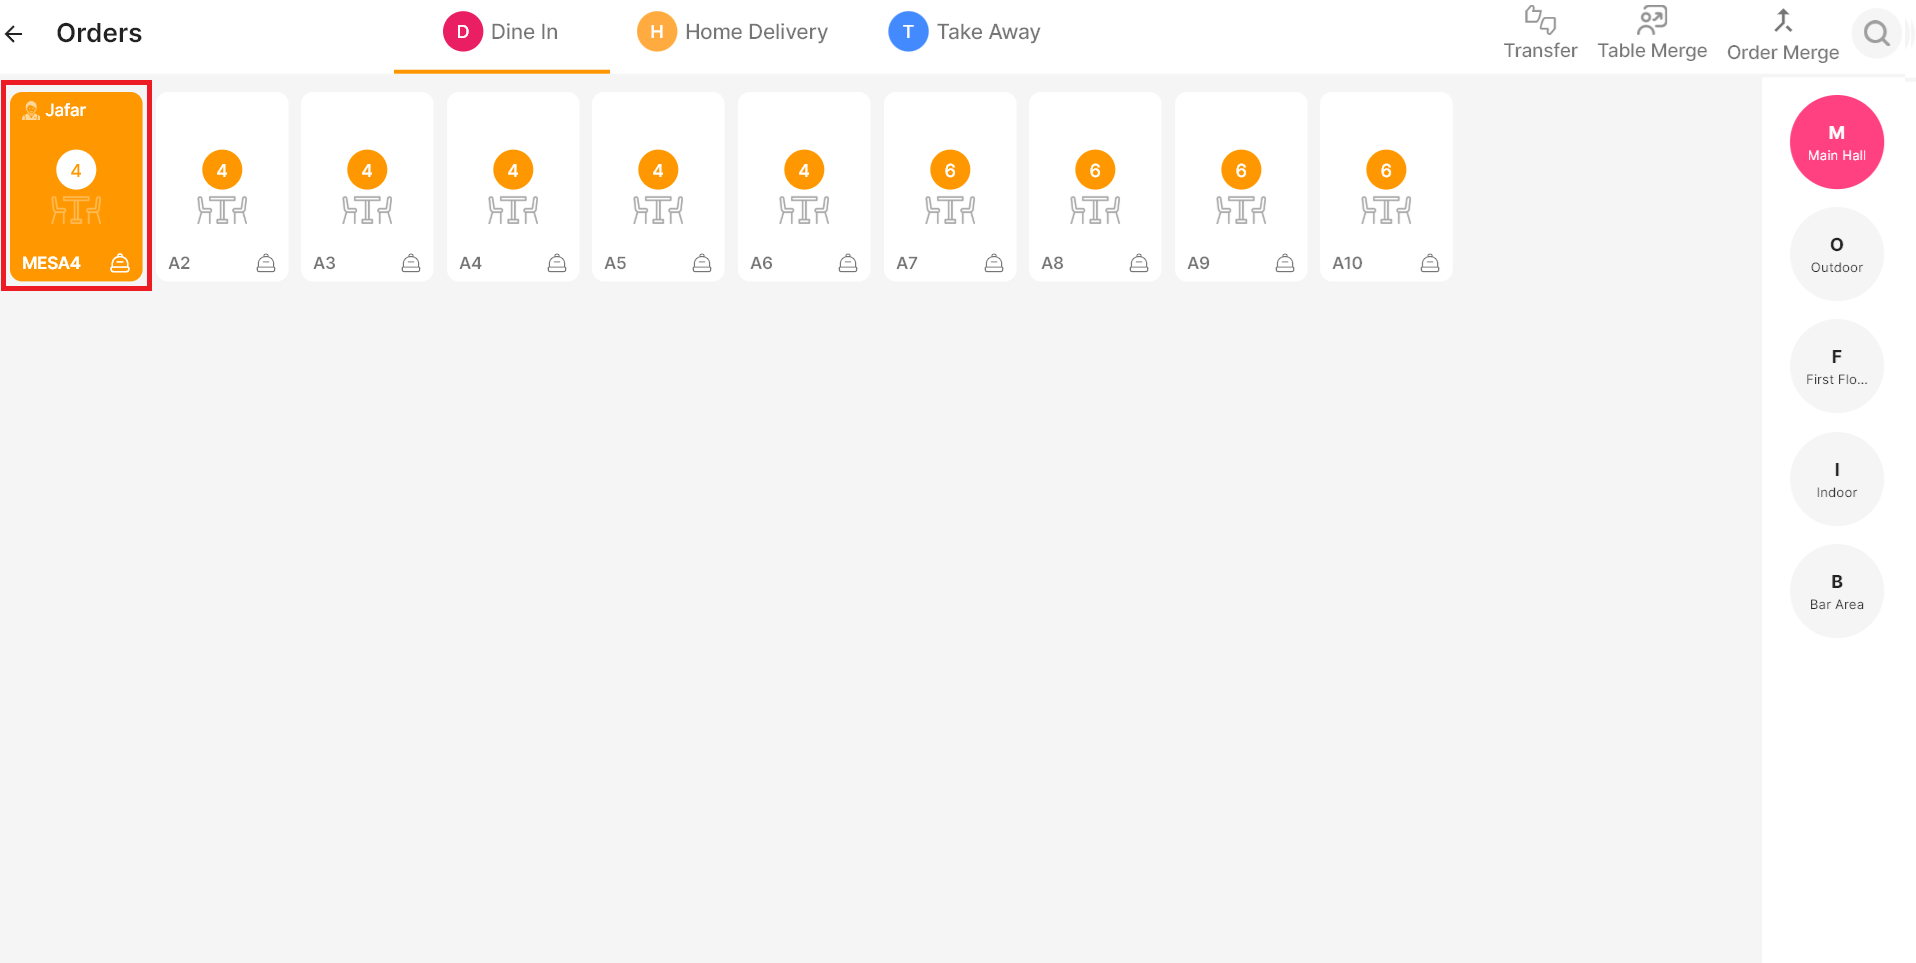
Table options
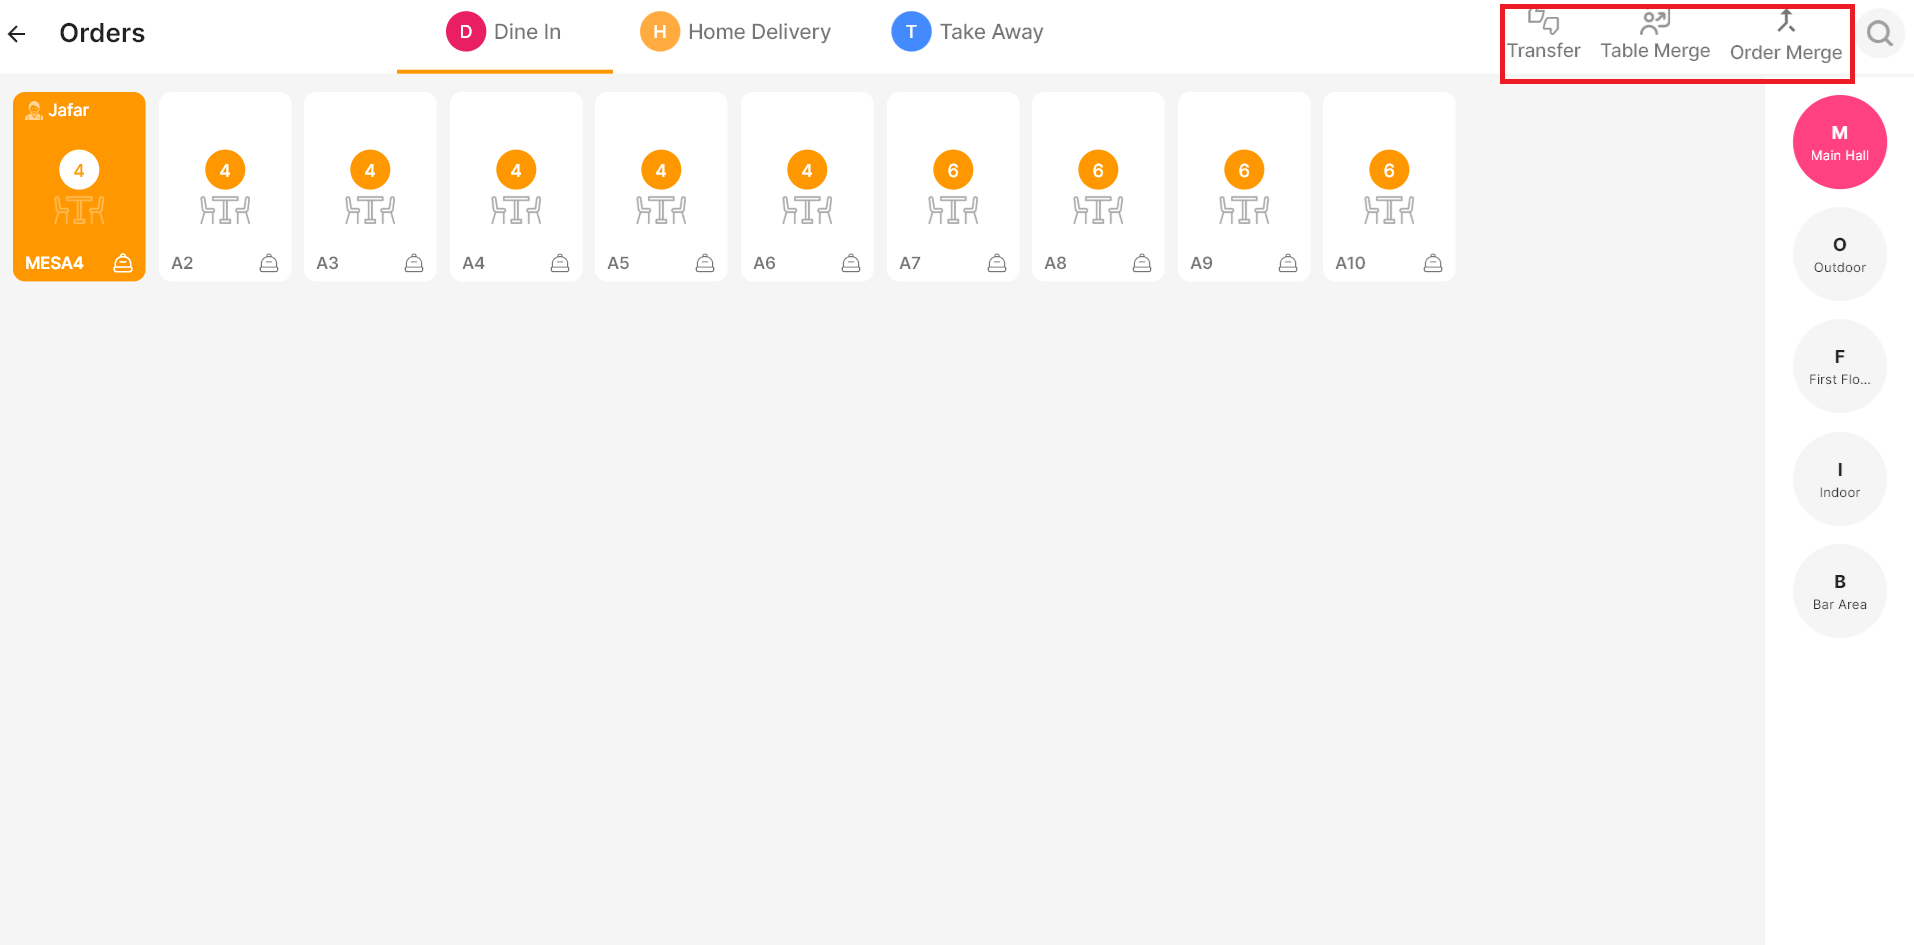
In a restaurant account click on orders to go to the tables. This is the table layout, which is fully customizable. Our back office lets you set up tables and manage floor plans according to your requirements. Additionally, at the top of the layout, you’ll find options like order transfer, Split Table, and Merge Tables. These features allow you to easily switch tables, move customers around, copy an order from one table to another, or merge multiple orders into a single table.
Order Transfer
- Click on the Transfer icon.
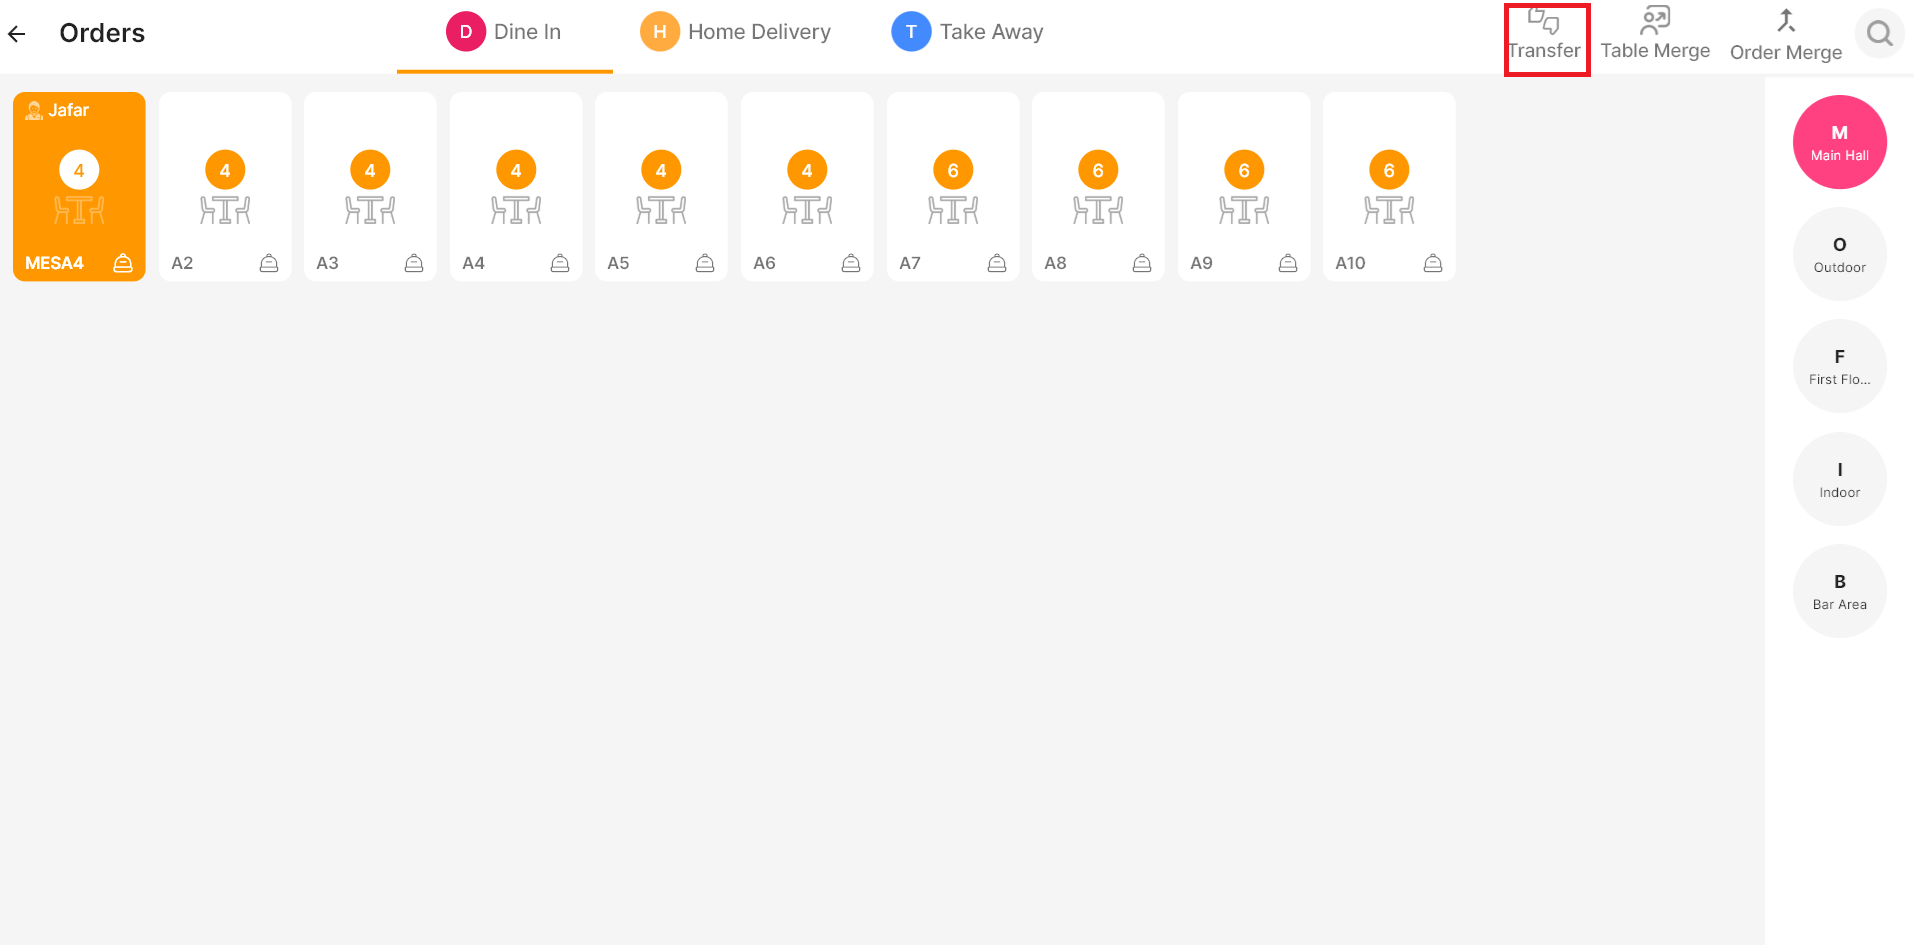
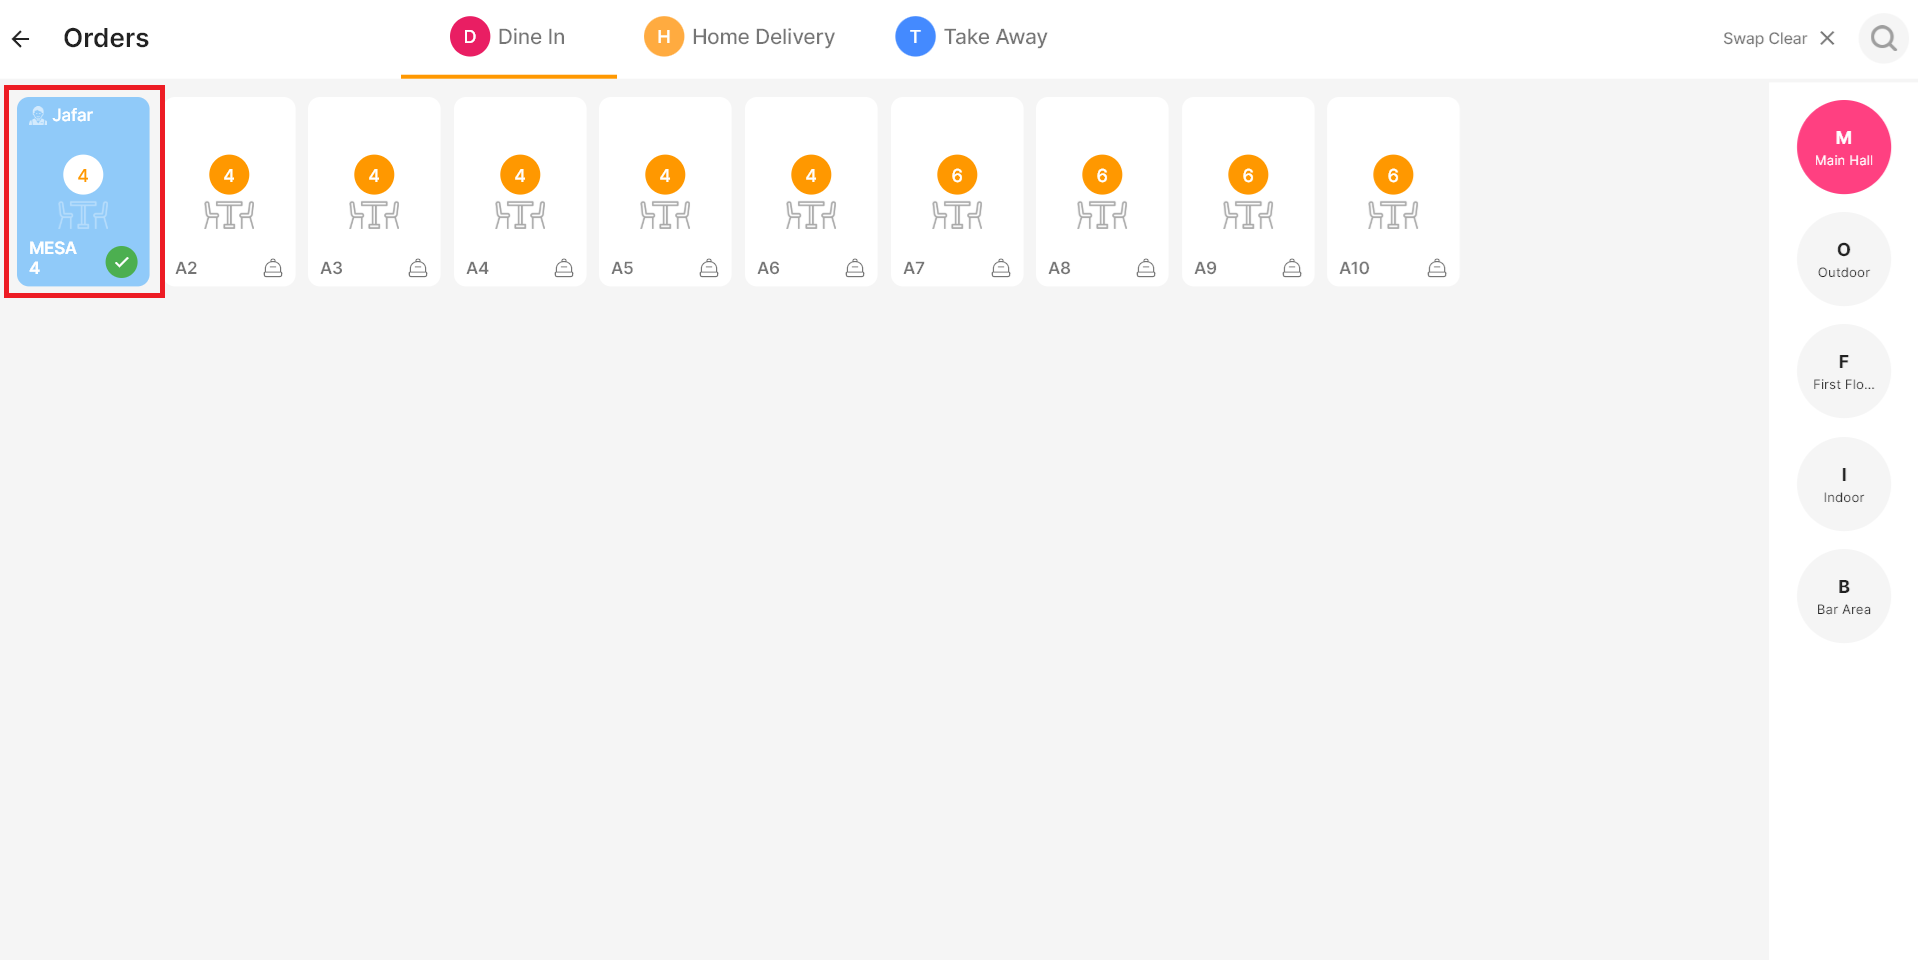
- Select the order you want to transfer
- Choose the table you want to move it to
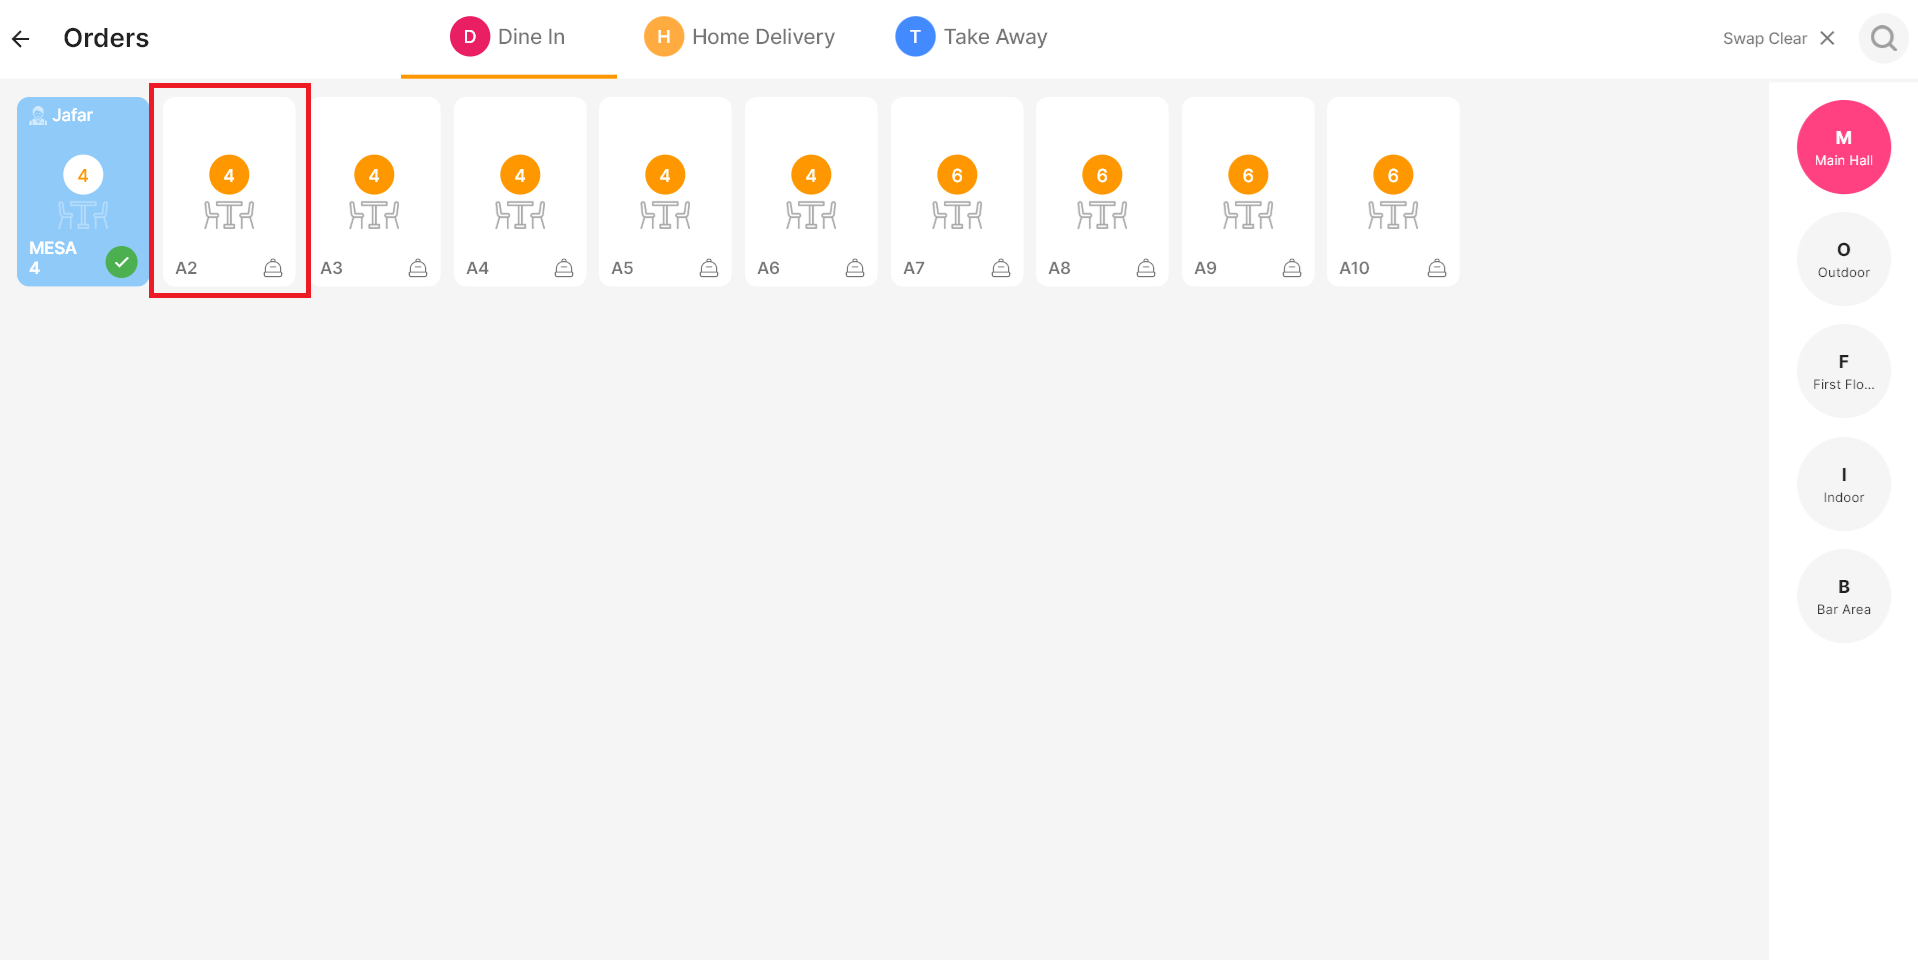
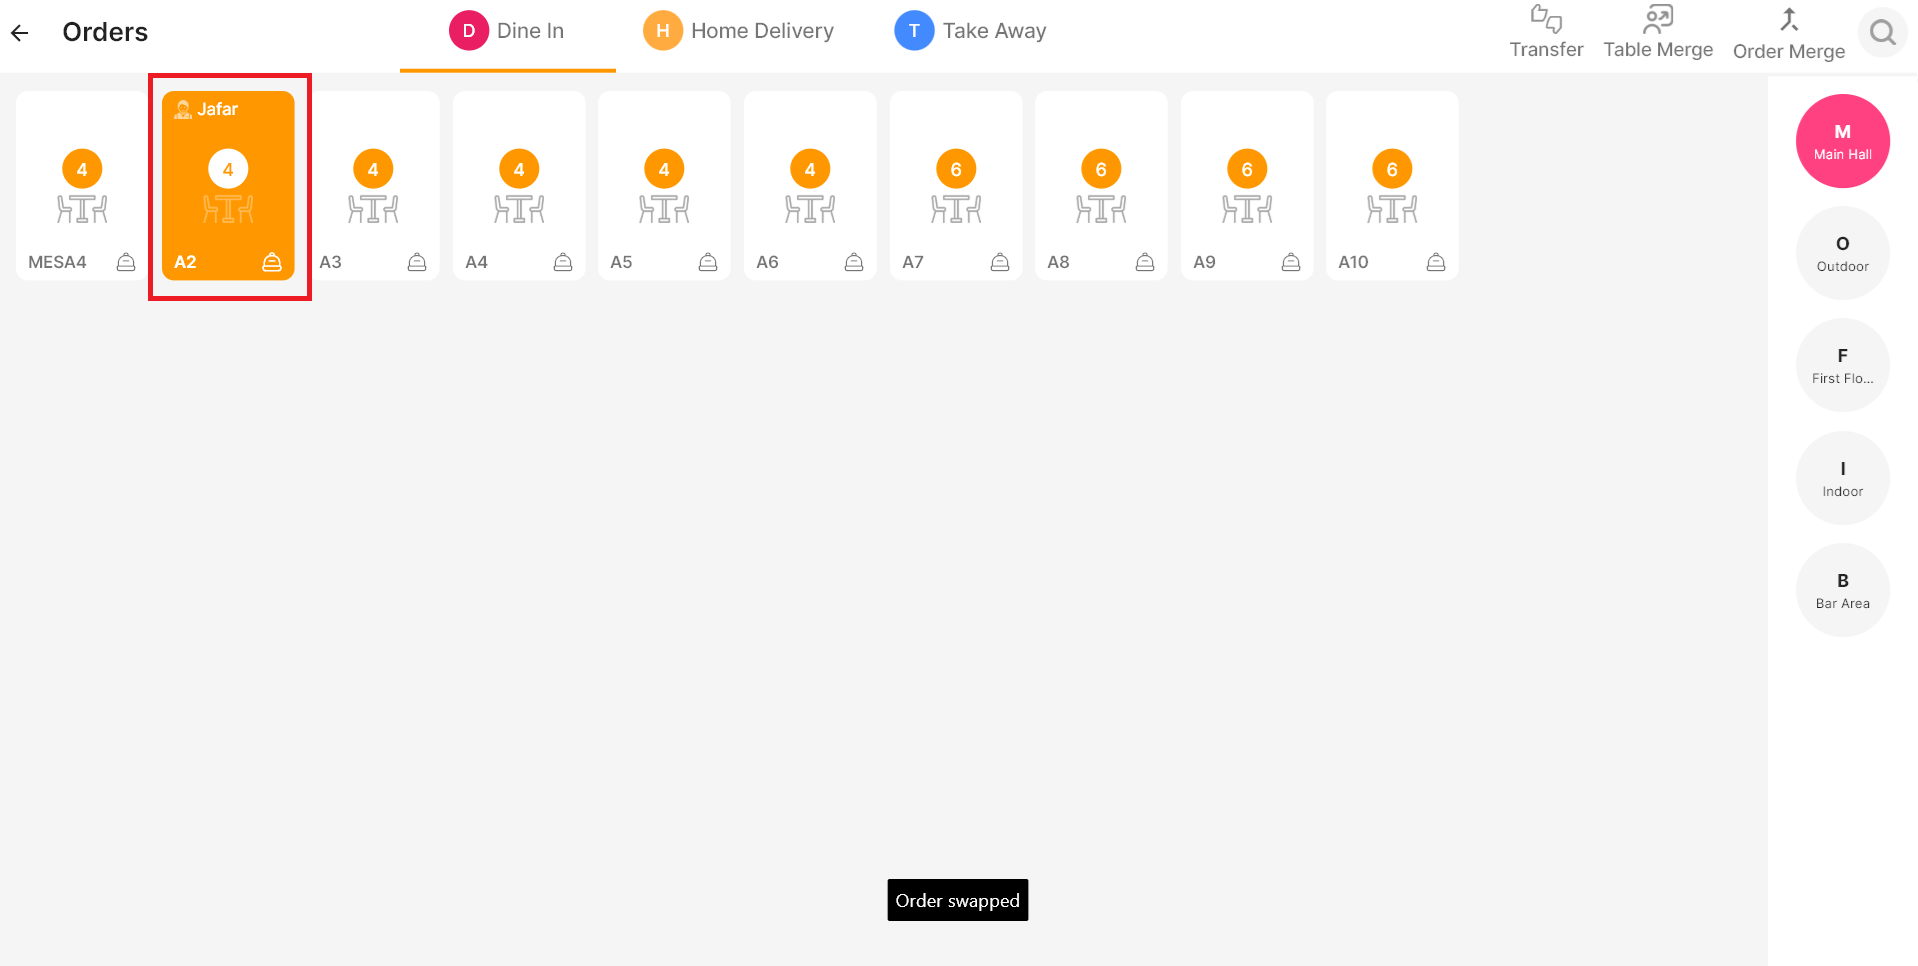
That’s it—the order is successfully transferred.
Table Merge
- Click the Table Merge icon
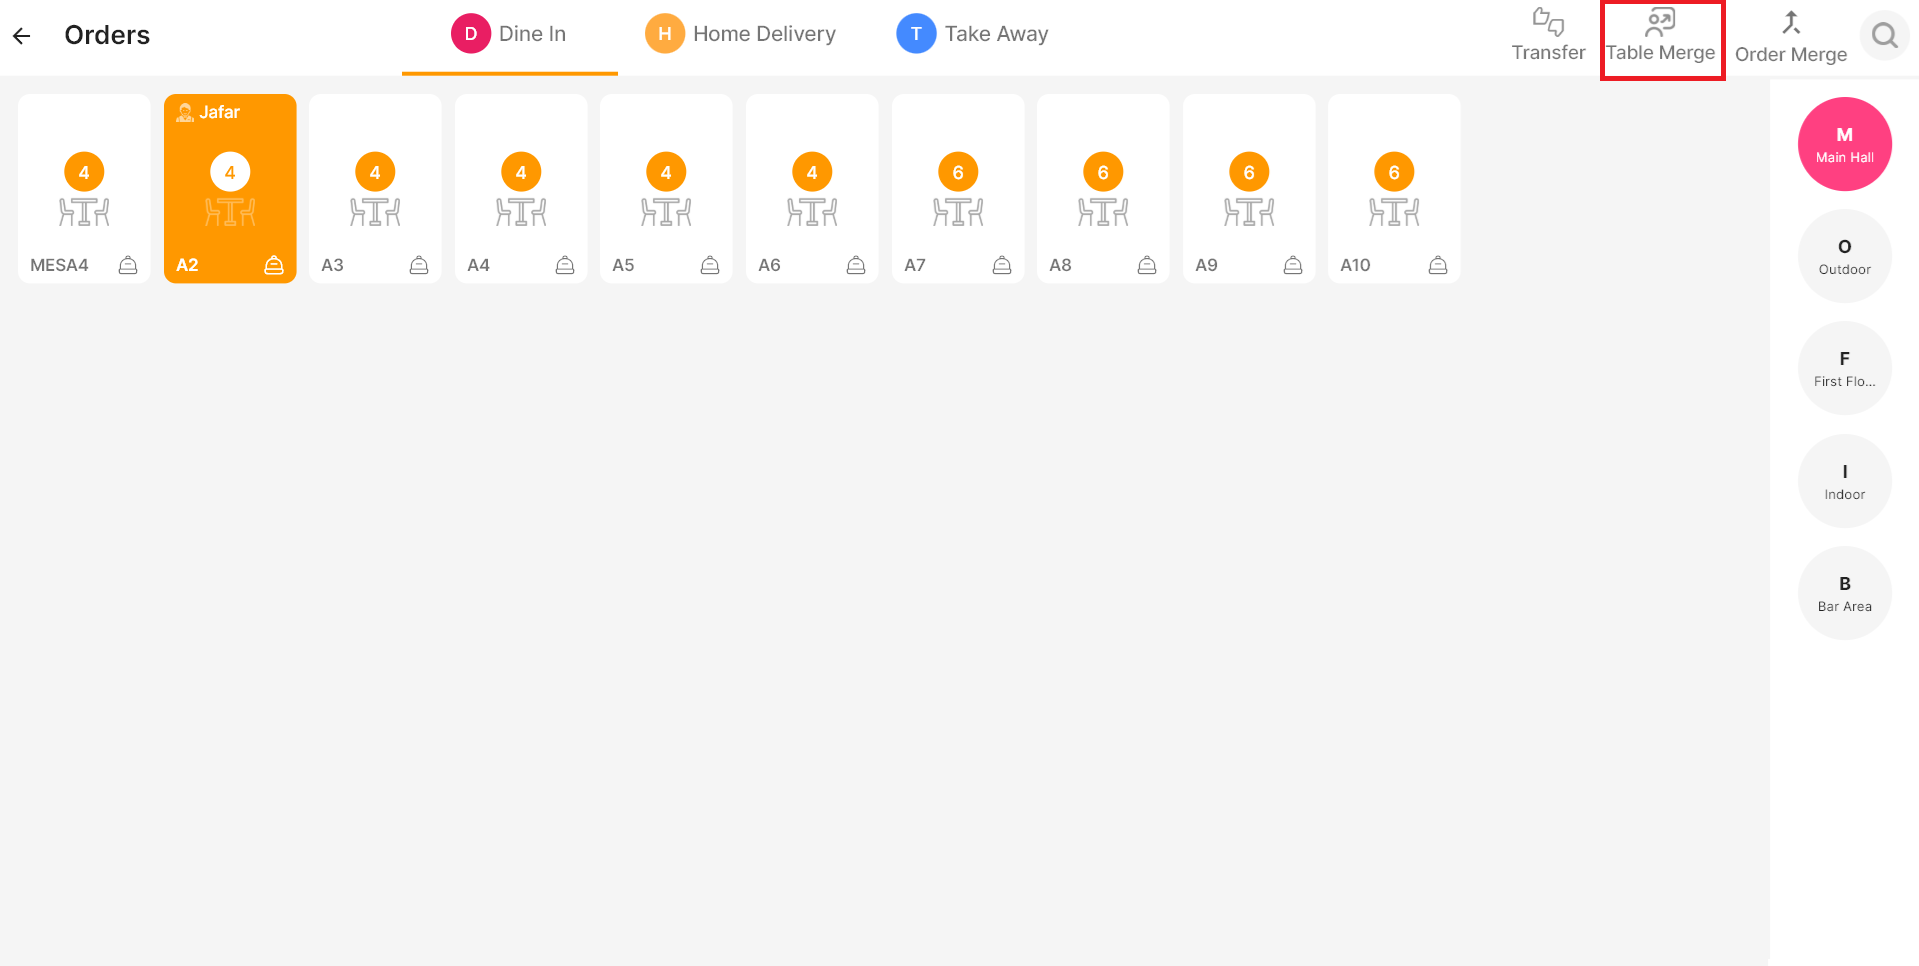
- Select the tables you want to merge
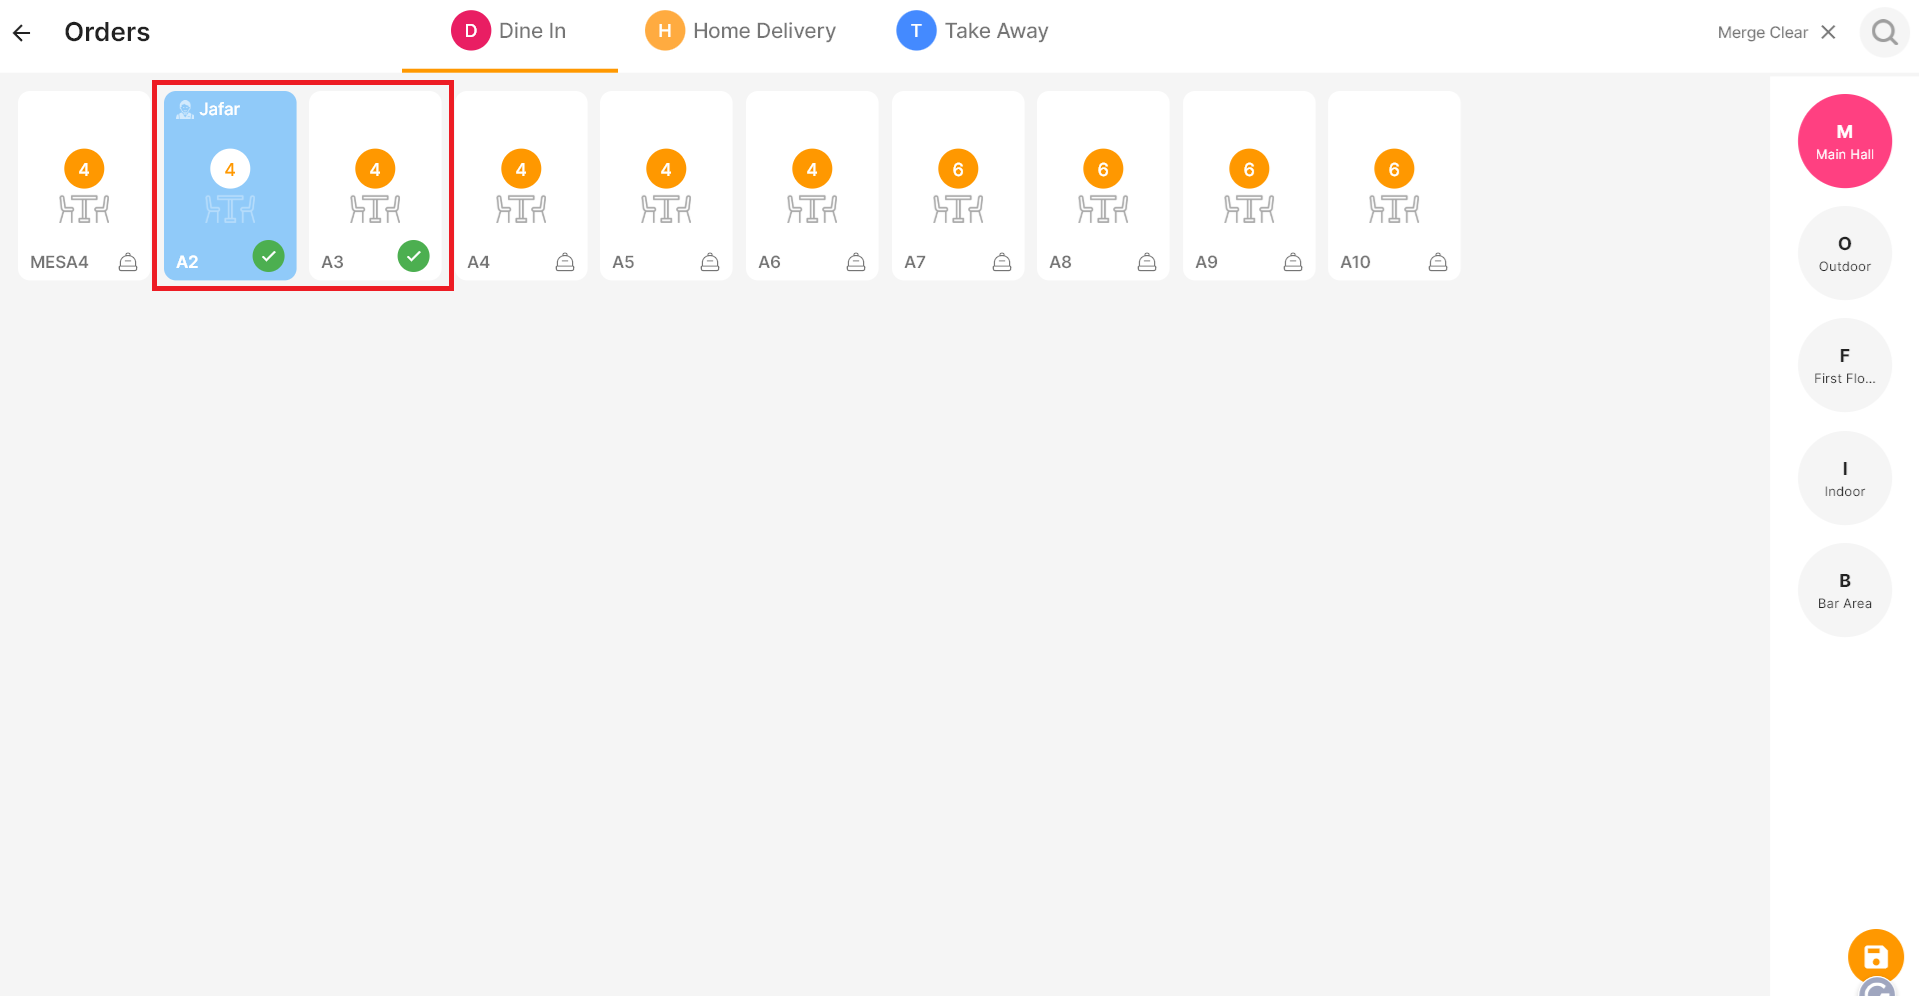
- Click Save
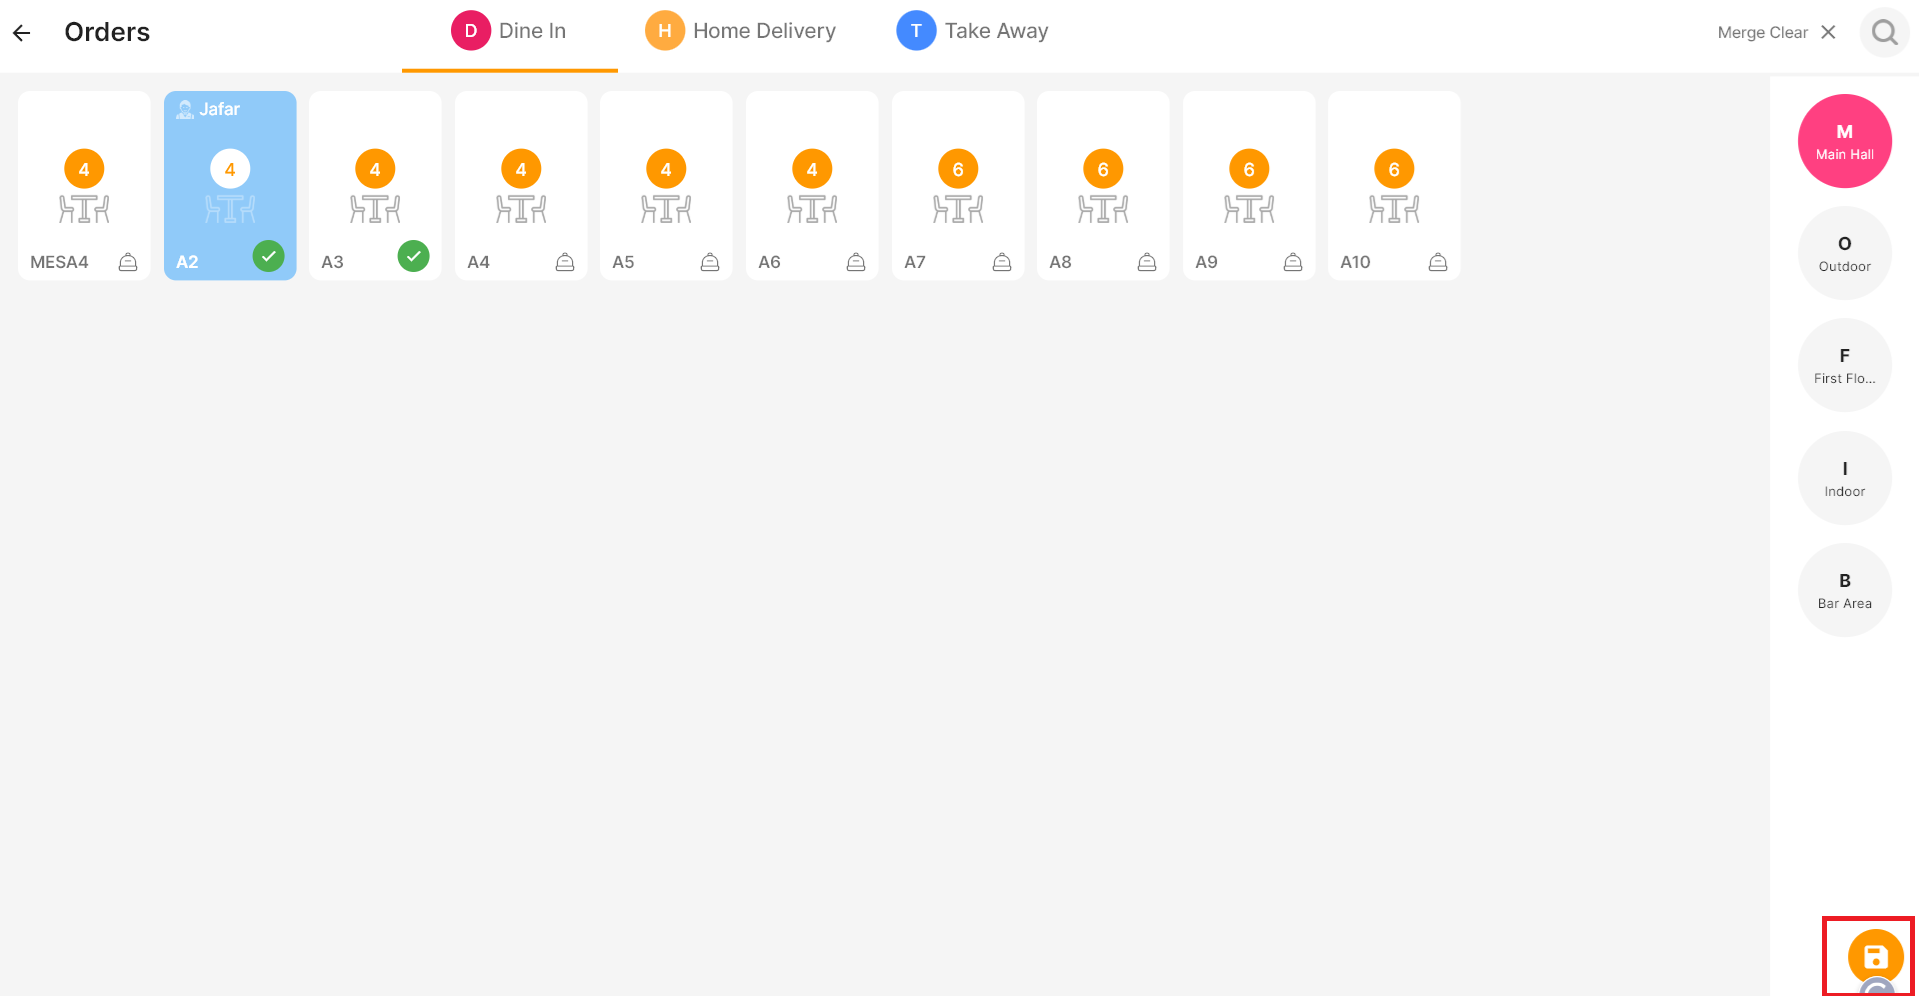
That’s it—the table merge completed.

The orders from the selected tables can now be shared with guests seated at any of the merged tables.
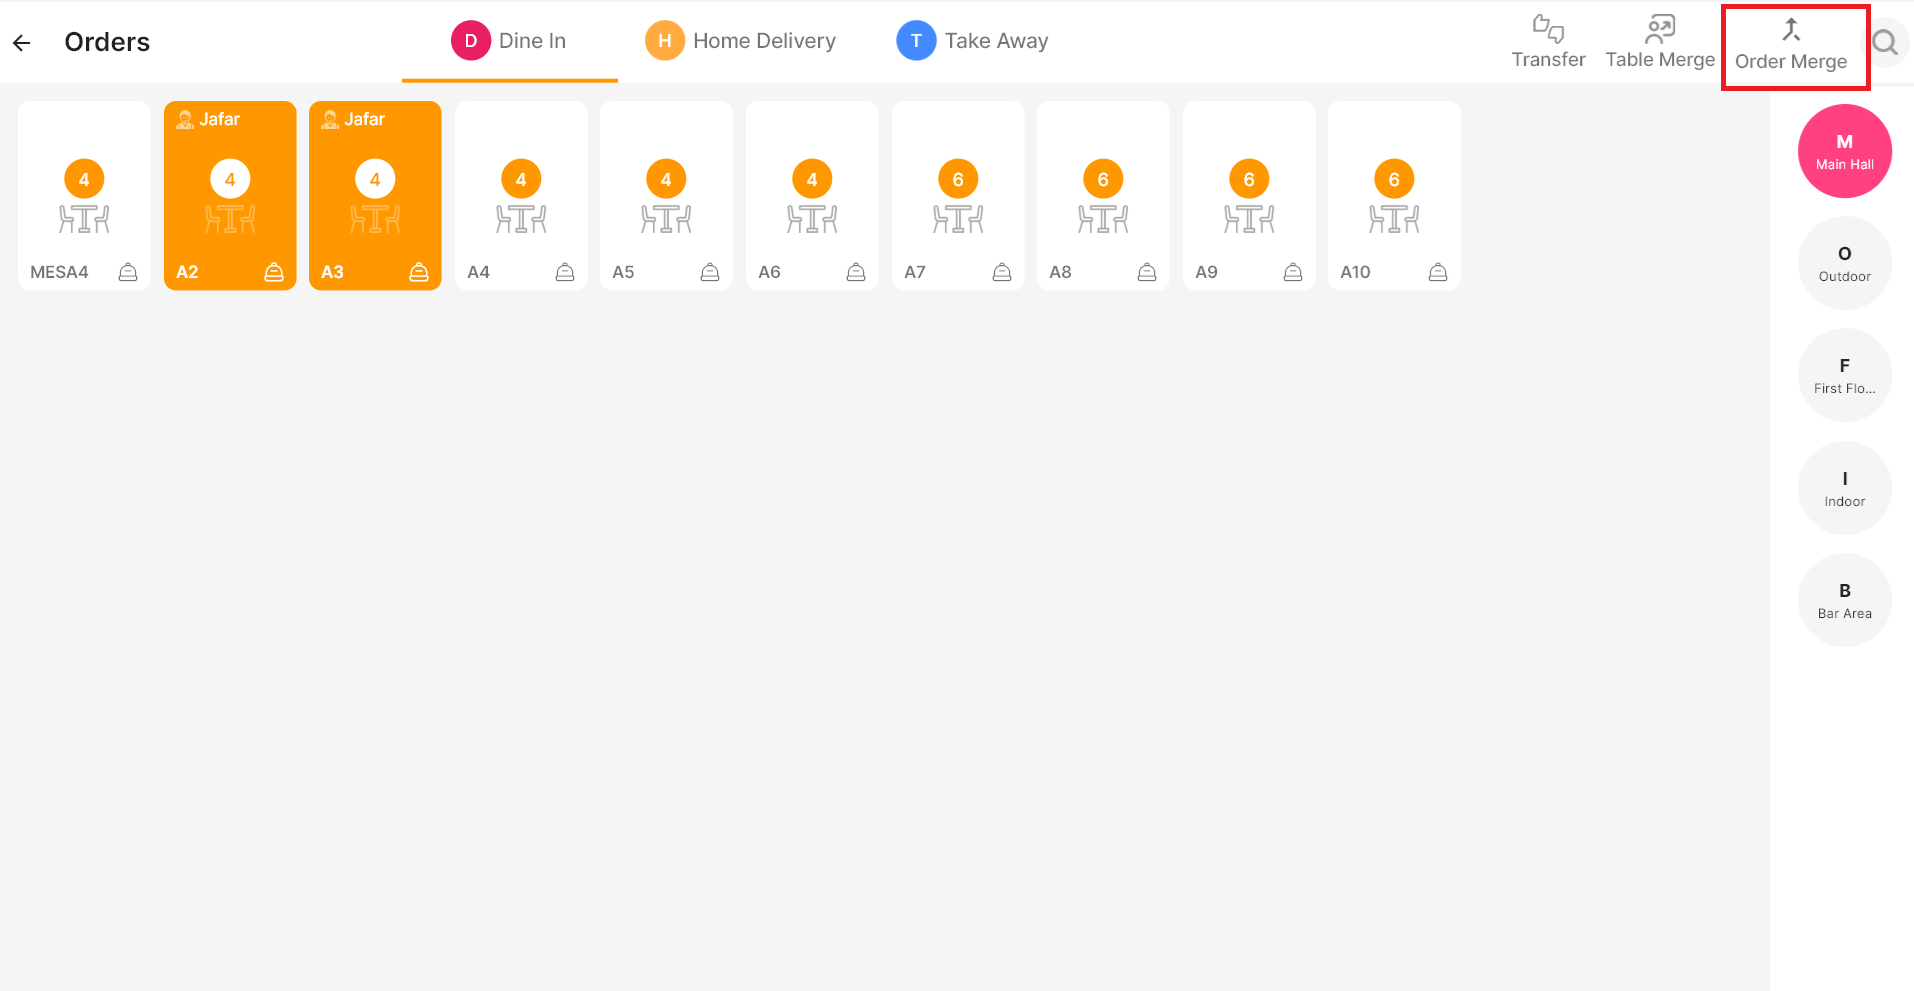
Order Merge
- Click the Order Merge icon above
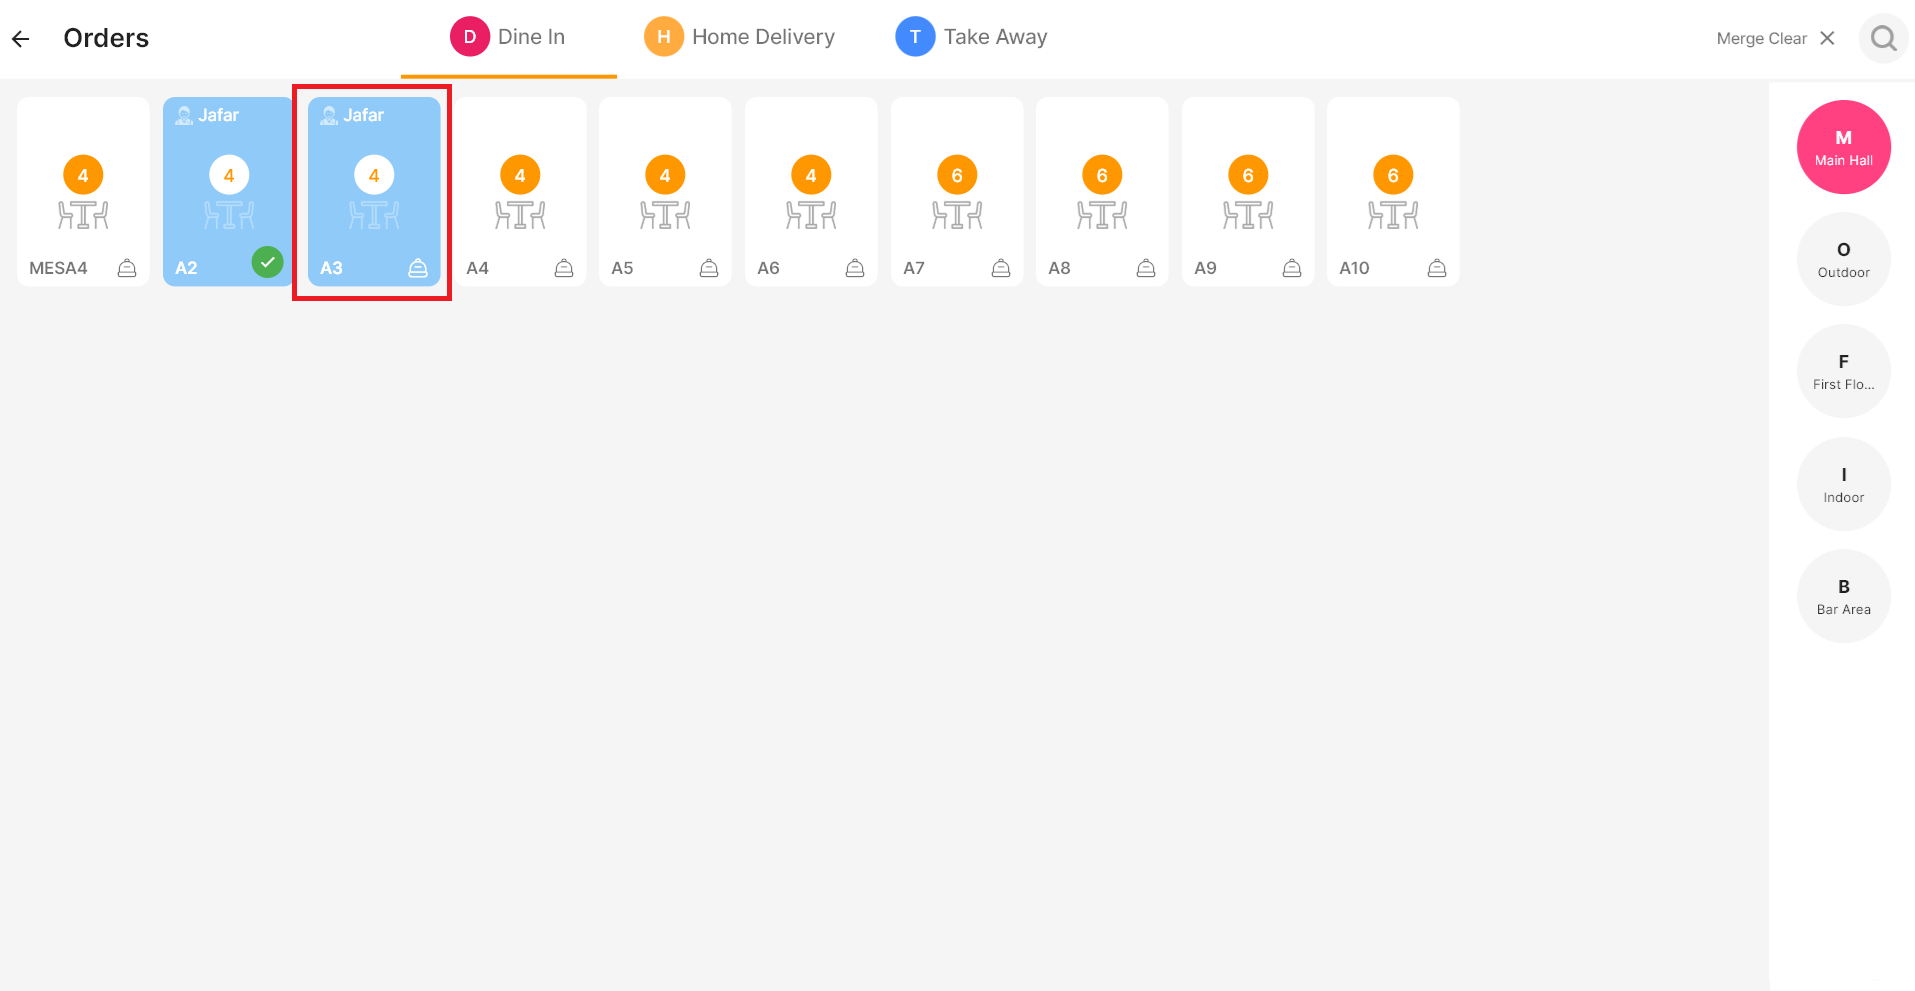
- Select the table with the orders you want to merge

- Then choose the next order to merge
- Click on Yes to merge the orders
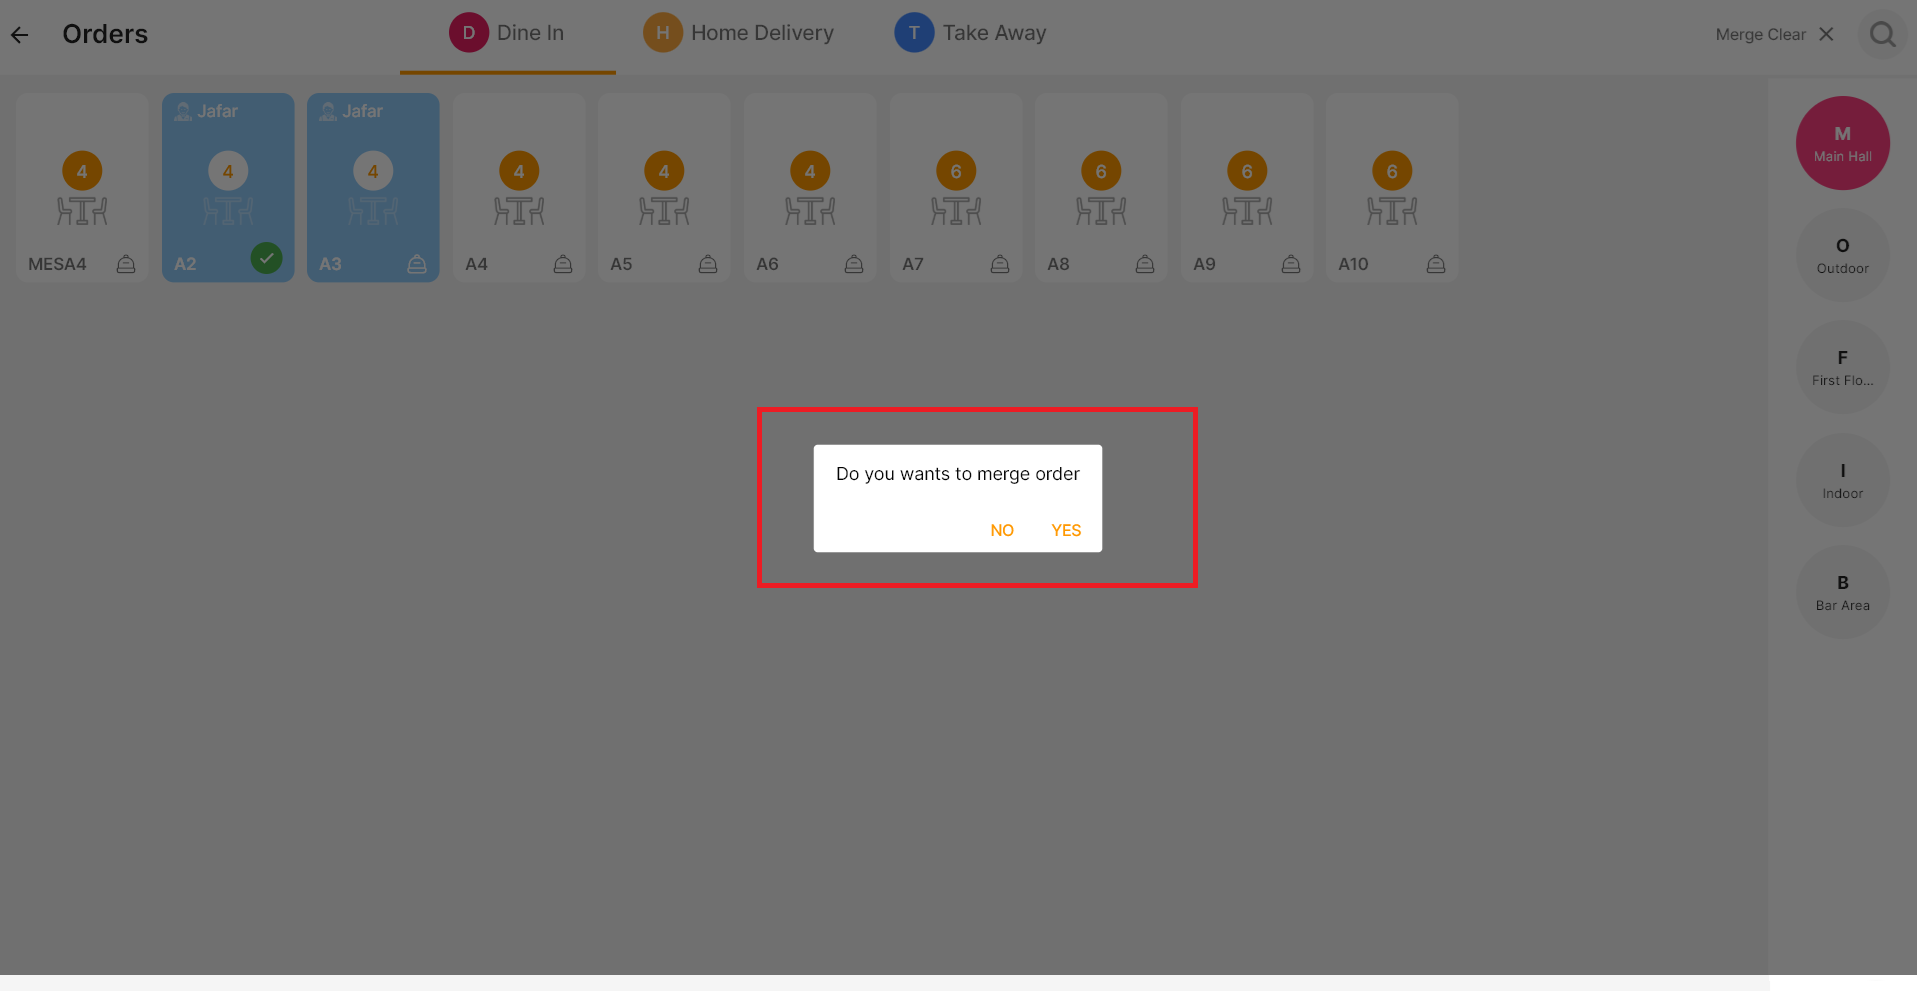
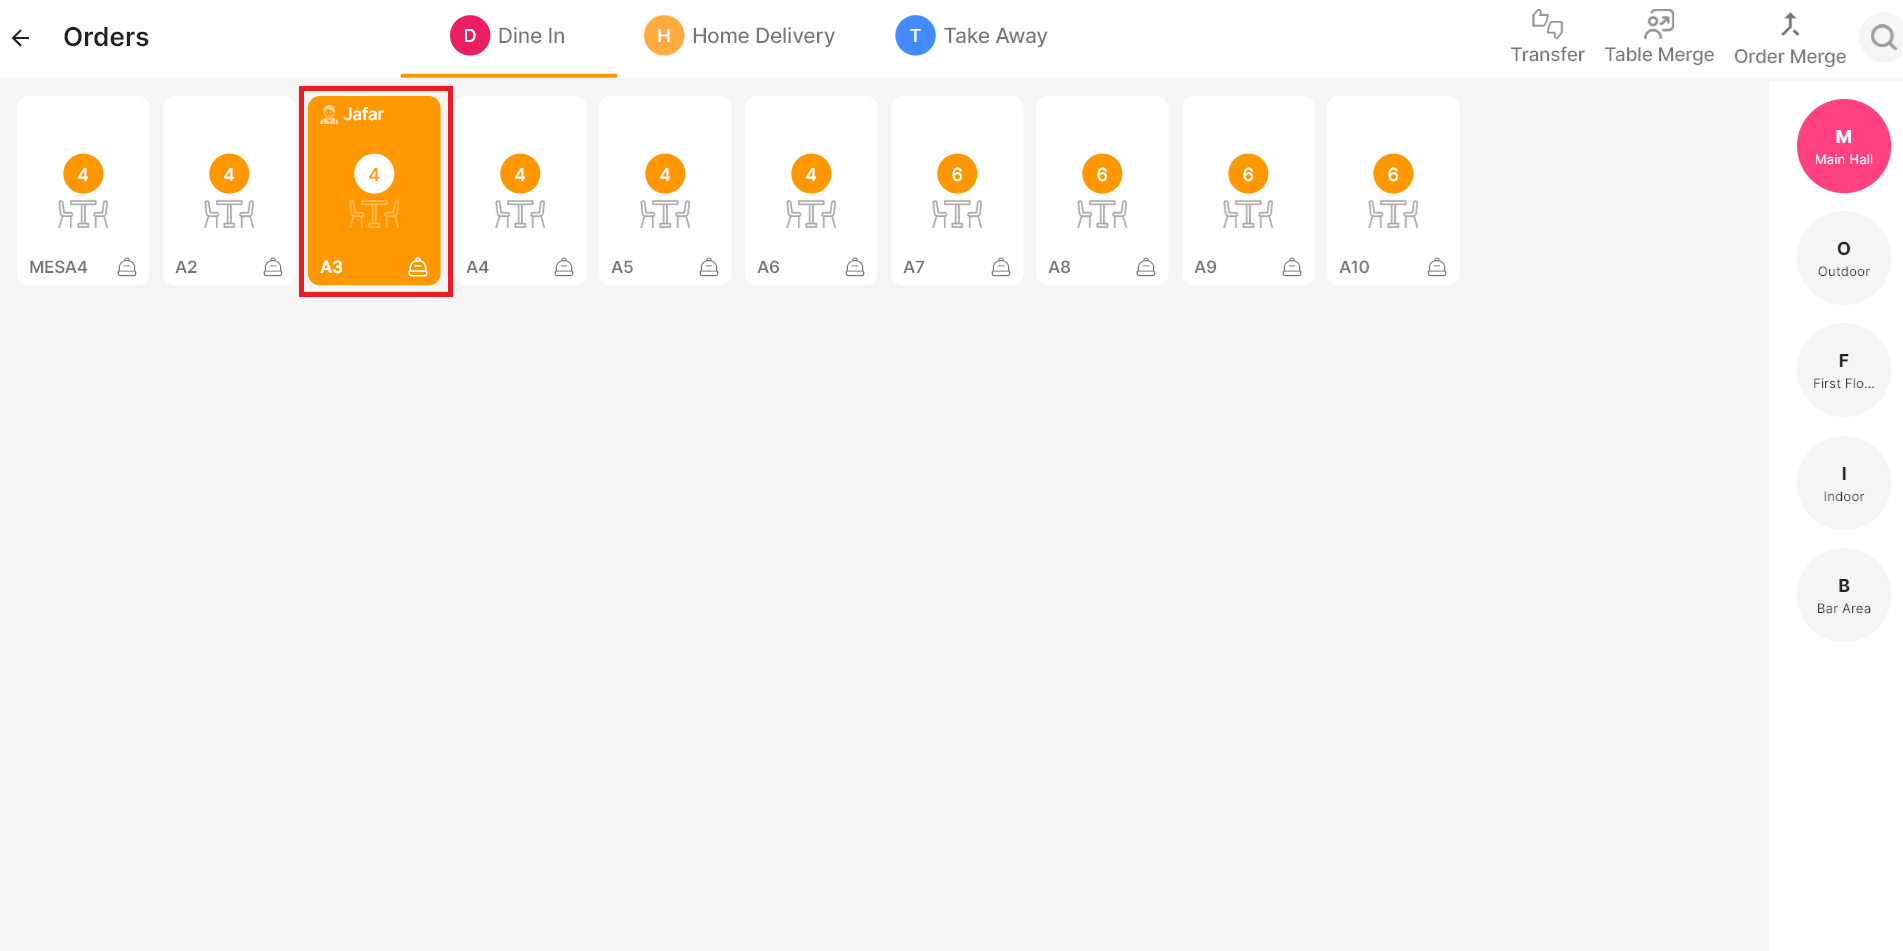
That’s it—the order merged.
Note:
If there are multiple orders on the same table, a pop-up will display all the orders from that table. Simply select the desired orders from each tables, and they will be combined into a single order..
Connect with us to know more
To learn more about it feel free to book a meeting with our team