
POS Introduction & Login
LithosPOS is a powerful, feature-rich, and easy-to-use POS software solution designed for different types of retail and restaurant businesses.
LithosPOS is a powerful, feature-rich, and easy-to-use POS software solution designed for different types of
retail and restaurant businesses. Its simple, user-friendly design, allows you to complete a sale in just a
few taps and accept all forms of payment. lithosPOS works perfectly on Android, iOS, and Windows devices.
Let’s explore all the functionalities of the LithosPOS app, including processing sales, refunds, and
voids, receiving online orders, setting up scales and printers, managing shifts, performing day close,
syncing sales data, and much more. Follow our step-by-step guide to see how everything works seamlessly!
Install LithosPOS App
Download and install the LithosPOS app from the Play Store, App Store, or Windows Store, and ensure you have a stable internet connection to sync your back-office store data with the POS seamlessly.
Login To LithosPOS
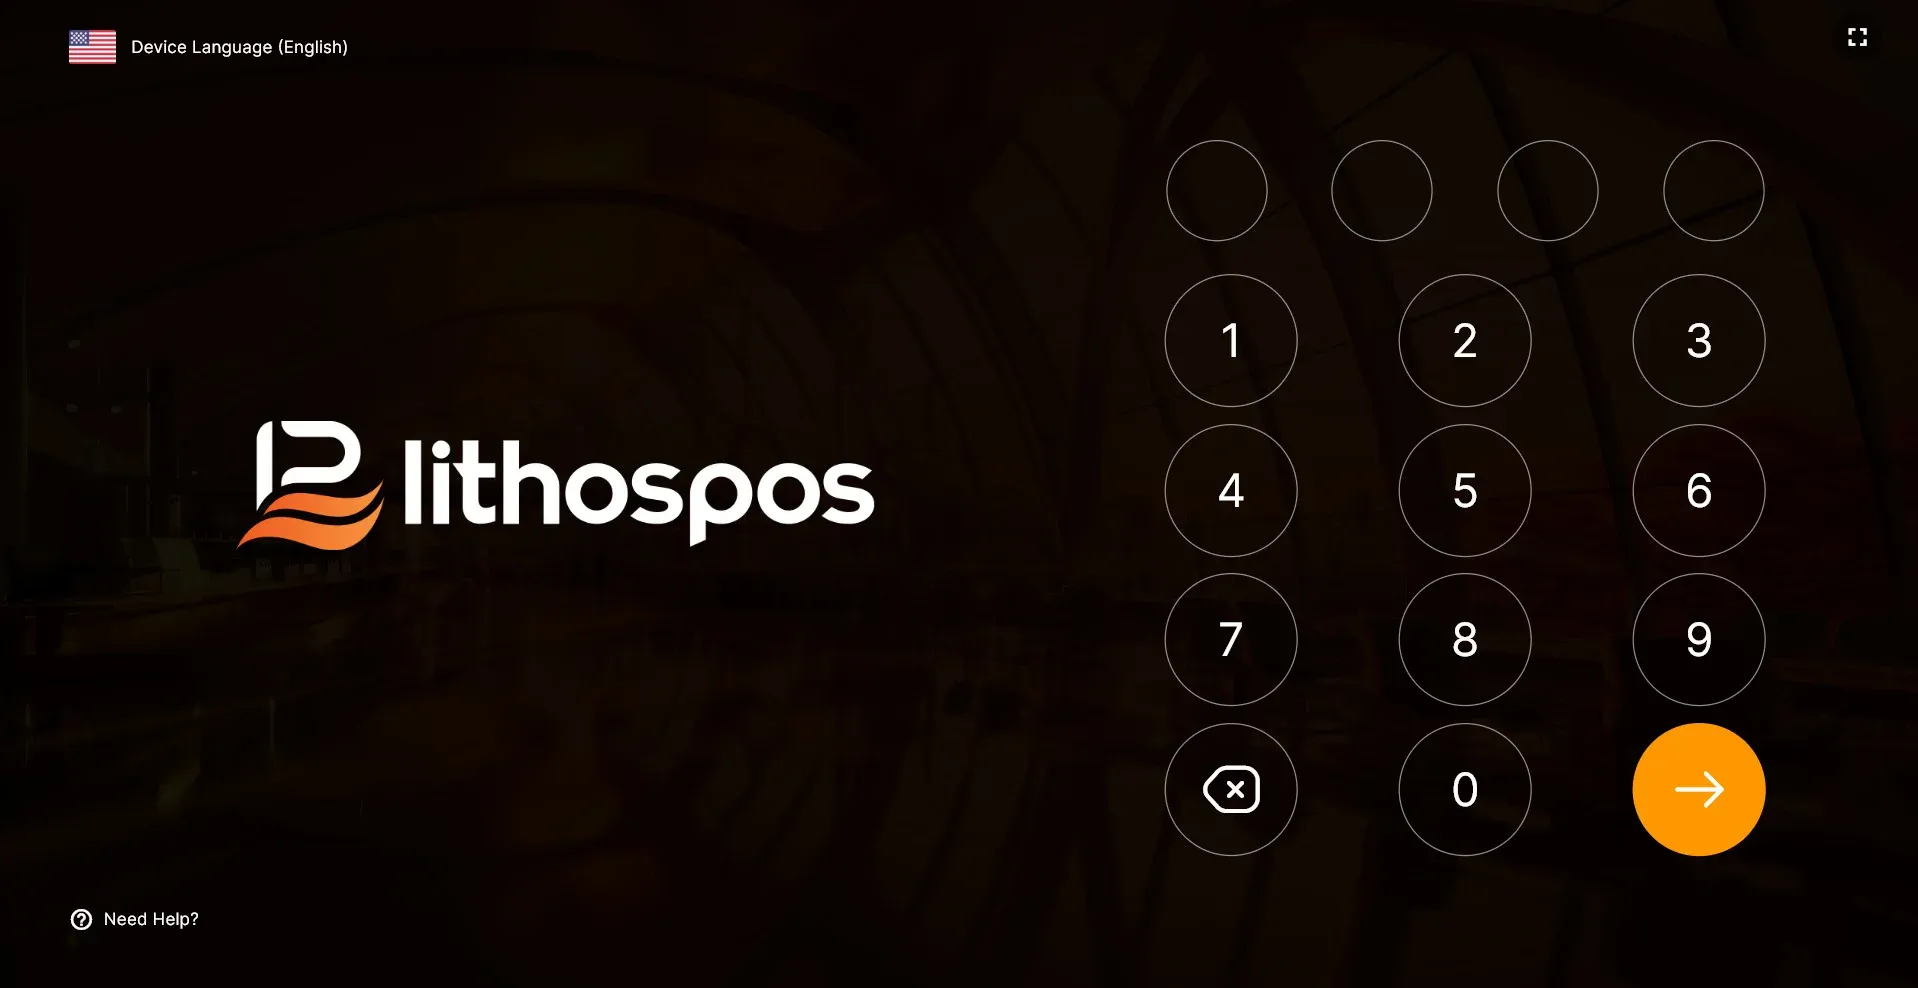
- Let’s go to the login screen for LithosPOS. You can quickly log in using your 4-digit PIN
- Once you log in, just click the “OPEN REGISTER" Button to get started.
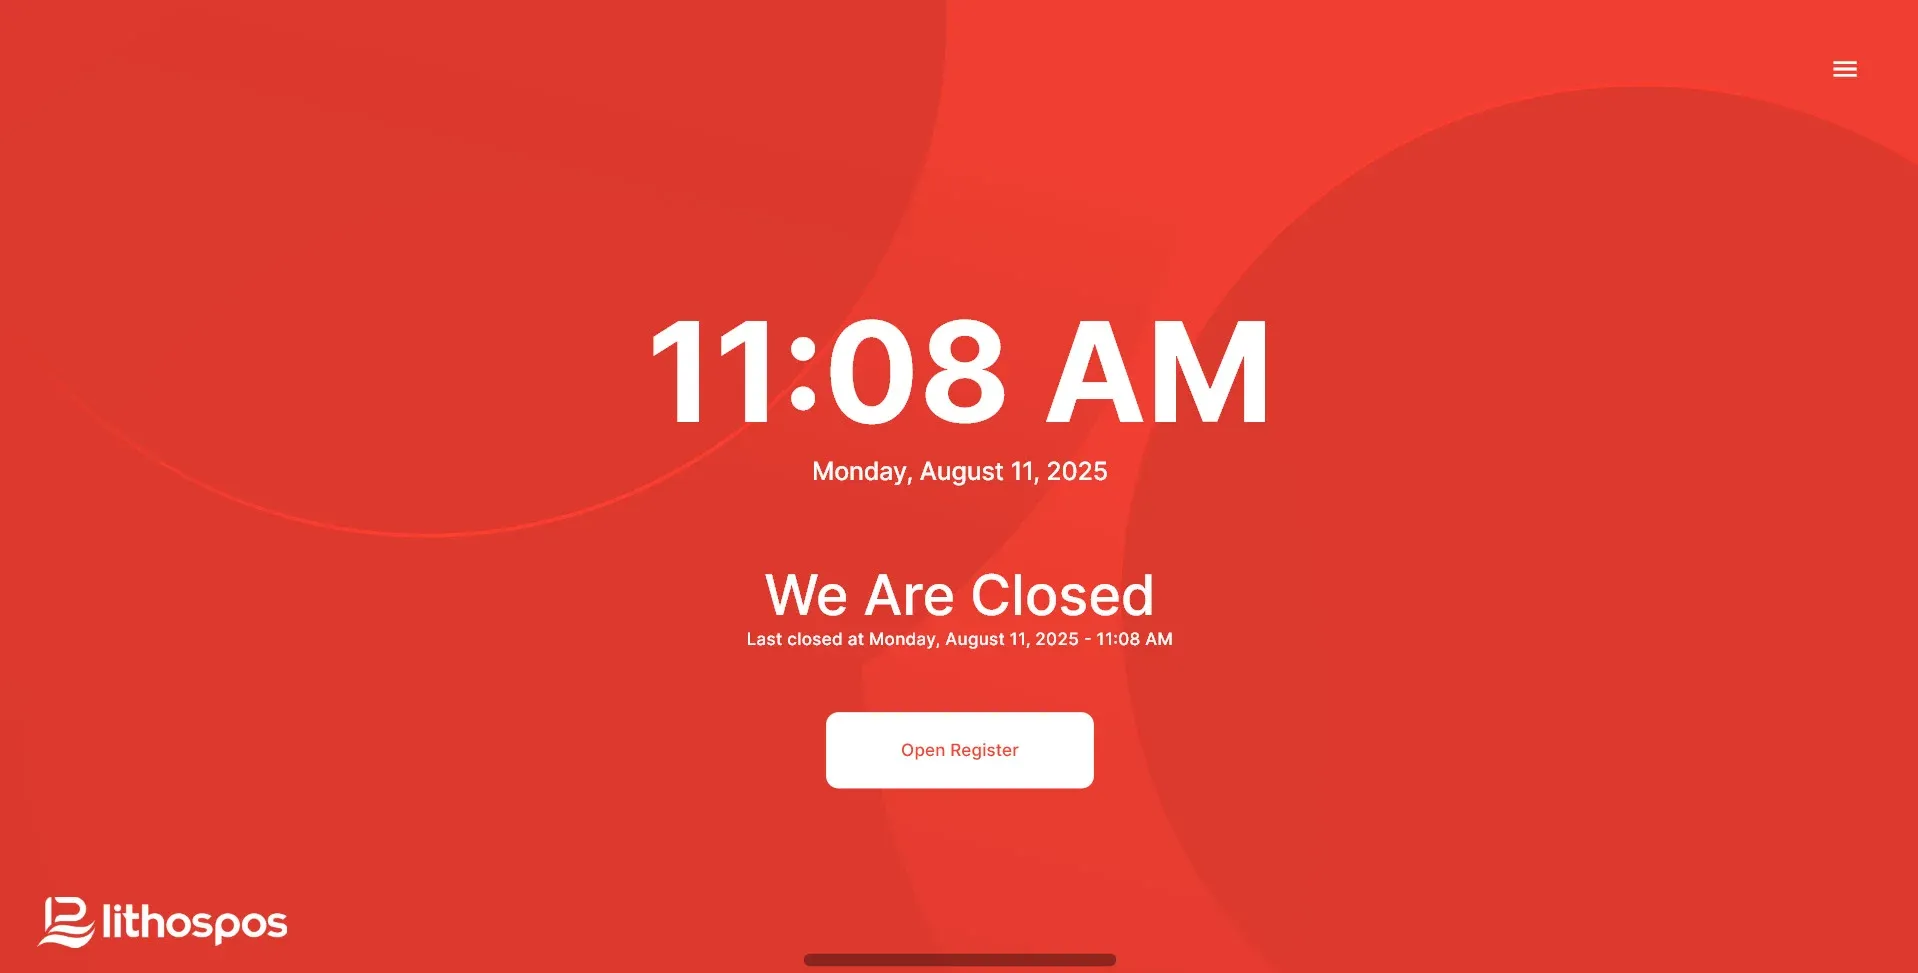
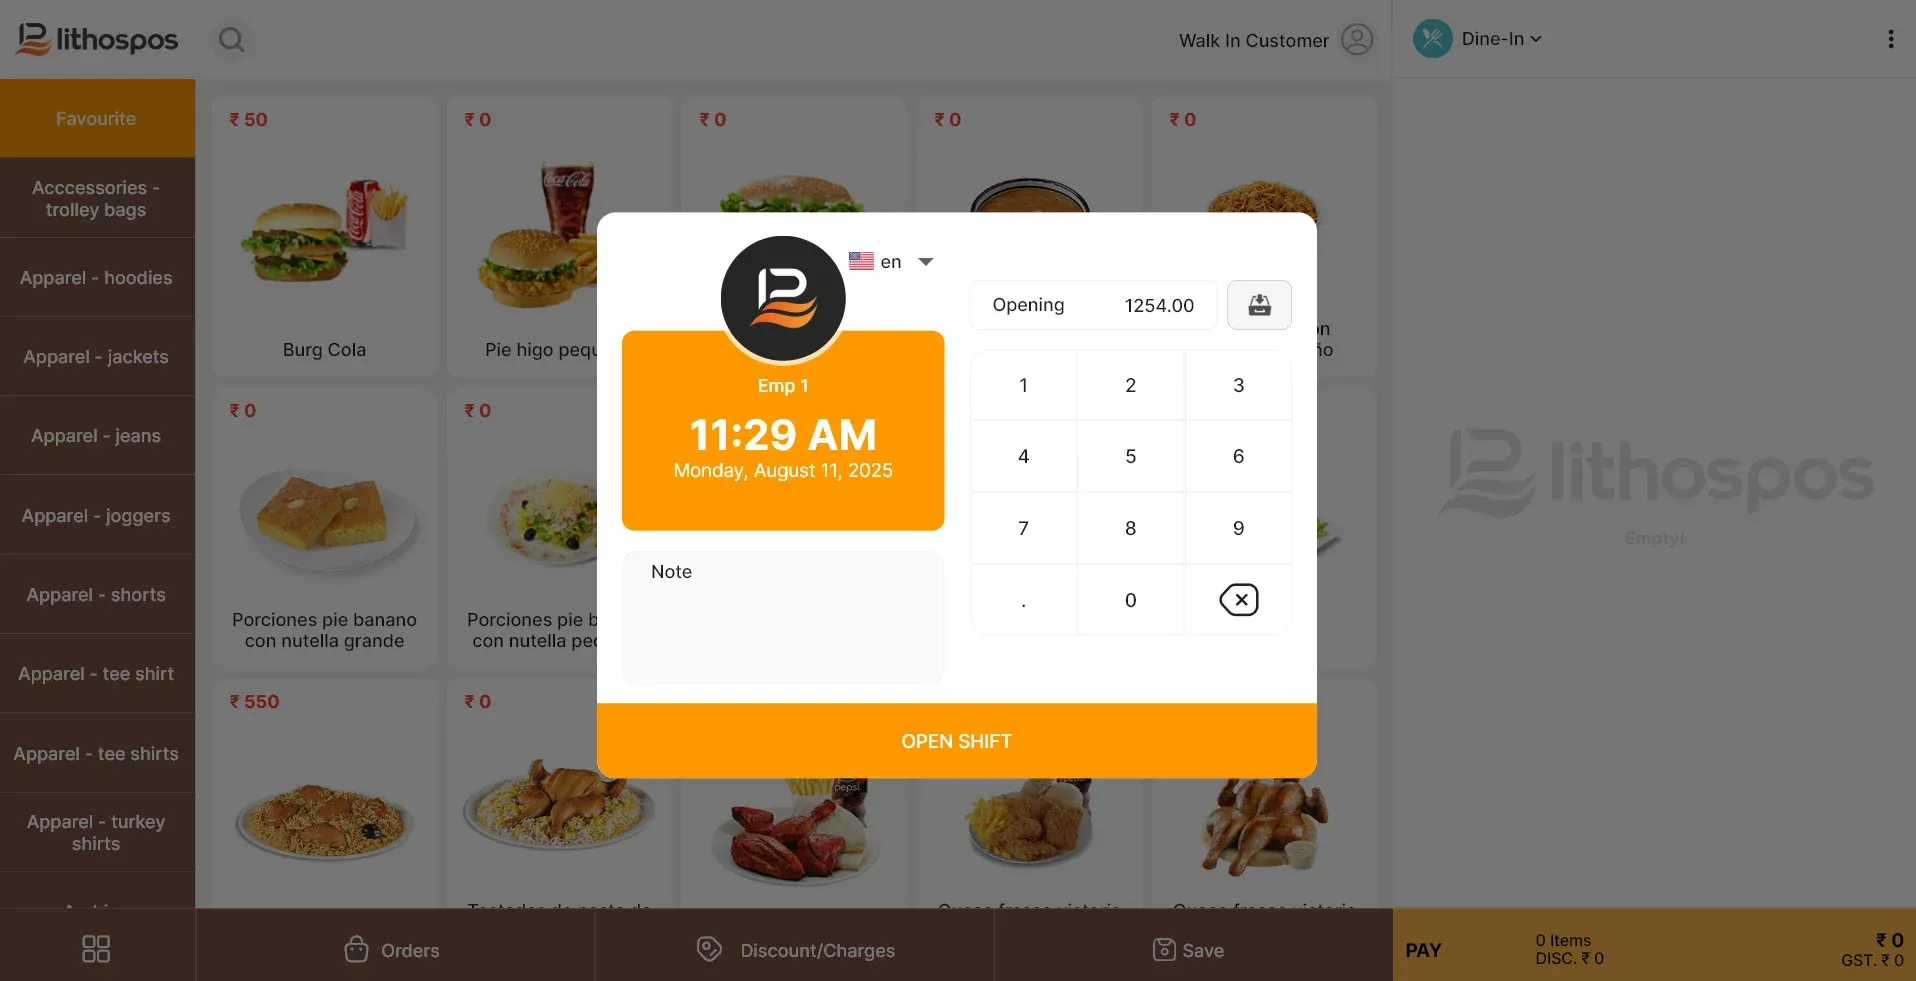
- On the next screen, you will be prompted to enter the opening cash amount.
- Once you're done Click "open shift", and you are ready to start your shift and process transactions. Now that the register is open.
POS Billing Screen
- To organize your categories, press and hold a category tab for 2 seconds, then drag it up or down to rearrange.
- To view an item's inventory, simply touch and hold the item, and its details will pop up instantly.
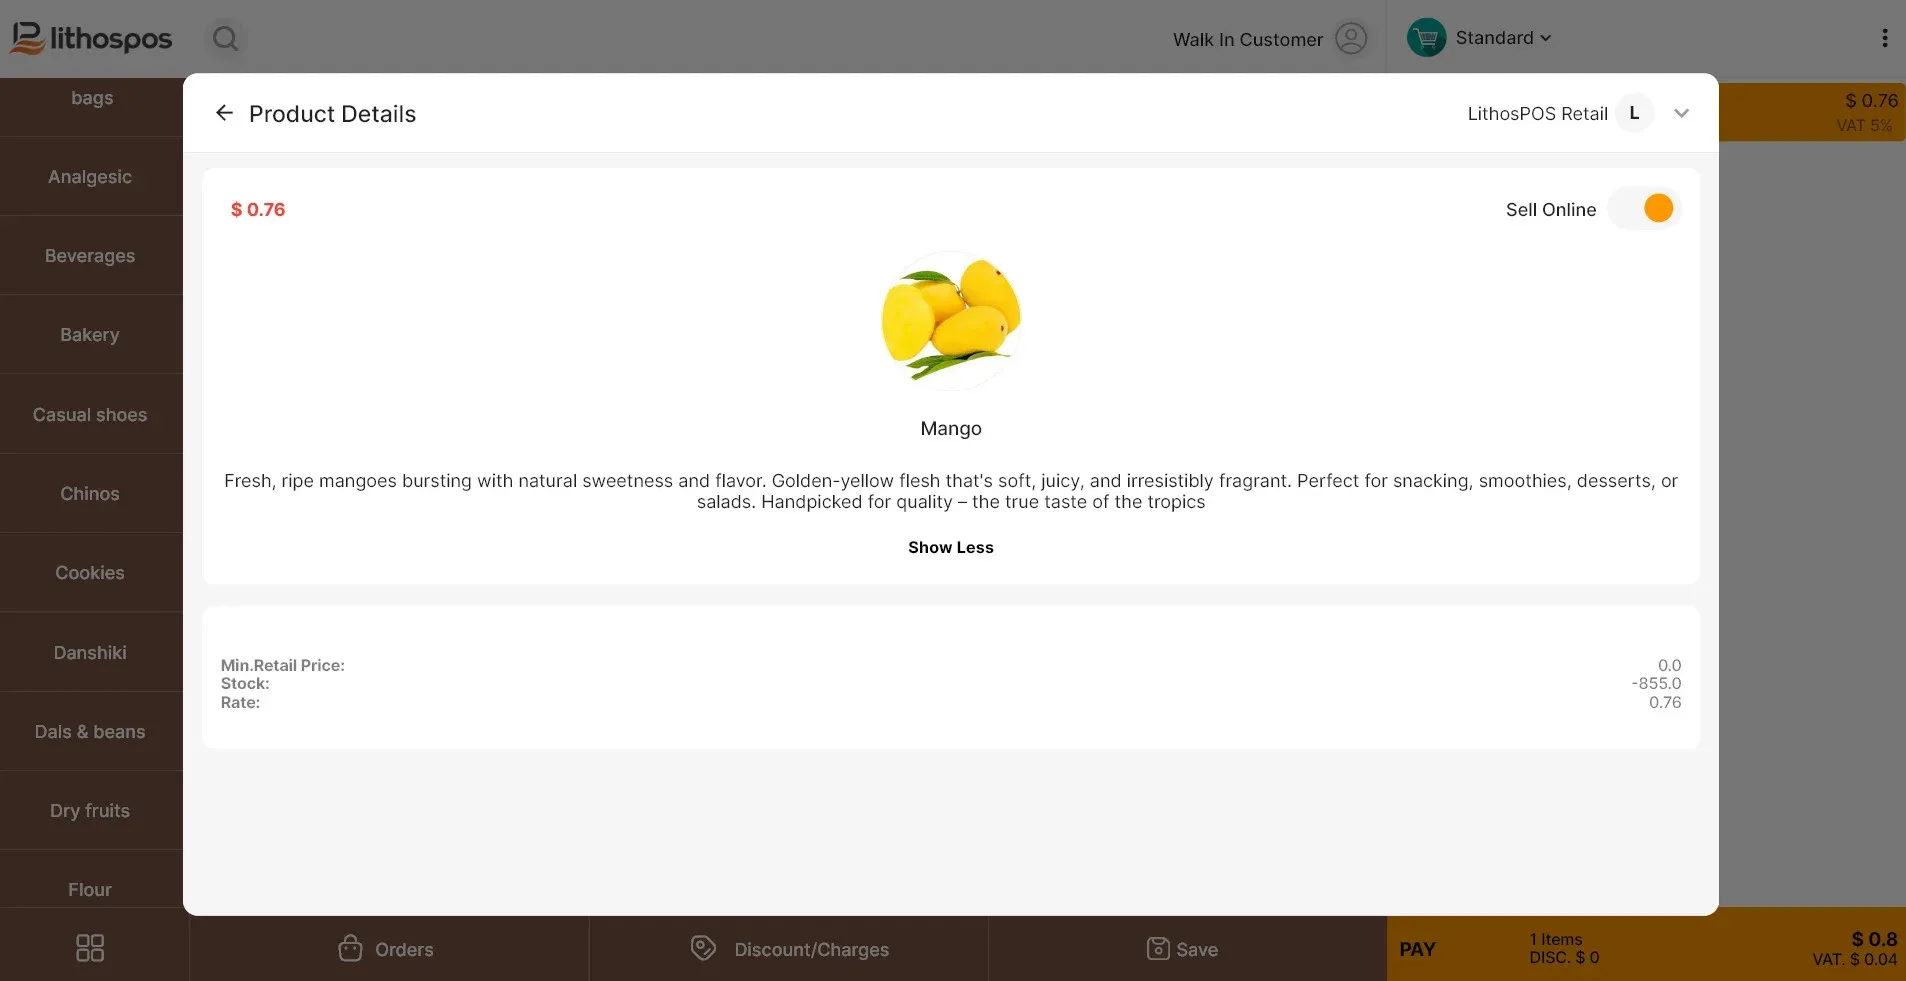
- When you tap on a category, all items under that category are displayed here, and you can also upload item images for easy recognition.
- You can add a second language name to items for added convenience.
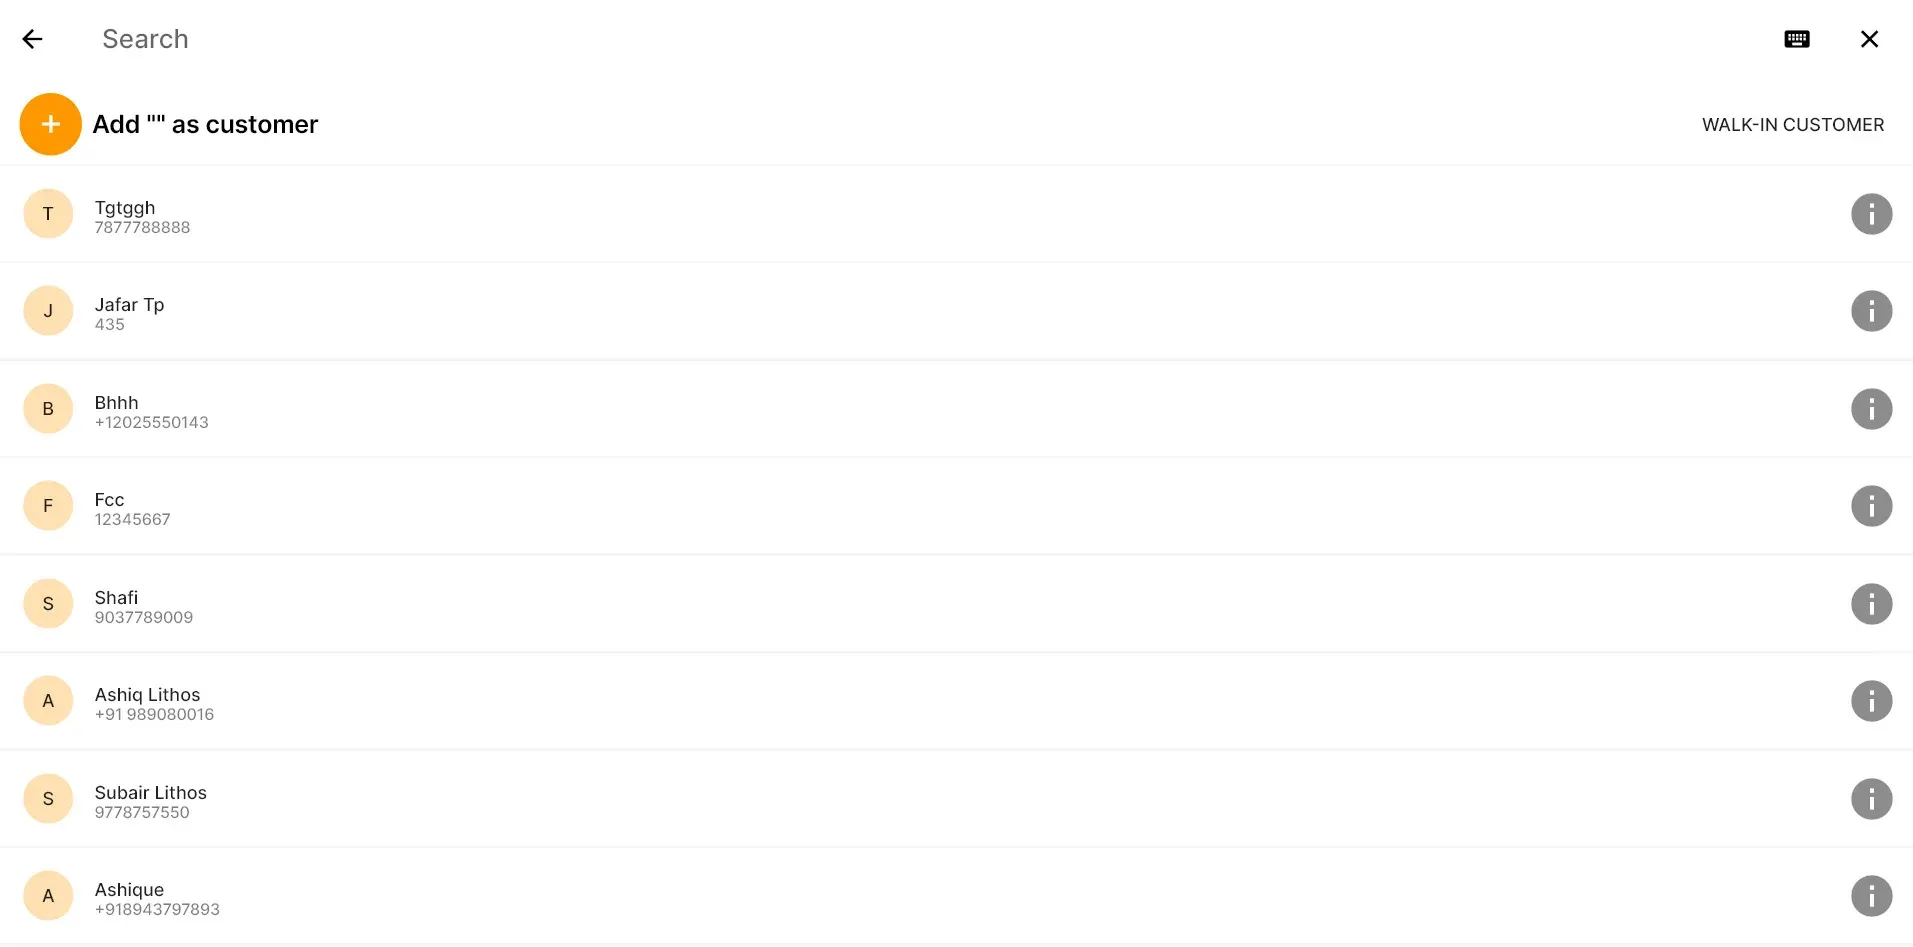
Adding /selecting customers
- You can select the customer from the top right. By default, you will see WALK-IN-CUSTOMER"
- Here, you can either select a customer from the saved list or add a new one.
- To search for a customer, enter their name or mobile number, then click on their name to select them.
- By clicking the "Information" button on the right, the customer details will be displayed, including their name, mobile number, address, amount owed, loyalty points, loyalty amount earned, and transaction history.
- To add a new customer click on the ‘add customer’ then enter their name and details and click save.
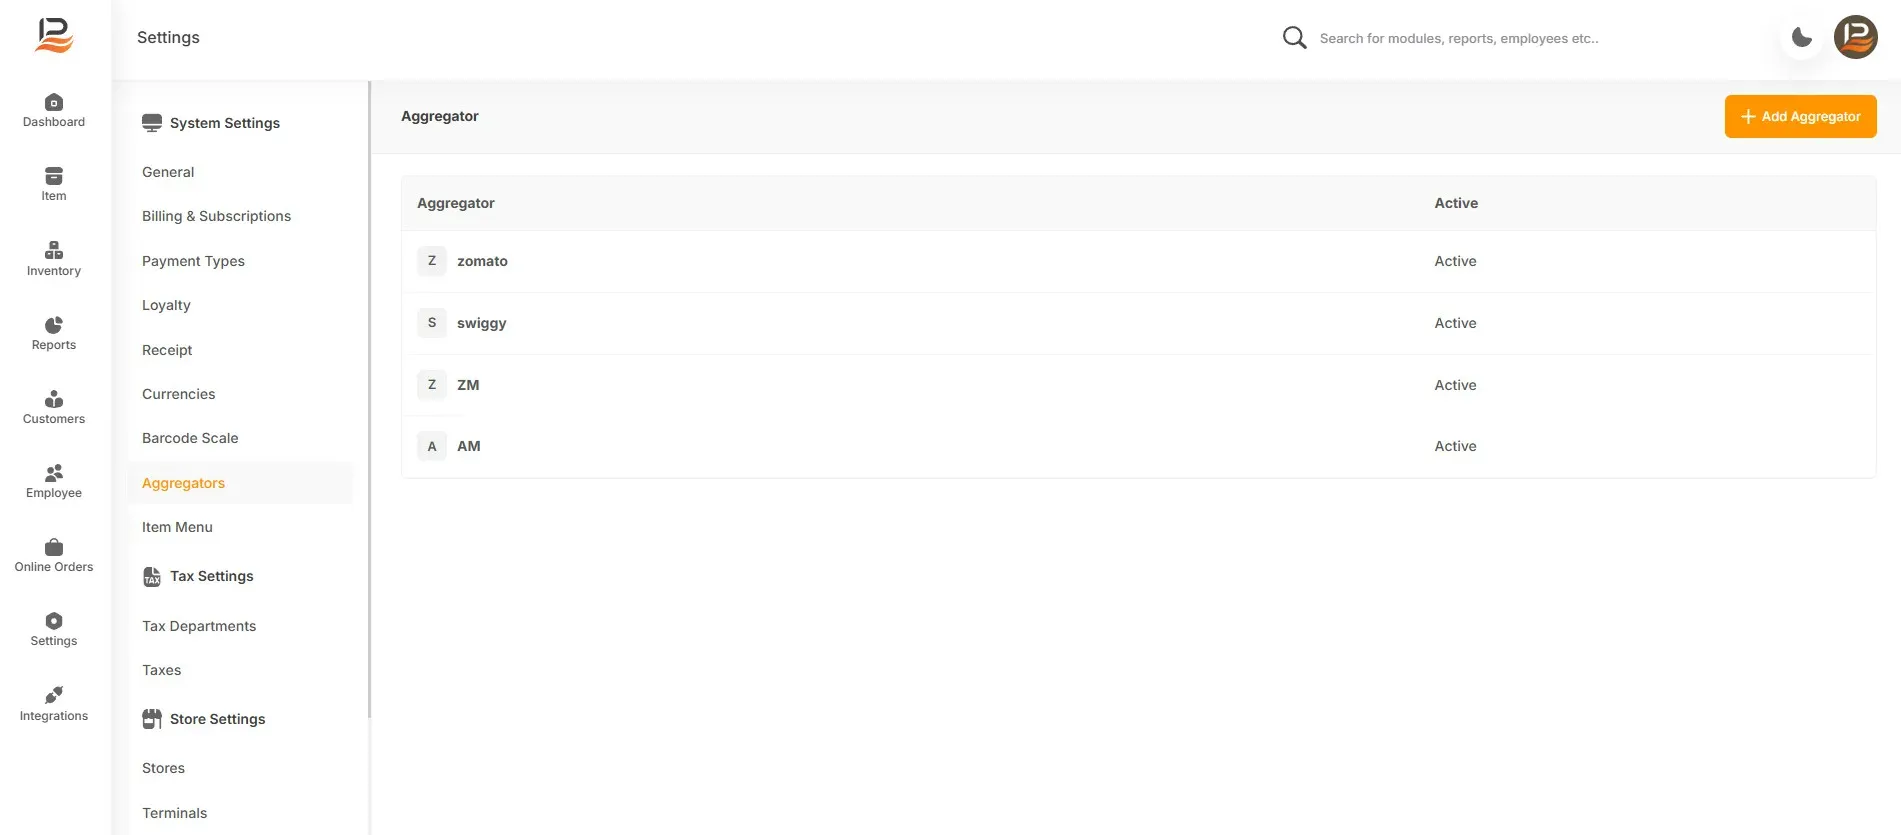
- Selecting Order type:
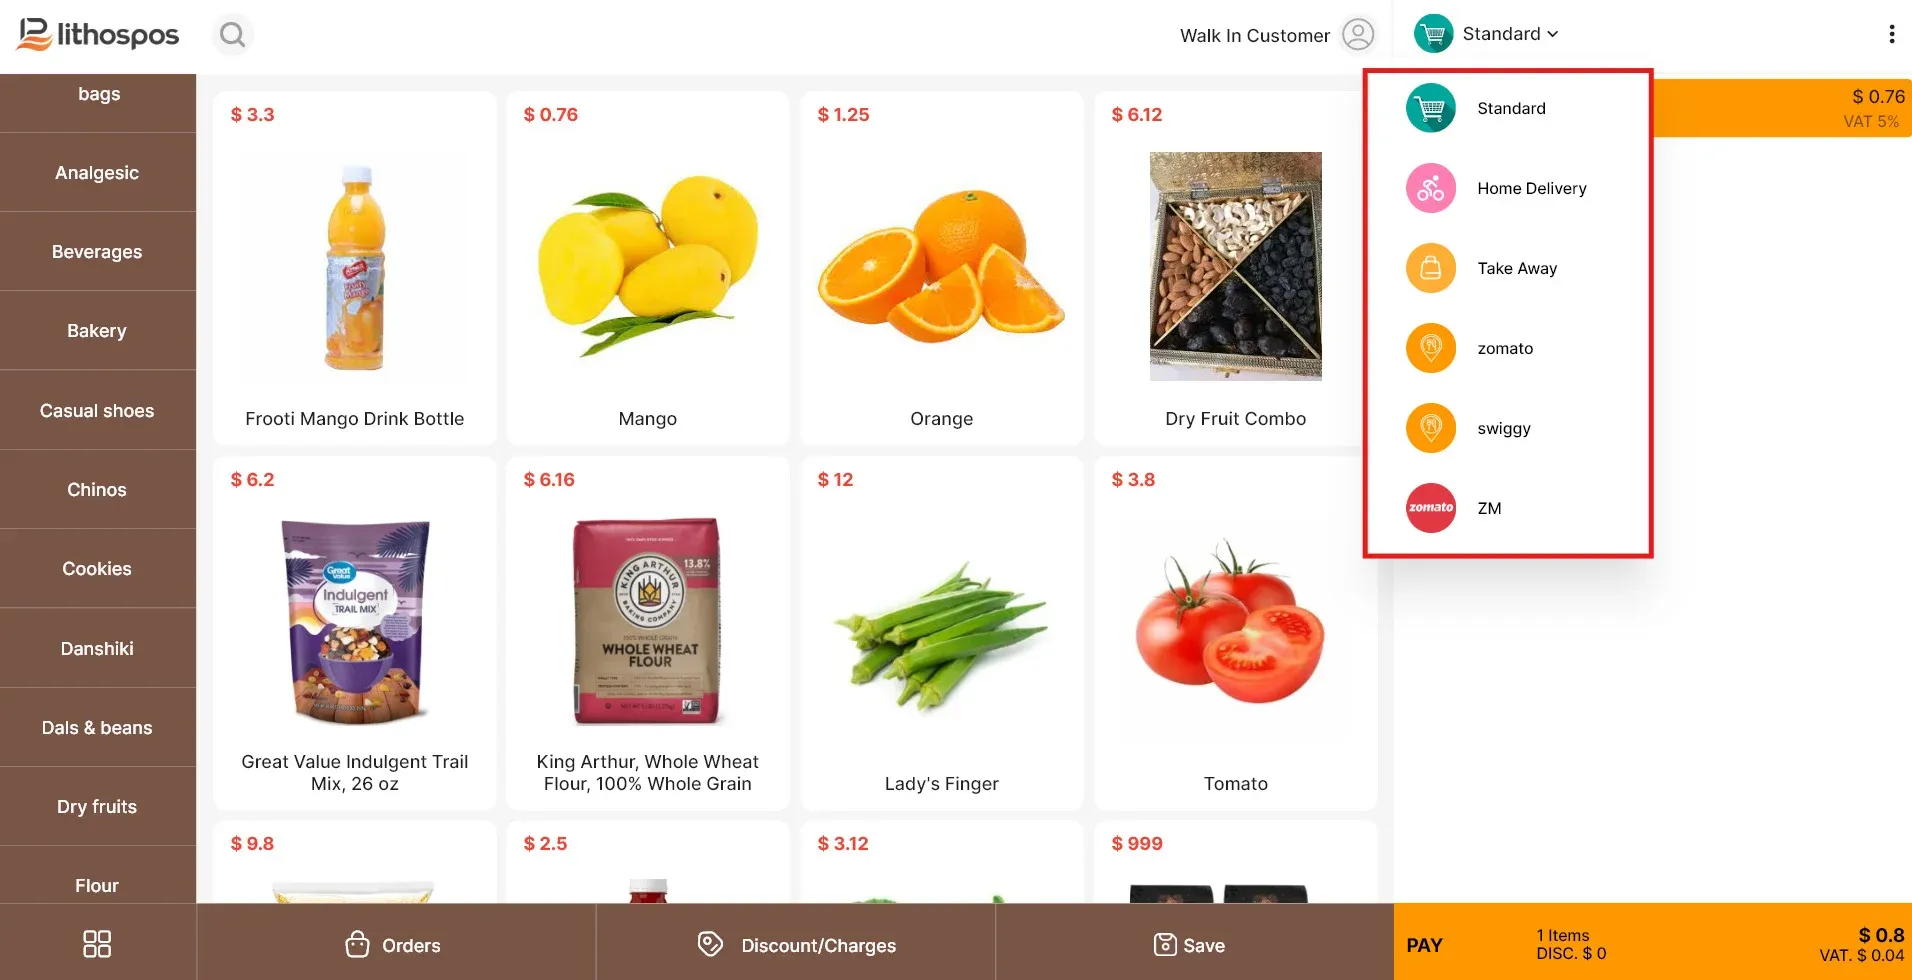
- Now you can choose the order type. You can create different types of order types in the back office, such as dine-in, in-store sales, takeaway, home delivery, etc.
- You can also set your preferred order type as the default.
Connect with us to know more
To learn more about it feel free to book a meeting with our team
Was this article helpful?