Category
You can create categories for items and then add inventory items to these created categories. Categories are essential for organizing and managing your inventory effectively. By categorizing your items, you can organize the inventory into different categories, making it easier for your staff to find and select items during checkout.
Additionally, well-organized categories help maintain a tidy item library in the back office and POS, allowing for more efficient inventory management, purchase order generation, and reporting.
Adding a New Category
If you need to add a new category:
Go to back office and click on Item and navigate to categories
-
Click '+Add Category'
At the top right of the category window, click on the '+Add Category' option to create a new category. -
Enter Category Details
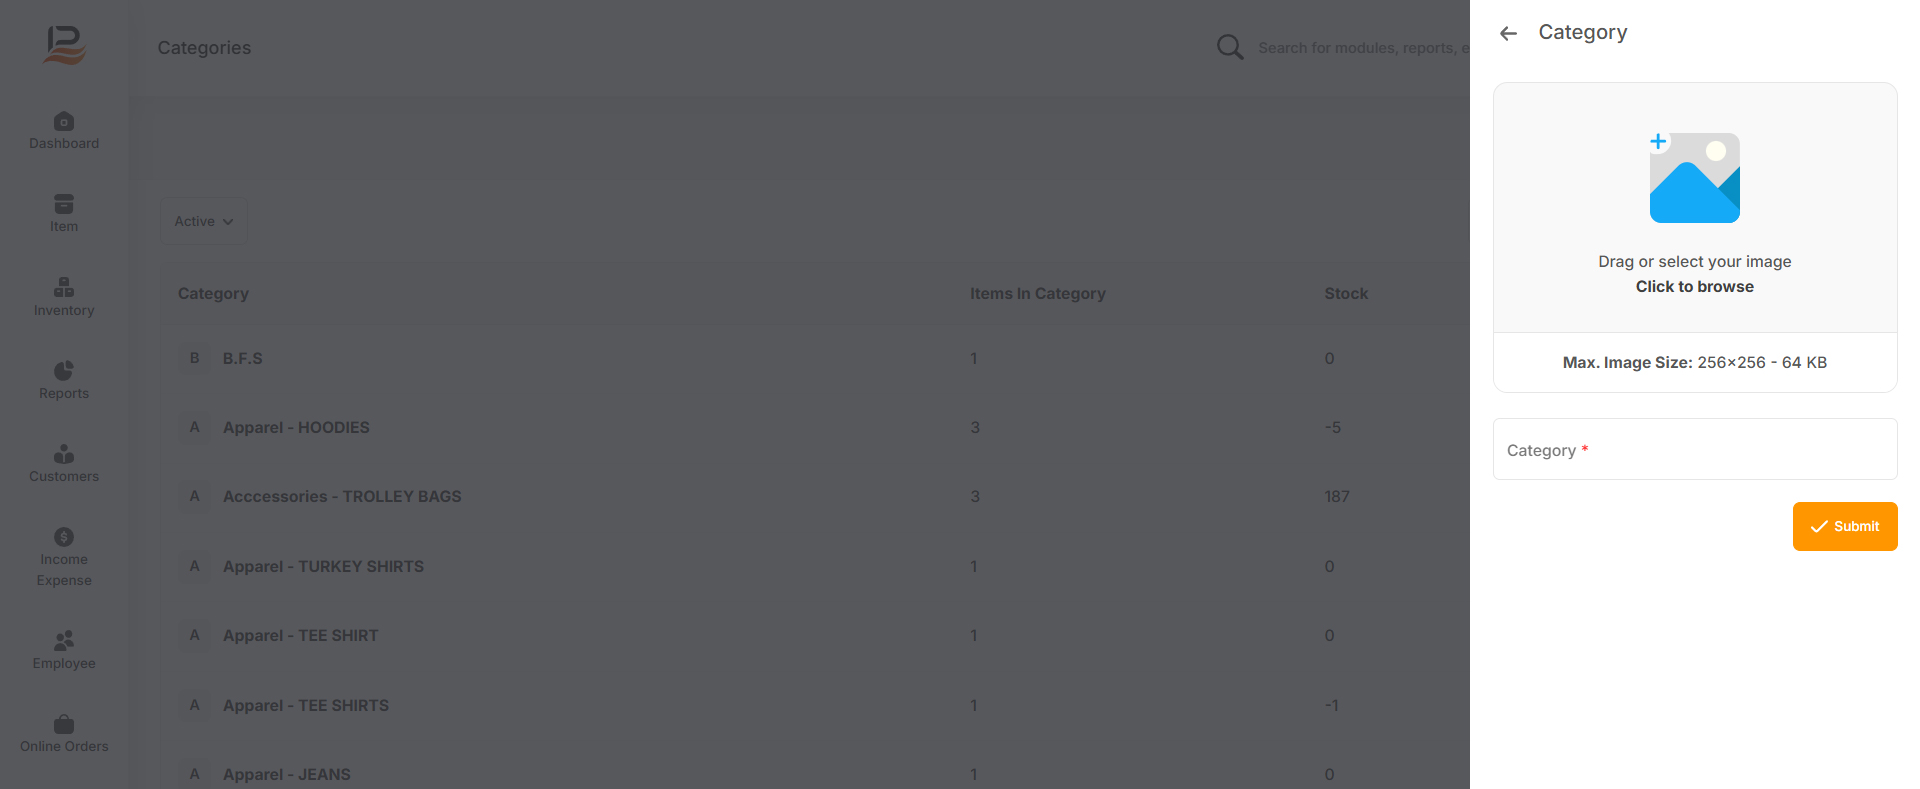
- Enter a name for your new category. For example beverages, watches etc.
- If required, you can upload a picture that represents the category. The image size should be 256x256 pixels and a maximum of 64 KB.
-
Save the New Category
Once you have entered the necessary details, click 'Save' to add the category to your list. -
Activate or deactivate a category
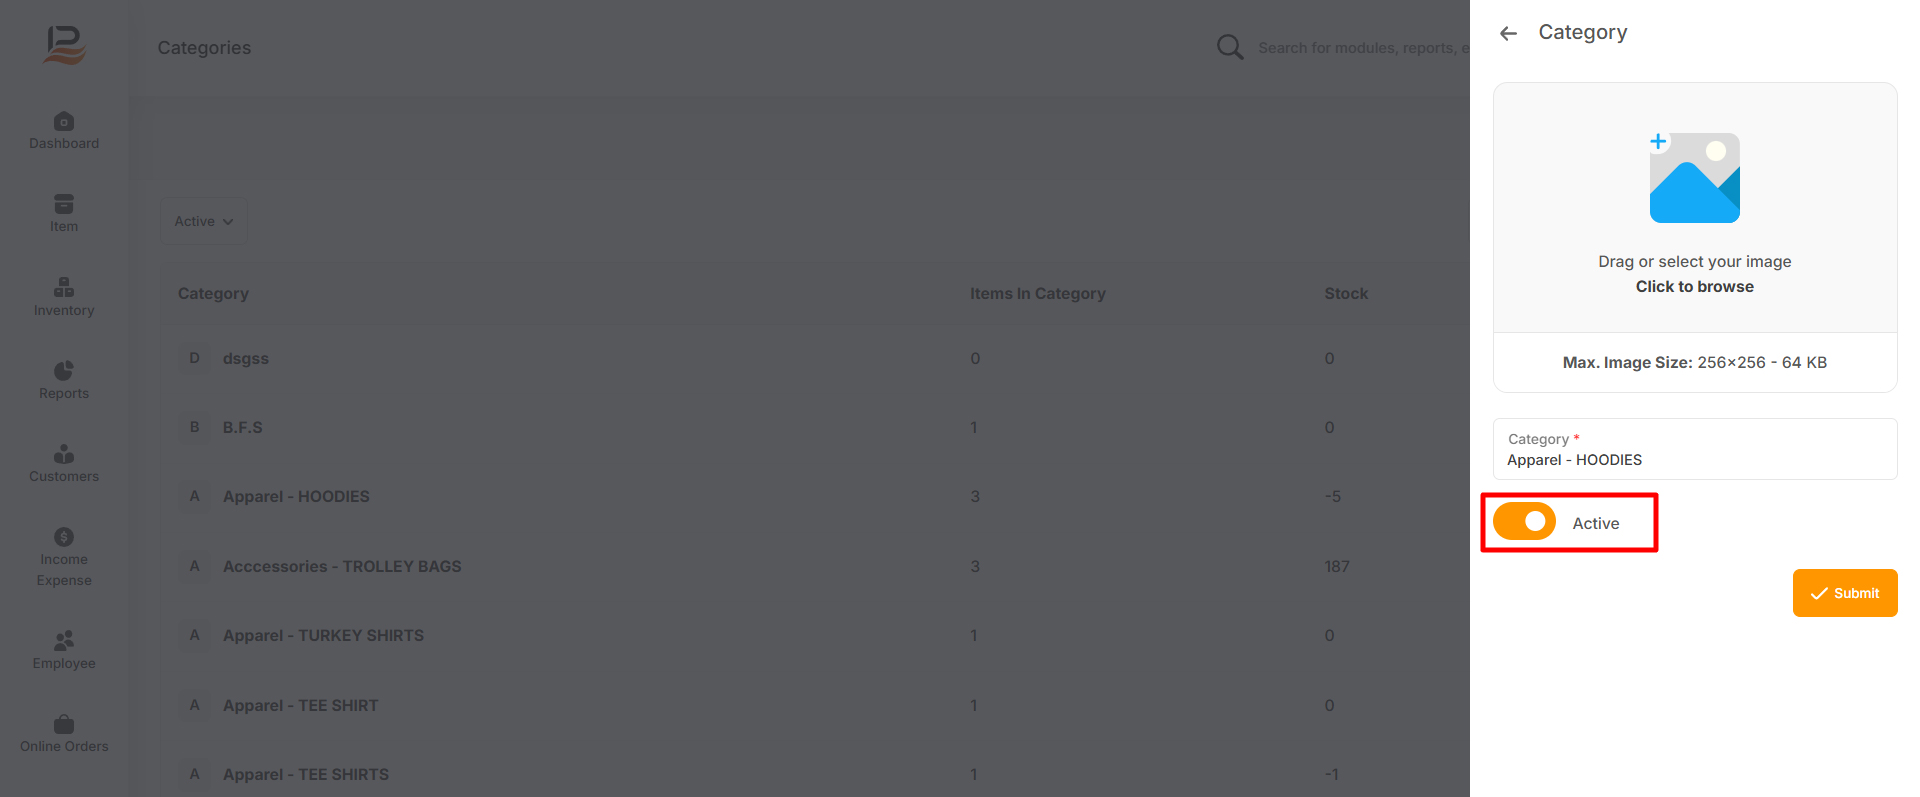
If you want to deactivate or activate a category, click on the category section and select the desired category from the list. Click to open it, then toggle off the "Active" button to deactivate the category, and click "Submit." This category will be disabled, but you can later access it again and reactivate it by toggling the button back on.
Note:
You can also add a new category while adding a new item from the item adding screen.
Downloading the Category List
After adding categories to your inventory, you can download the category list. Follow these steps to download the list:
-
Log in to the LithosPOS Back Office
Access your LithosPOS account. -
Navigate to the Item Section
Once logged in, click on the ‘Item’ tab in the main menu. -
Access the Categories
Under the Inventory section, navigate to ‘Categories’ and click on it to view your category list. -
Filter the Categories
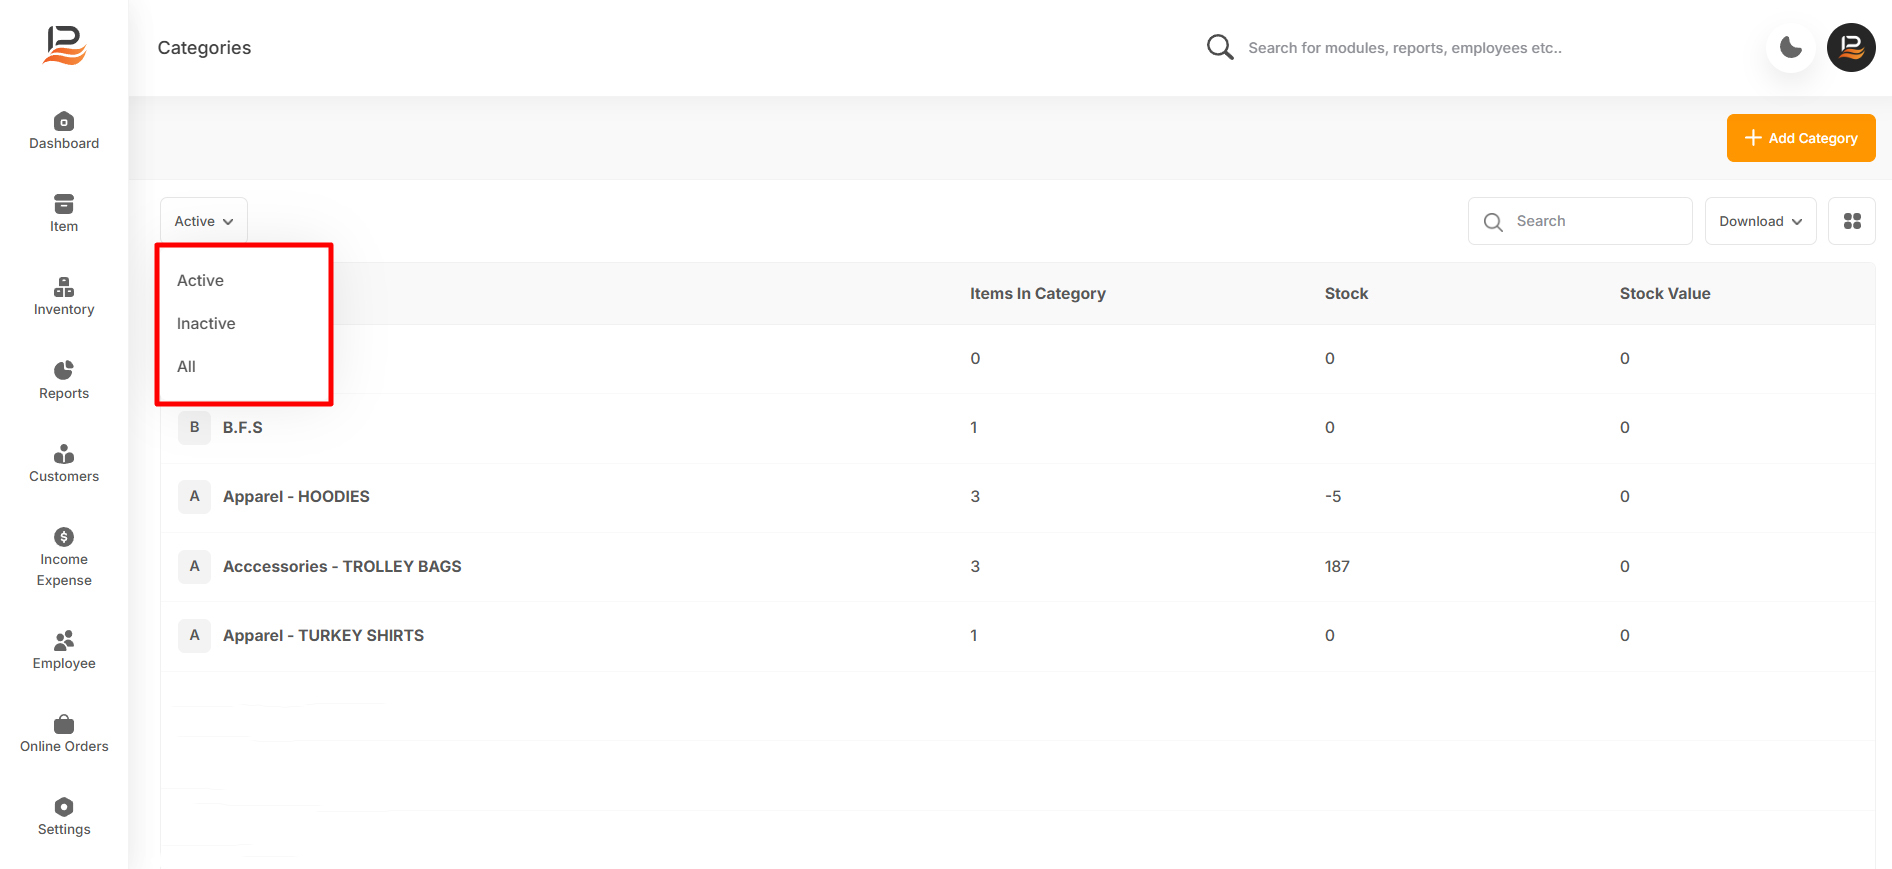
You can choose to download either the active, inactive, or all categories by selecting the appropriate option from the 'Active' column. -
Open the Filter Options
Click on the four dots located near the category list to open the filter options. -
Select the Required Details
From the filter options, choose the details you want to include in the download, such as.- Category Name
- Items in Category
- Stock Quantity
- Stock Value
-
Download the List
- After selecting the desired details, click on the ‘Download’ button.
- Choose the 'Excel' format to download the file.
Selecting a Category to an item
When adding an item to your inventory, you can assign it to an existing category or create a new one if necessary.
Refer Adding standard Item to know more about
Connect with us to know more
To learn more about it feel free to book a meeting with our team


 LithosPOS


