Terminals
A terminal represents a physical point of sale where transactions occur. This could be a countertop device, iPad, Tablet, handheld device or even a mobile terminal. In LithosPOS, each terminal is linked to a specific store and acts as a unique point for processing sales.
The terminal settings allow you to configure various aspects of each terminals operates within your business.
Terminal Settings
To set up a terminal in a new account
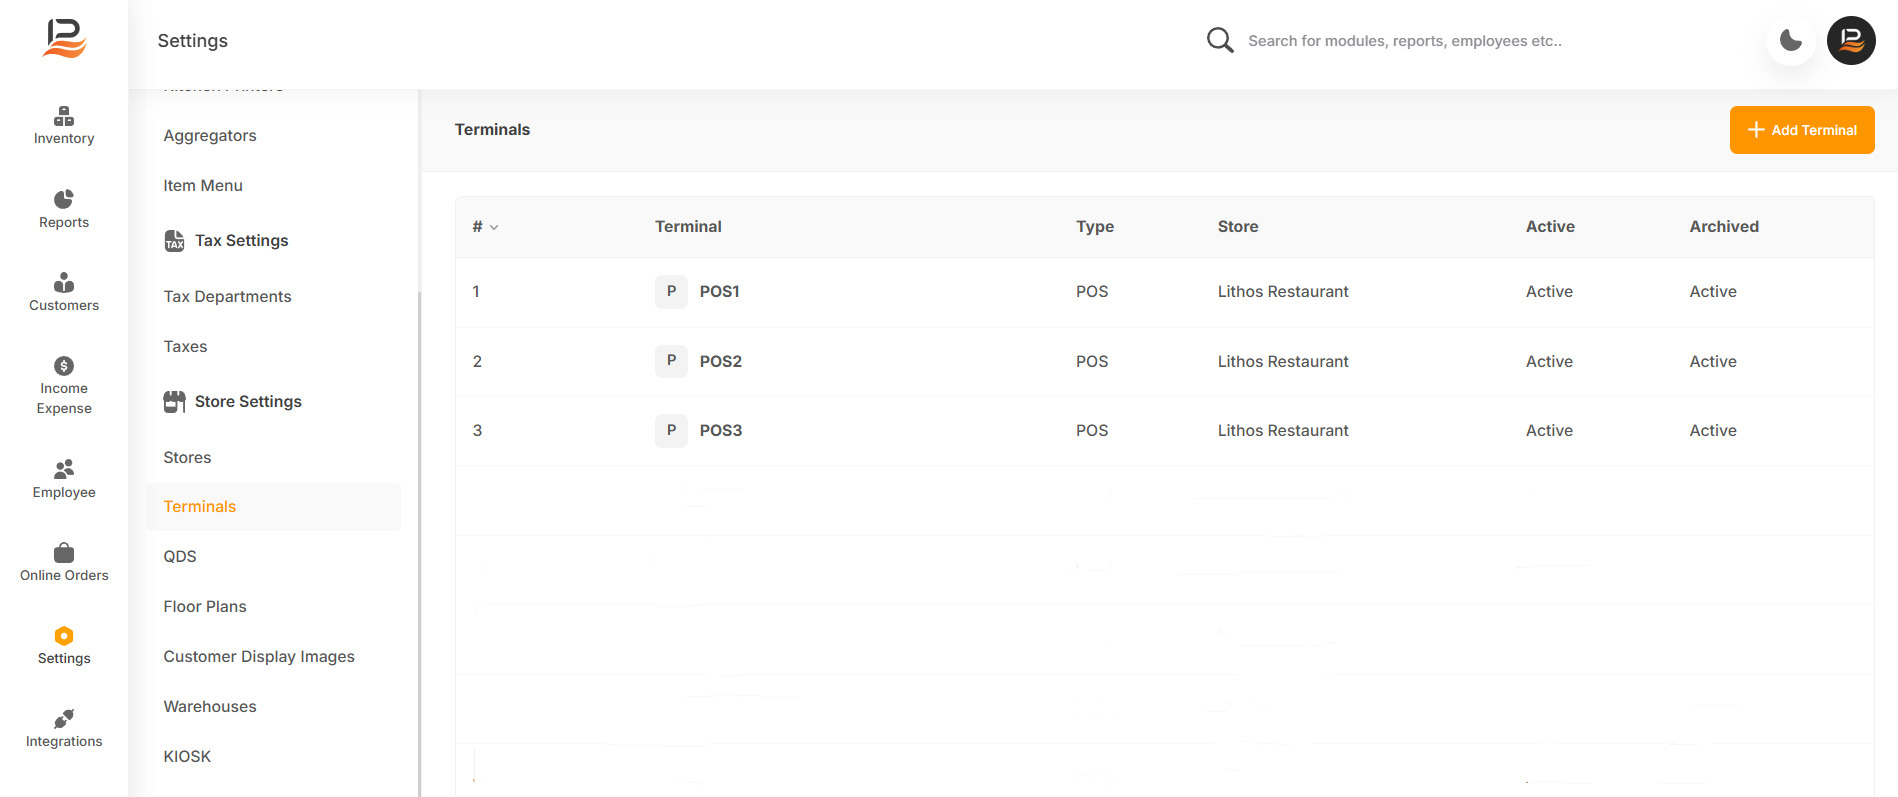
Go to settings and click on the Terminals
Here, you can see a default terminal based on the details you provided during the initial setup. You can open it and edit the details or configure various options.
Adding a new Terminal
Note:
To add a new terminal, you must enable the ‘Multiple Terminal’ in your account. You can purchase additional Terminals from the billing and subscription section of settings. If it is a free trial account contact our support team to add additional terminals to your account.
To process transactions across multiple devices, you'll need to create additional terminals within the terminal settings. Repeat the setup process for each new terminal.
-
Go to terminals
-
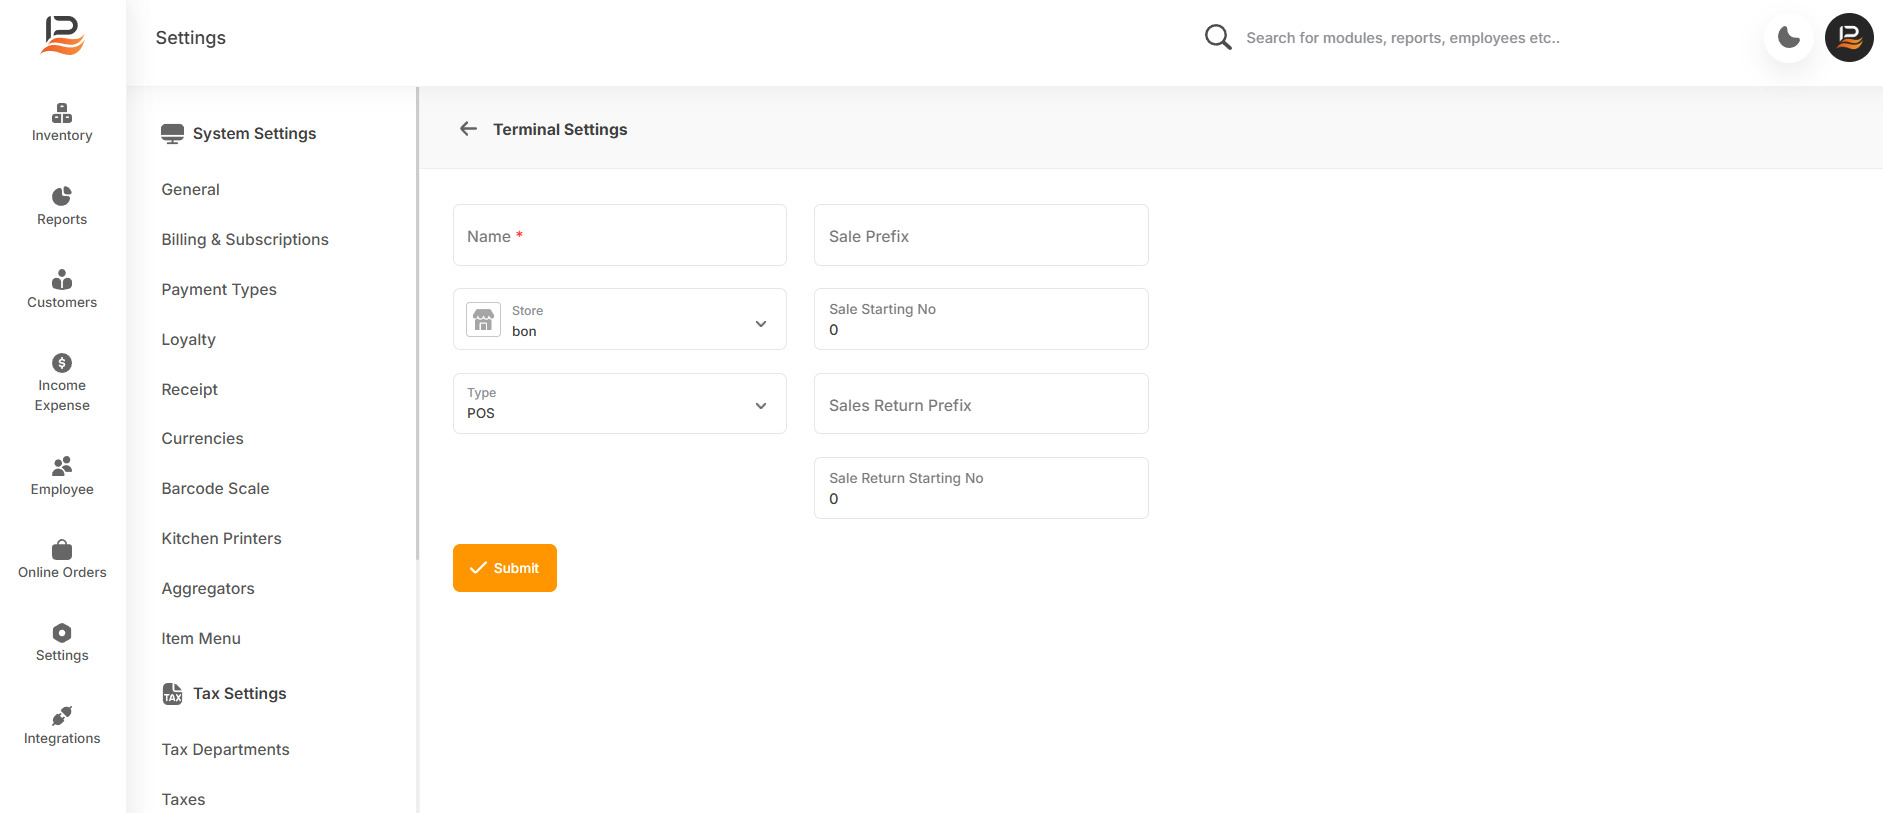
Click on the ‘Add Terminal’ button and fill in the details.
-
Give a terminal name
-
Select the store to which this terminal belongs [This option is only visible if you manage multiple stores in your account.]
-
Enter a Sales prefix letter. [Maximum 10 letters]
-
Enter a starting number for the invoice. This will be the initial invoice number for your terminal.
-
Select the type from the dropdown menu: Kiosk or POS.
-
Similarly, enter the Sales Return prefix letter. [Maximum 10 letters]
-
Similarly enter a starting number for the sales return.
-
Finally, click the Submit to save the terminal.
Start a New Billing Cycle:
To start a new billing cycle at the beginning of a new financial year, reset your prefix and set the starting sale number. The billing number will begin from the specified number. For example, if you enter 1 as the starting number, the invoice numbering will start from 1. If you enter 1001, it will start from 1001. Please note that the prefix you enter must be unique and not previously used.
Connect with us to know more
To learn more about it feel free to book a meeting with our team


 LithosPOS
