Composite Items
A composite item is a bundled product that combines different items already available in your inventory, allowing you to sell them as a single unit. This feature simplifies the sales process for products that are often sold together, such as meal combos in a restaurant or gift sets in retail. Instead of managing each component individually at the point of sale, you can streamline the transaction by offering the composite item, making it easier for customers to purchase and for staff to process.
From an inventory management perspective, composite items provide significant advantages. When a composite item is sold, the system automatically deducts the corresponding quantities of each individual item from your inventory. This ensures that your stock levels remain accurate without the need for manual adjustments, reducing the risk of errors. Additionally, since composite items do not maintain separate inventory, you can focus on managing the stock of individual components, leading to more efficient inventory control and better visibility into your overall stock levels.
Adding Composite Items
-
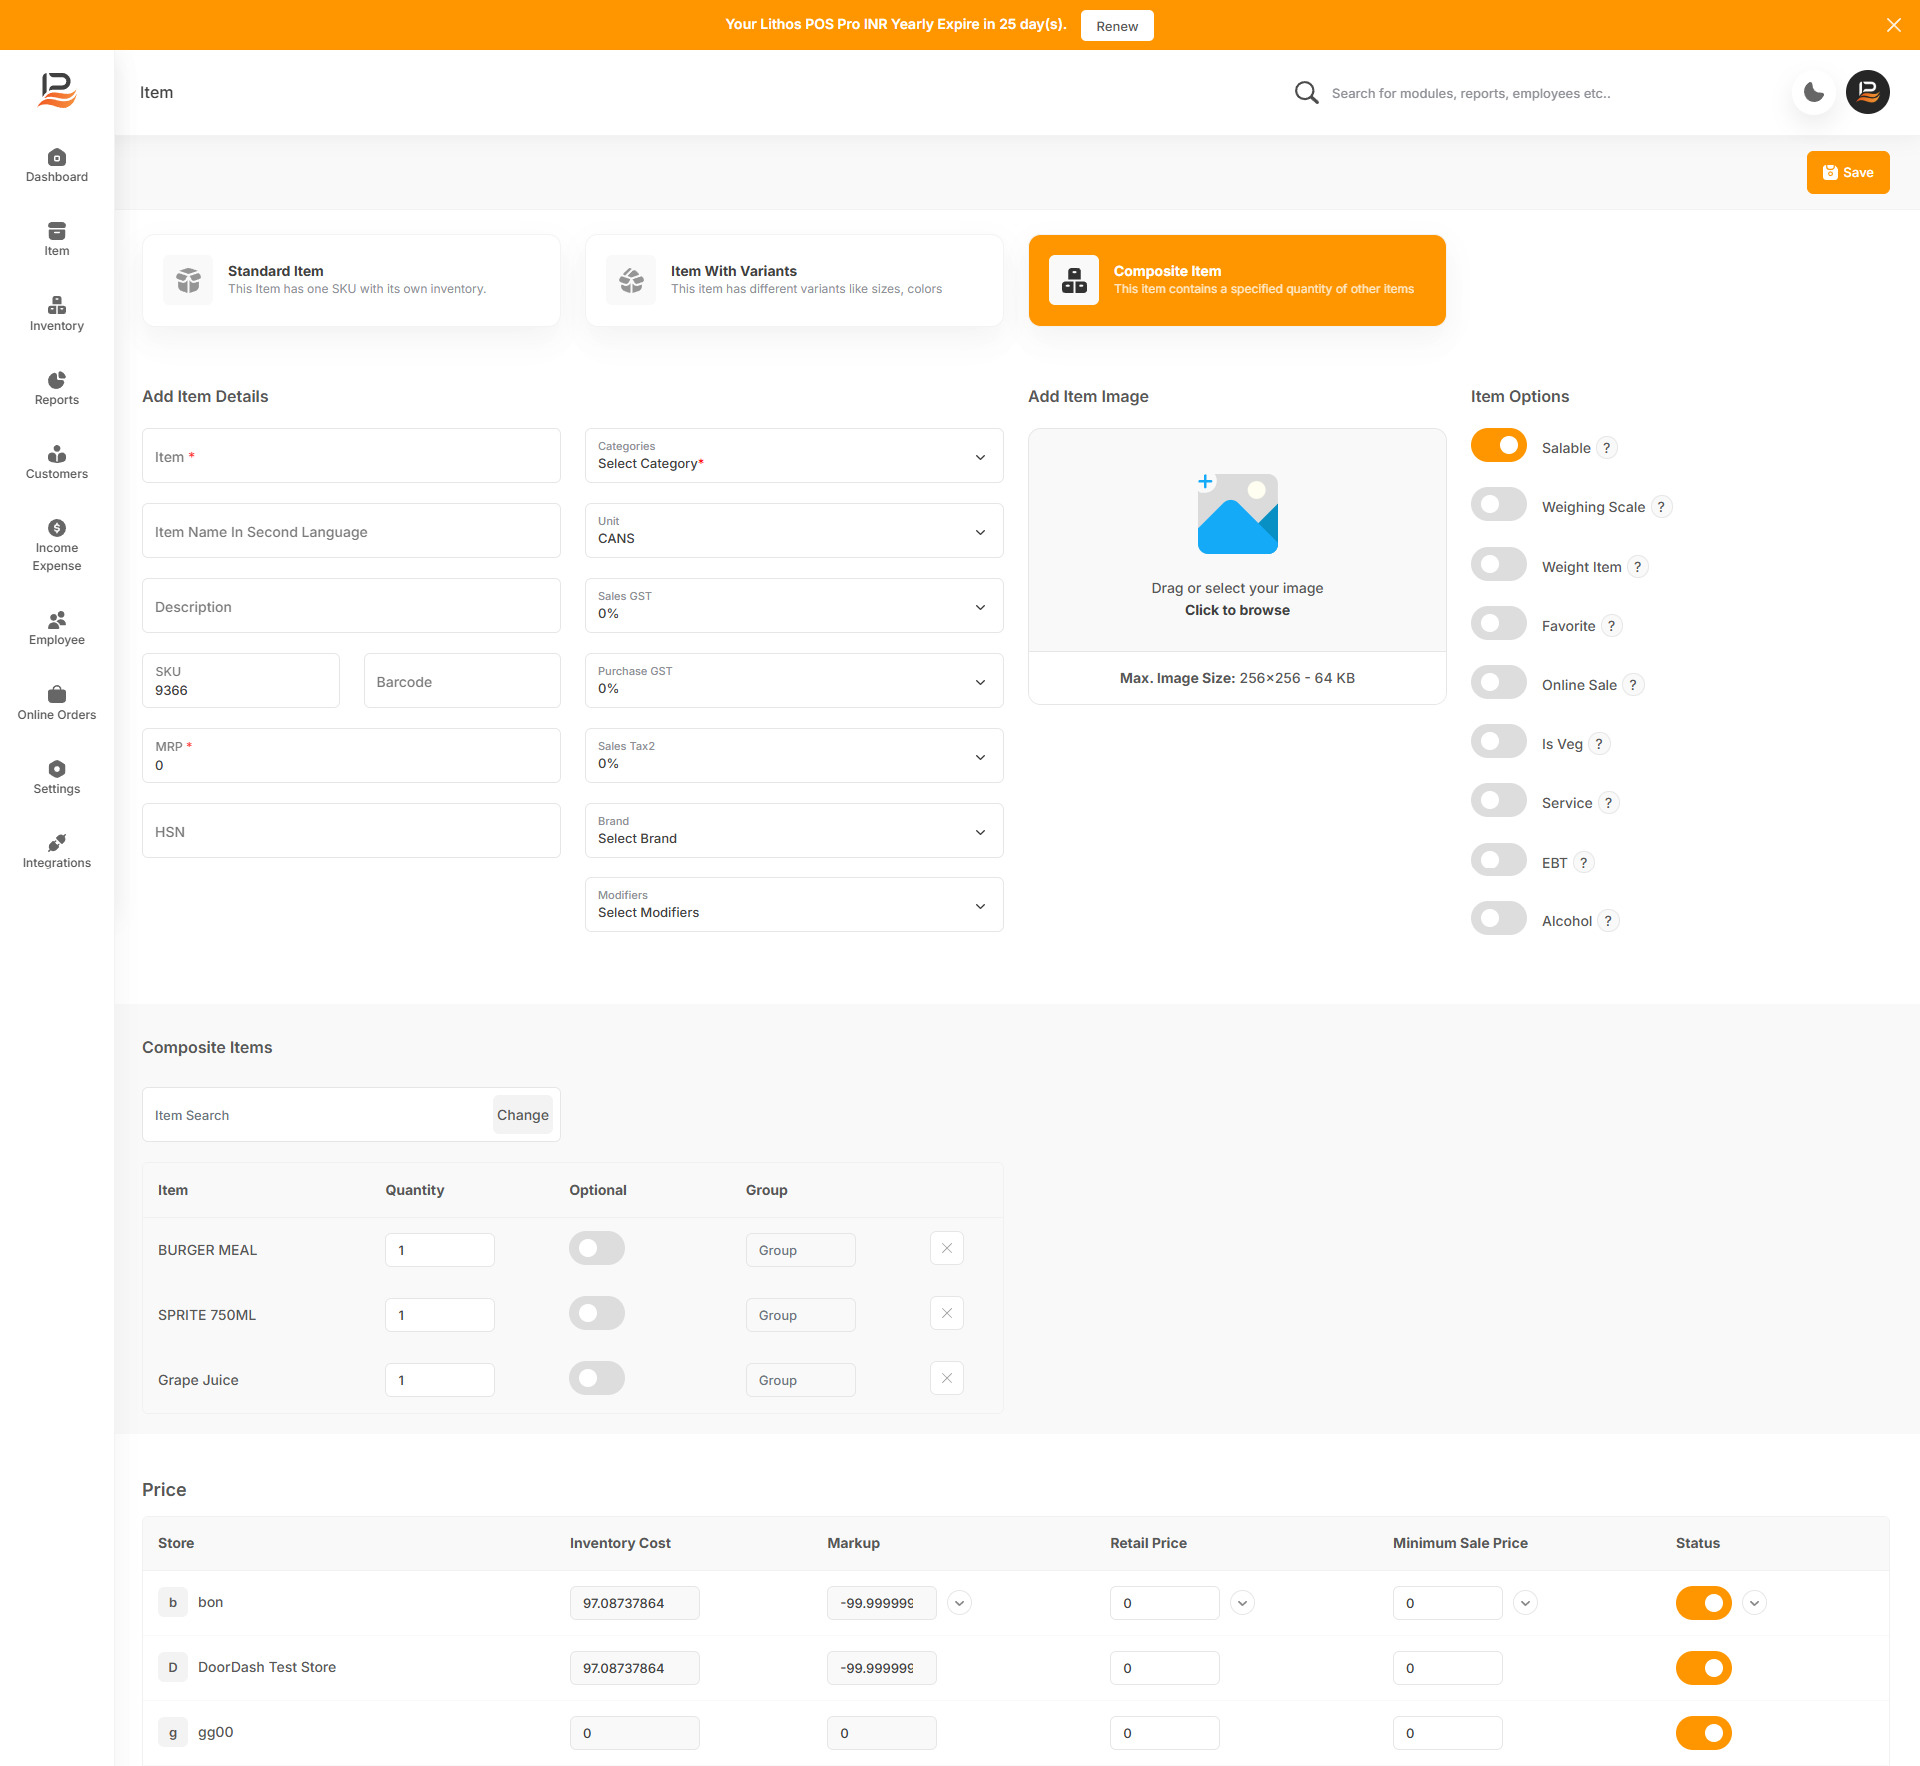
Click on 'Items' followed by 'Add Item' then Click on the Composite item.
-
Name
Give a name to Combo in the ‘Item’ column. -
Category
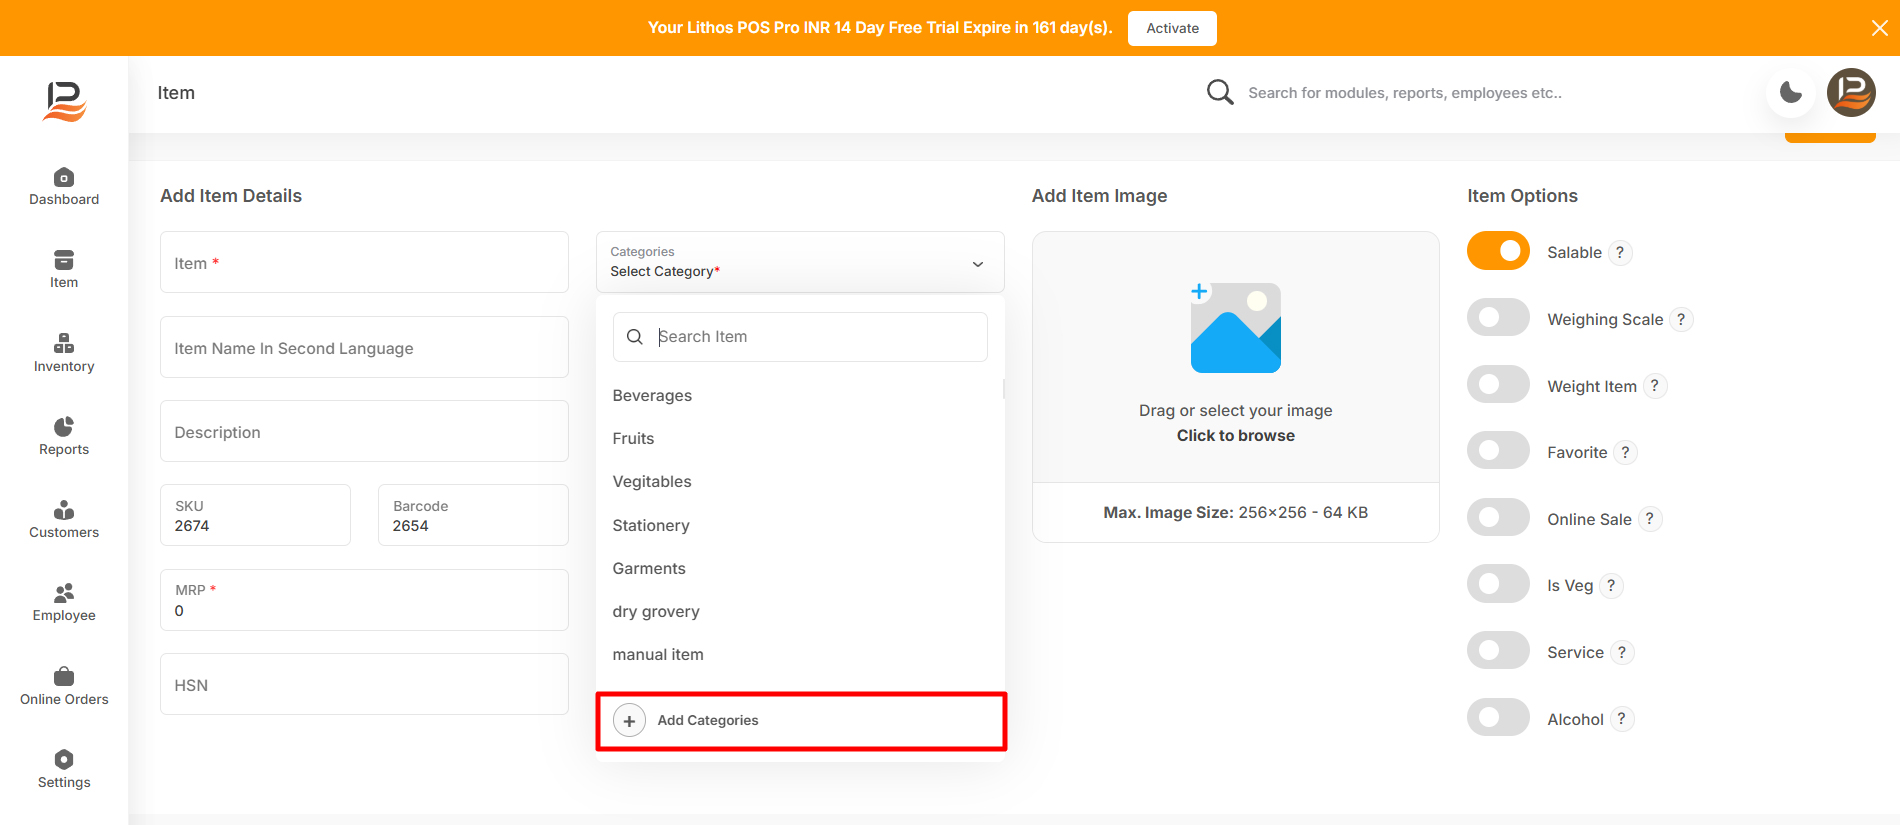
Then, select a category from our current list of categories Or add a new one if necessary.These categories will make it easier to identify and organize items in the POS and item library.
Note:
To add a new category, click on the ‘Select category’, then click the ‘+Add Category’, then enter a category name, upload a picture if it's required, and click Save.
-
Unit
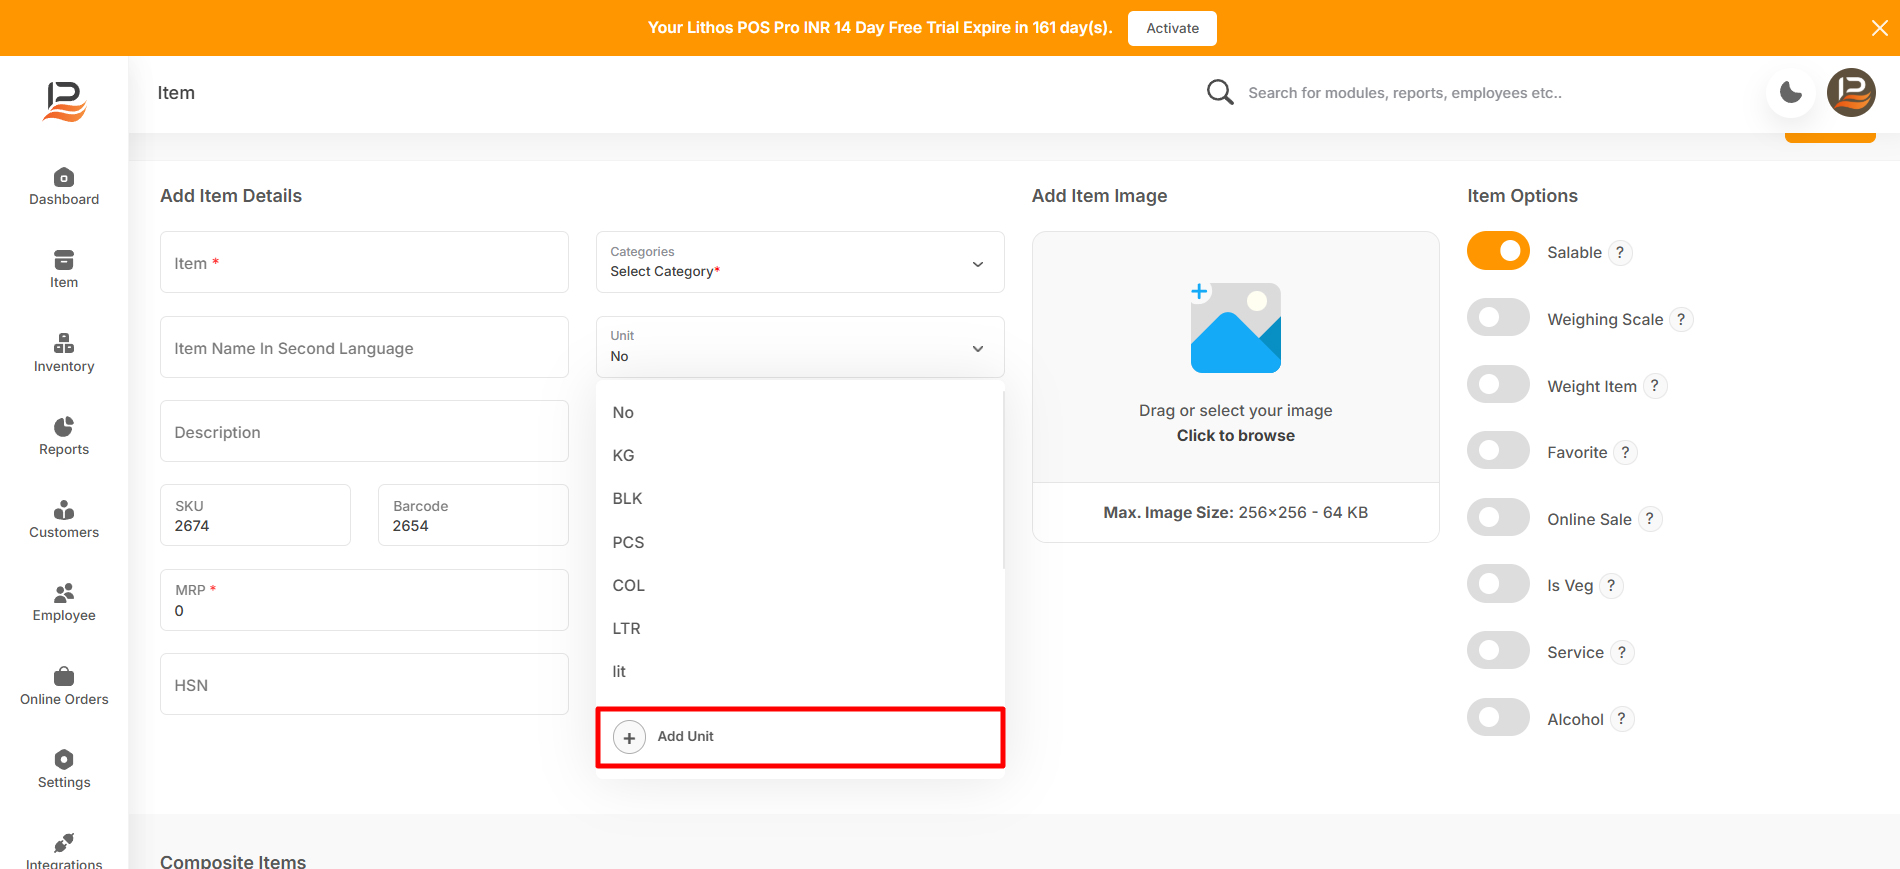
Select a Unit Of measurement for the product in the ‘Unit’ column. You can add a new UOM If required by clicking on ‘+Add Unit’ in the drop-down list, In LithosPOS, you can sell items in various units of measurement (UOMs) such as kilograms, numbers, liters, gallons, pieces, and more. -
Item second Language
In this column you can add item name in second language to display multiple name in the POS. -
Enter the Description
-
SKU
LithosPOS automatically generates an SKU Code, but you have the option to edit this if required. -
Tax
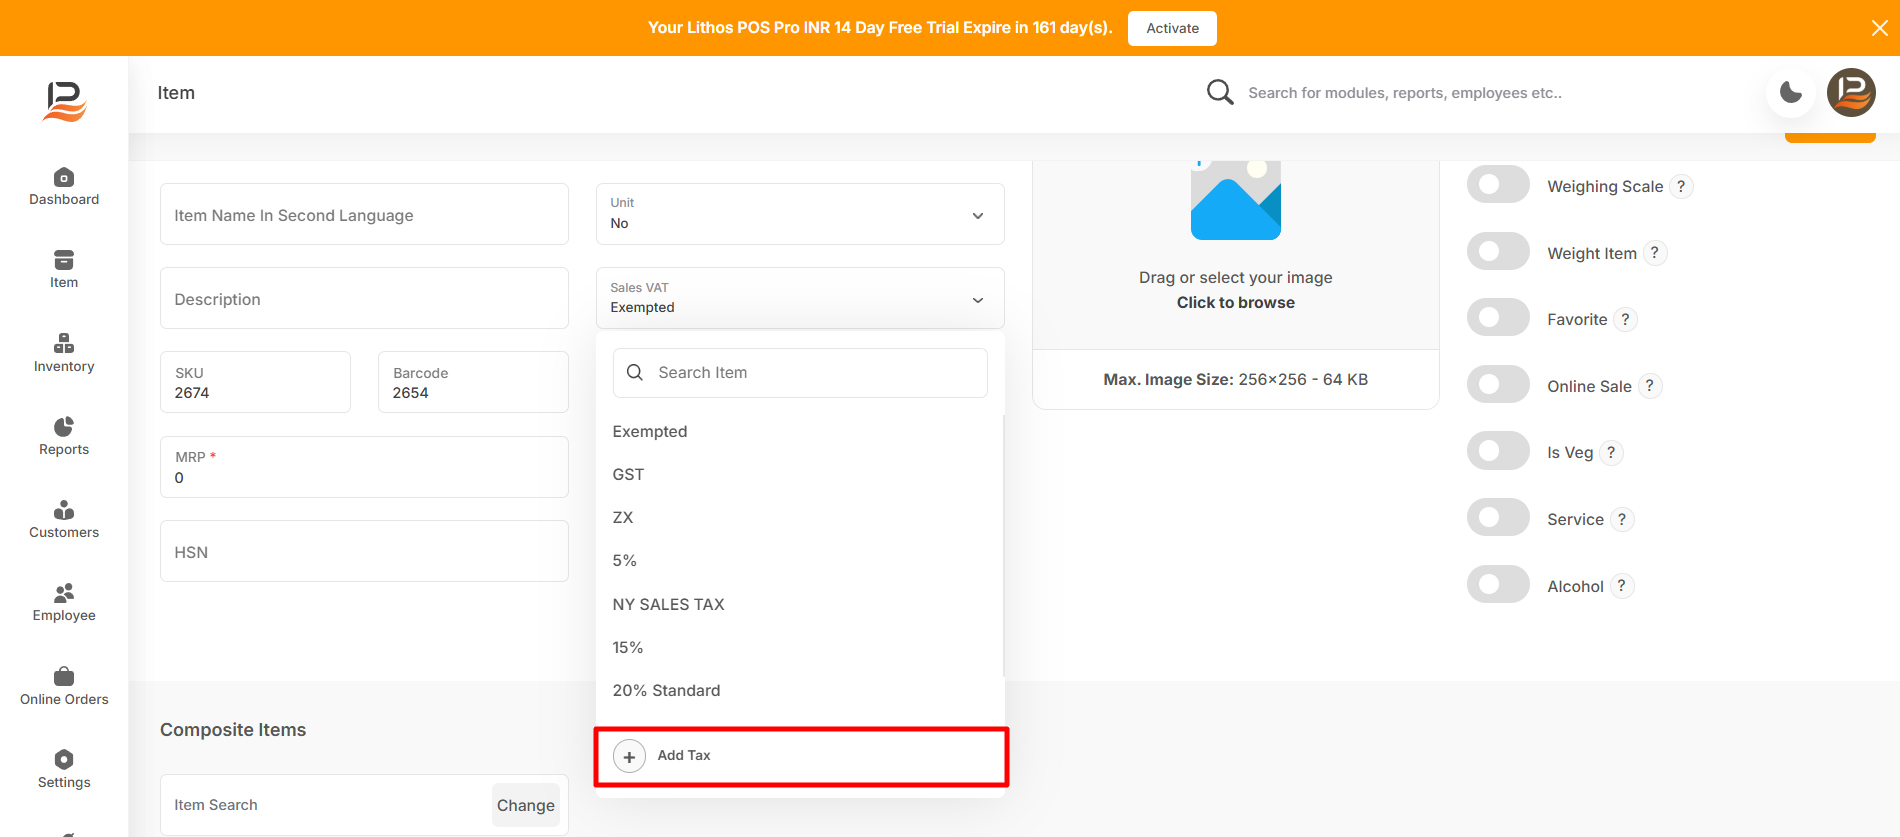
Select appropriate sales taxes/purchase taxes for the product or add new Tax. You can add a new tax if required. You can add multiple taxes for an item in LithosPOS.Note:
To add a new tax click on sales/purchase tax then click ‘+Add Tax’, a side window will open, enter a tax name, then enter the rate. Then click submit. If there are additional taxes or SESS in your country, you can manage them as well.
-
Enter the HSN
-
Brand
Select the brand for the product to get brand-based inventory and sales reports. You can add a new brand by clicking on “+Add Brand” then enter a brand name and submit. -
Modifiers
If you want to assign modifiers to this item select the already added modifiers from the list.Note:
To select modifiers from the dropdown list, you must first add a modifier in the back office. To learn how to add modifiers, click this link.
-
Adding Image
Next, add an image to your product so employees and online customers have a visual reference for the item. The image size must be within the specified limit. [256x256, 64 KB]Note:
You can't add images to items while importing them in bulk; item images can only be added one by one.
-
Price
The item price details and various inventory details for each store are listed below. -
Retail price & markup
Enter the cost of the item, then enter either the markup or the retail price the subsequent column will be auto-calculated. Here the automatic markup calculation can be disabled in settings, to do that go to settings>general setting>navigate to features then toggle off the “Markup Automation” button, and click save. -
Minimum Retail Price
Input a minimum retail price to prevent underselling. The system will block any attempt to sell an item below this price. -
Activate
The toggle buttons against each store can be used to activate or deactivate an item in that particular store.
Now, let's dive into the important steps for adding a composite item.
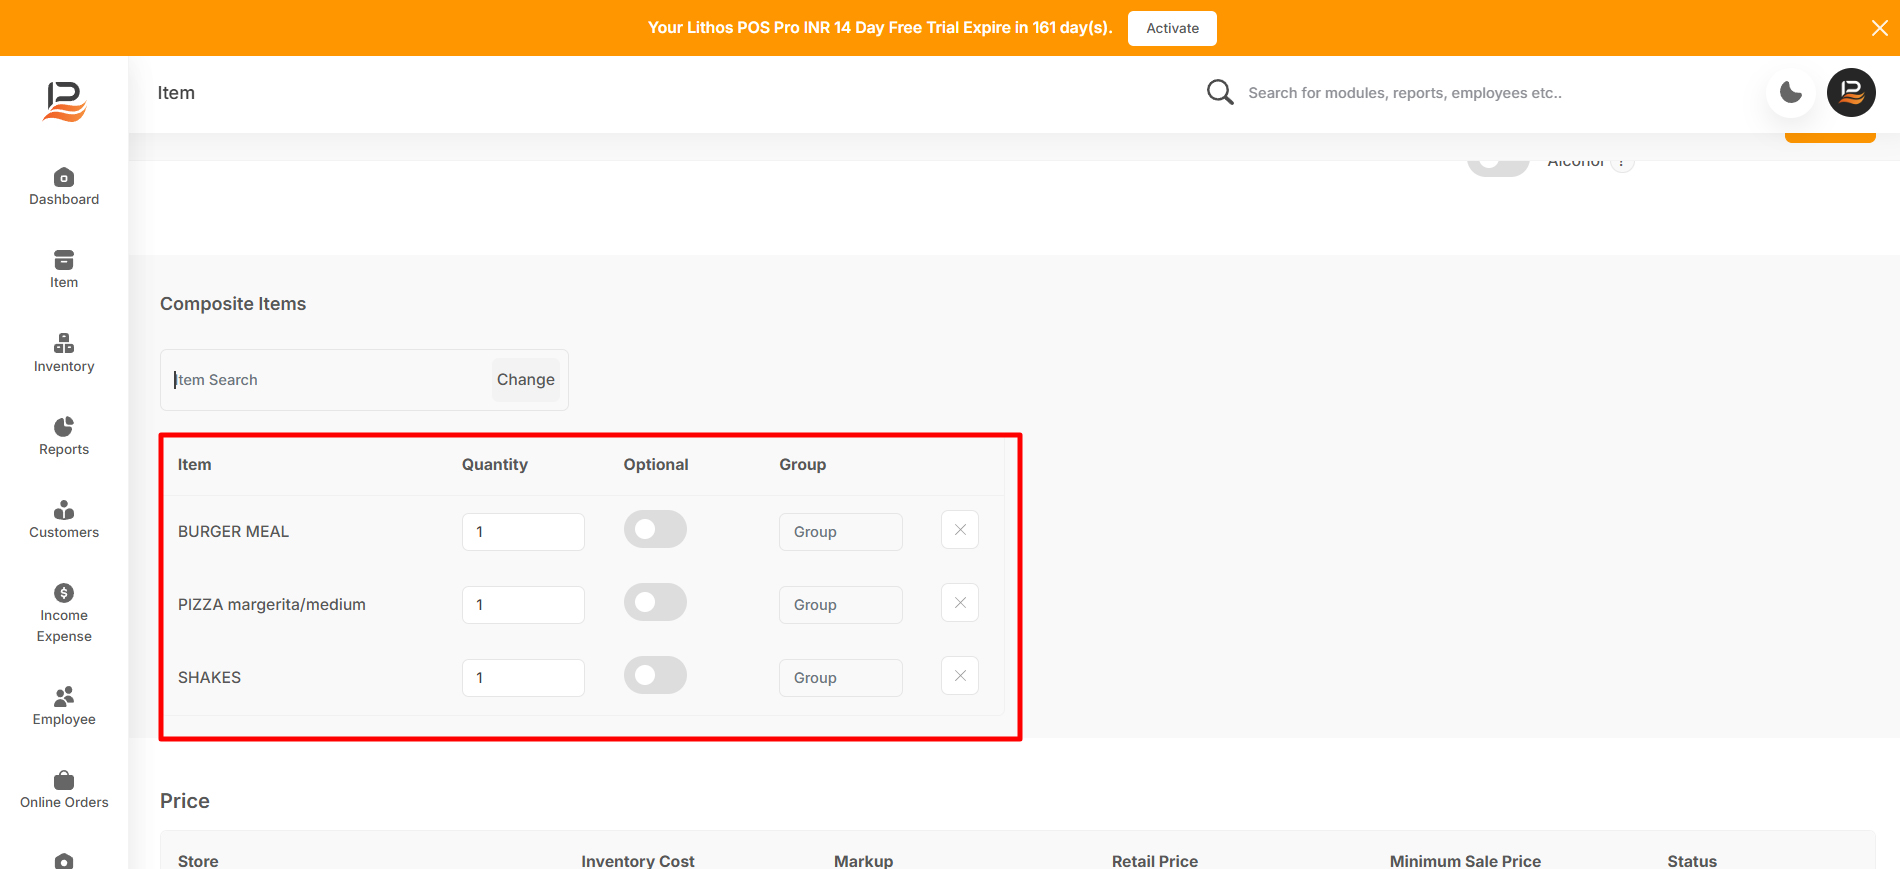
Click on the 'Composite Item' column and search for the items you want to include in your combo. Start with 'Burger,' and then add 'Fries,' and 'cola.' All the selected items will be listed below. Specify the quantity for each item.
Here you can make certain items optional. For example, you can add both 'Pepsi' and '7up' as optional drinks. In the POS, they'll appear as options, ,and the cashier can choose either one in the POS. For that choose both the drinks and turn on the optional button, then enter the group name as Drink.
You can set the item's status as active or inactive in various stores. To apply these parameters to all your stores, click on the down arrow icon.
Customization
Customize your item using these toggle buttons.
-
Stockable
Turn ON the first button to mark the item as stockable. -
Salable
The 'Salable' button determines if the item can be sold. You can add non-salable items, such as ingredients used in combo dishes, to your inventory.Note:
Non salable items are used as ingredients and are not directly sold.
-
Weighing scale
If this item requires a weighing scale toggle on the weighing scale button. -
Serial number tracking
For items requiring serial number tracking toggle on the Serial Number Tracking button. -
Weight Item
If it is a weight item, turn on the Weight Item button. Doing this will open a pop-up keyboard in the POS to enter the weight when adding this item to the sales cart. -
Favorites
Designate items as 'favorites' for quick access on the POS screen. Adding frequently sold items as favorites allows for faster and easier access during transactions. -
Veg
If it is a vegetable item toggle on the ‘Is Veg’ button. -
Online sale
Enable 'Online sale' to allow the item to sell onlineNote:
You have to install QK-order from integrations to show this ’Online Sale’ button.
-
Service
Activate the 'Service' button to mark the item as a service. -
EBT
Then, turn on the EBT option if the item can be sold under EBT, which is only applicable in the US. -
Save
Finally save the item.
Connect with us to know more
To learn more about it feel free to book a meeting with our team


 LithosPOS