Processing Sales
Let’s explore how to do an actual sales, refunds, and void in LithosPOS.
Start selling
Now let’s see how to do an actual sale in Lithos. Just tap an item or scan the barcode to quickly add it to the cart, click the payment button, and select the payment option "cash." That's it! The sale is completed. It’s so easy and fast.
-
Adding Item To The Cart
- Add some items to the cart by taping or scanning barcode.
- As you add items to the cart, the cart is dynamically updated and shows order details, making it easy for you to track.
- If it is a weight-based item, enter the item's weight using the number pad on the pop-up screen, then click 'OK.'
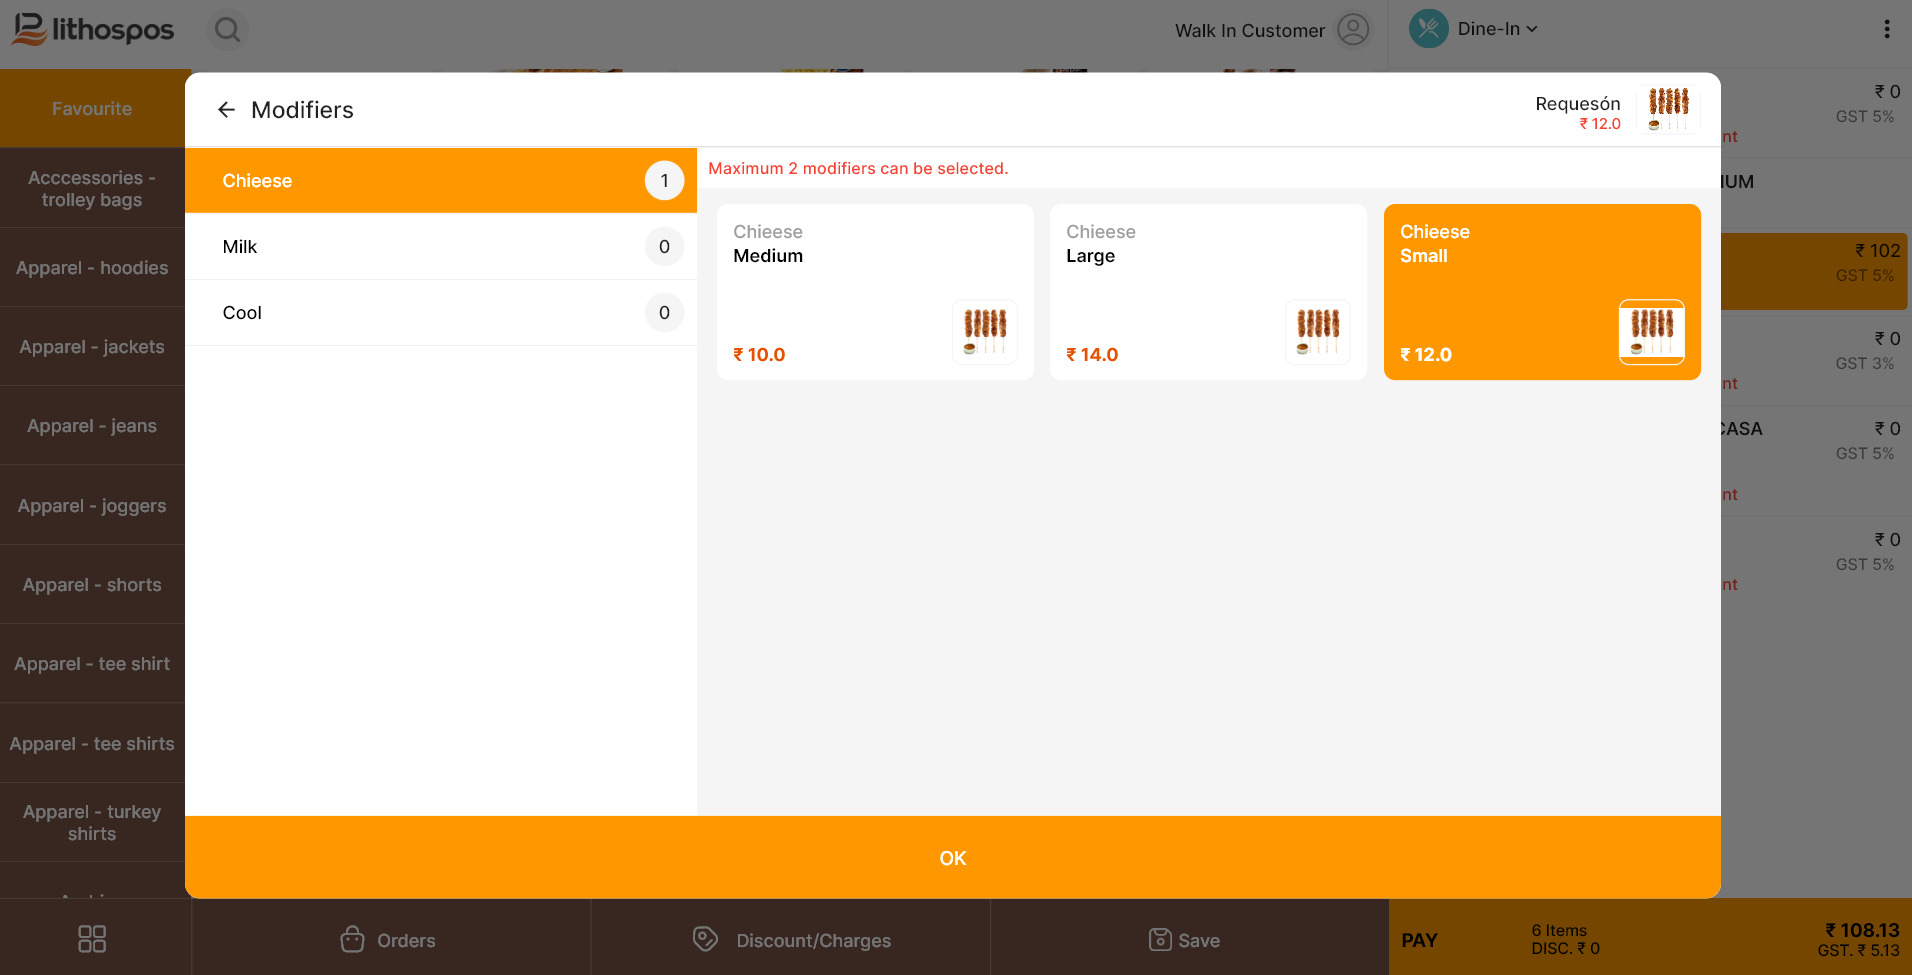
- To add a modifier item to the cart, click the modifier item, and a pop-up will appear with different modifier options. Click on each sub-modifier and choose the required one. The selected modifier will turn yellow. After selecting, click "OK" to add it to the cart.
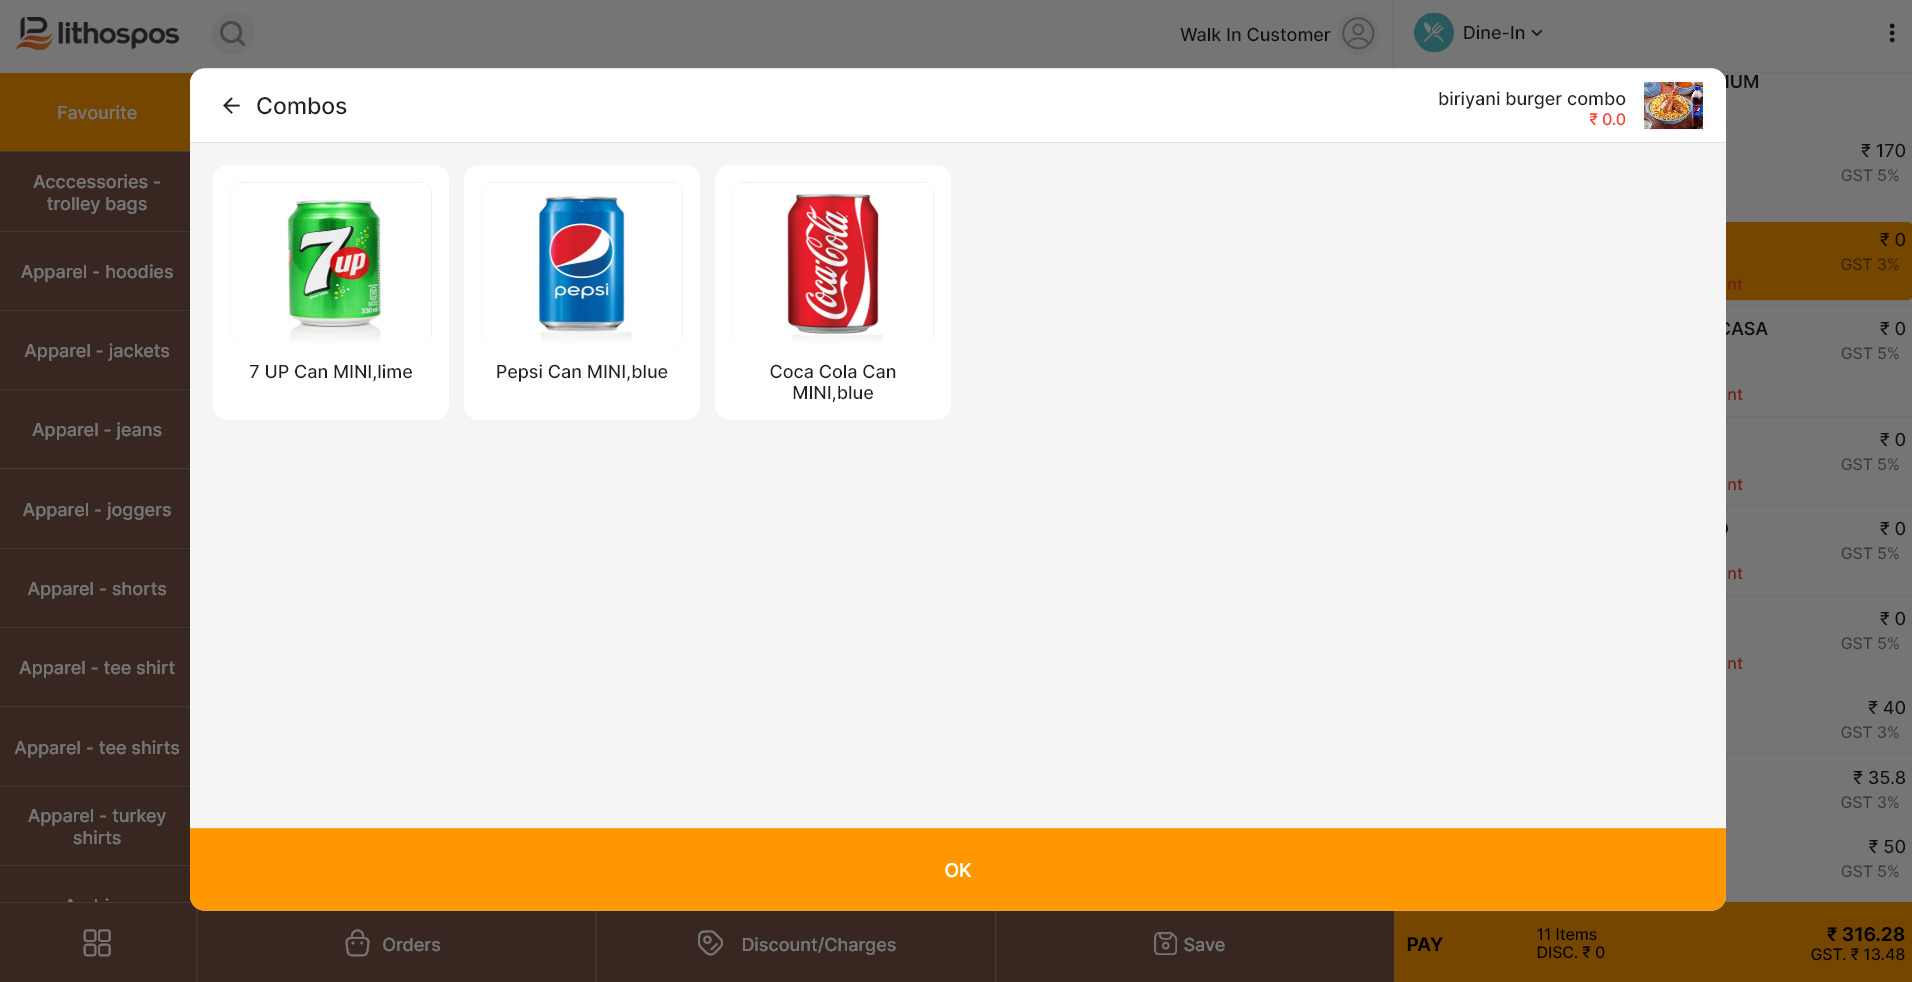
- To add a composite item click on the composite item, select any optional items from the pop-up, and hit "OK" to add it to the cart.
- To delete an item from the cart just swipe that item to the right and click "delete." It's removed.
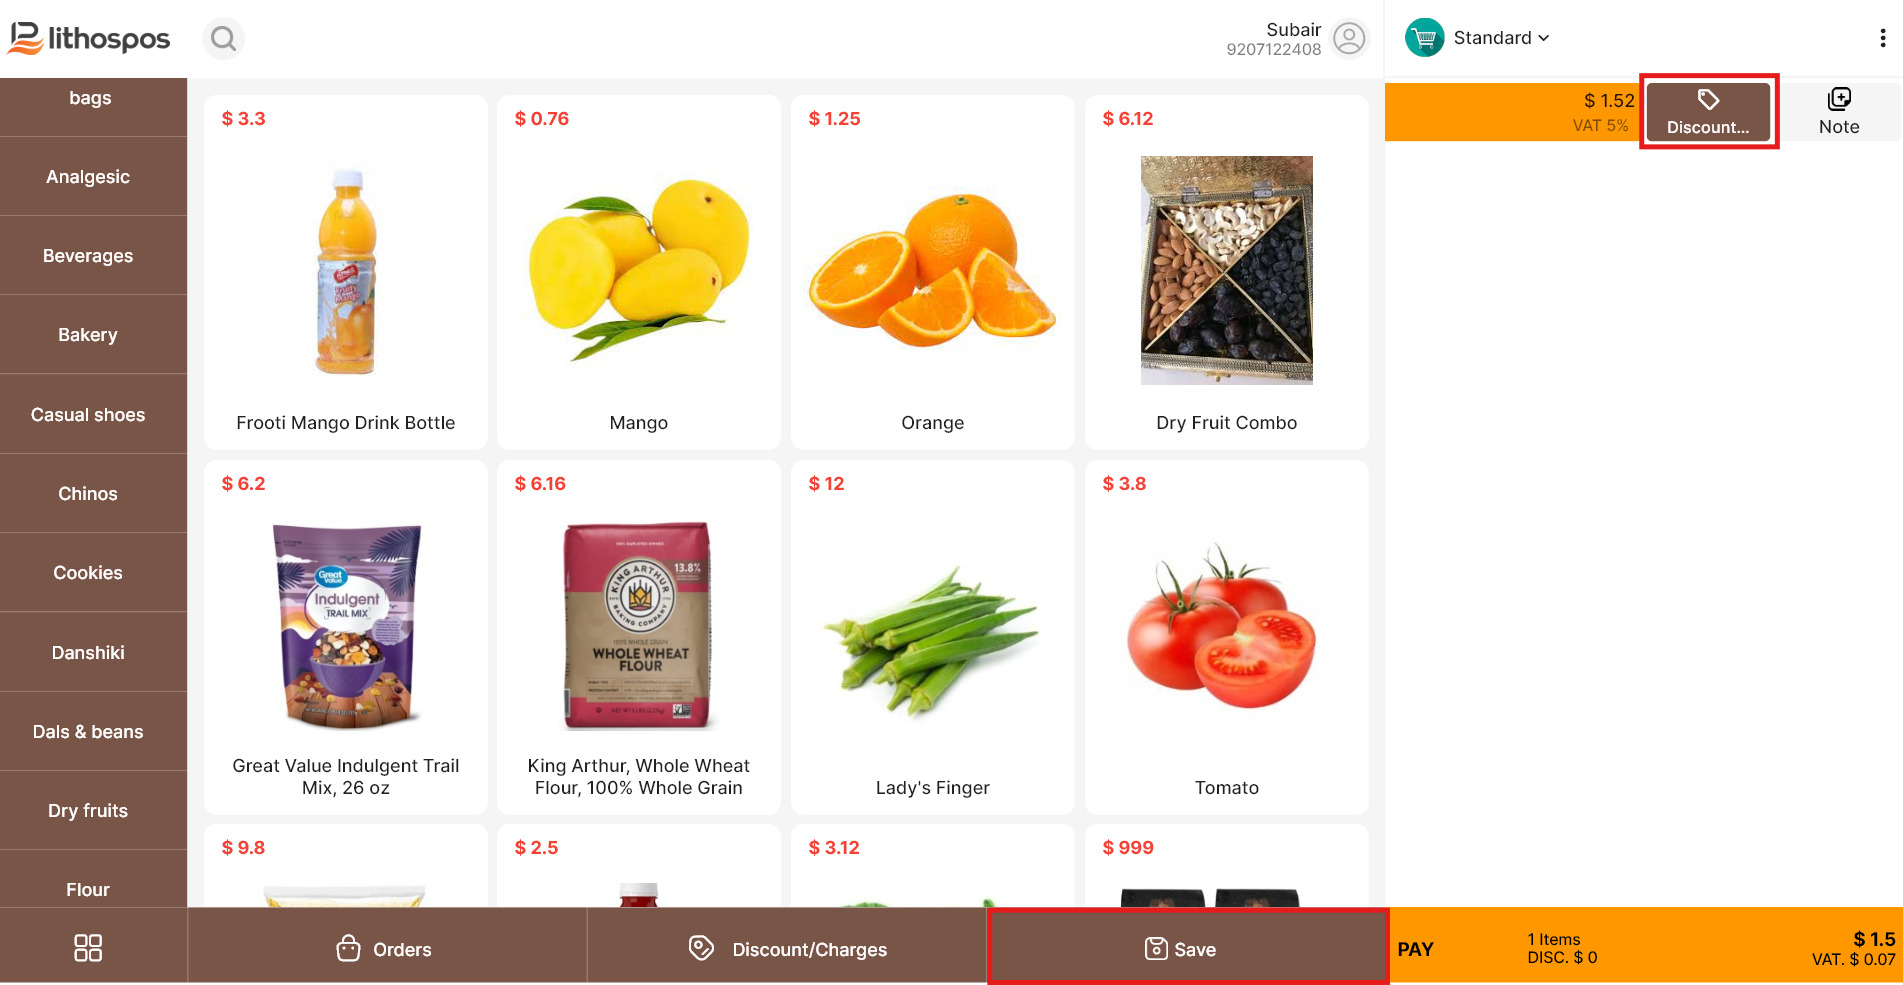
- To add discount to an item Swipe the item to the left to add a discount or charges. You can create different types of discounts and charges in the back office and assign them to specific items. You can also add discounts and charges to the entire bill by clicking the tag icon at the bottom of the screen.
- To Save An Order: If you need to save the order, there is a Save button located between the discount tag and the Print KOT/Pay options. Once you click Save, the order will be moved to the saved orders list, where you can return to it and make further edits.
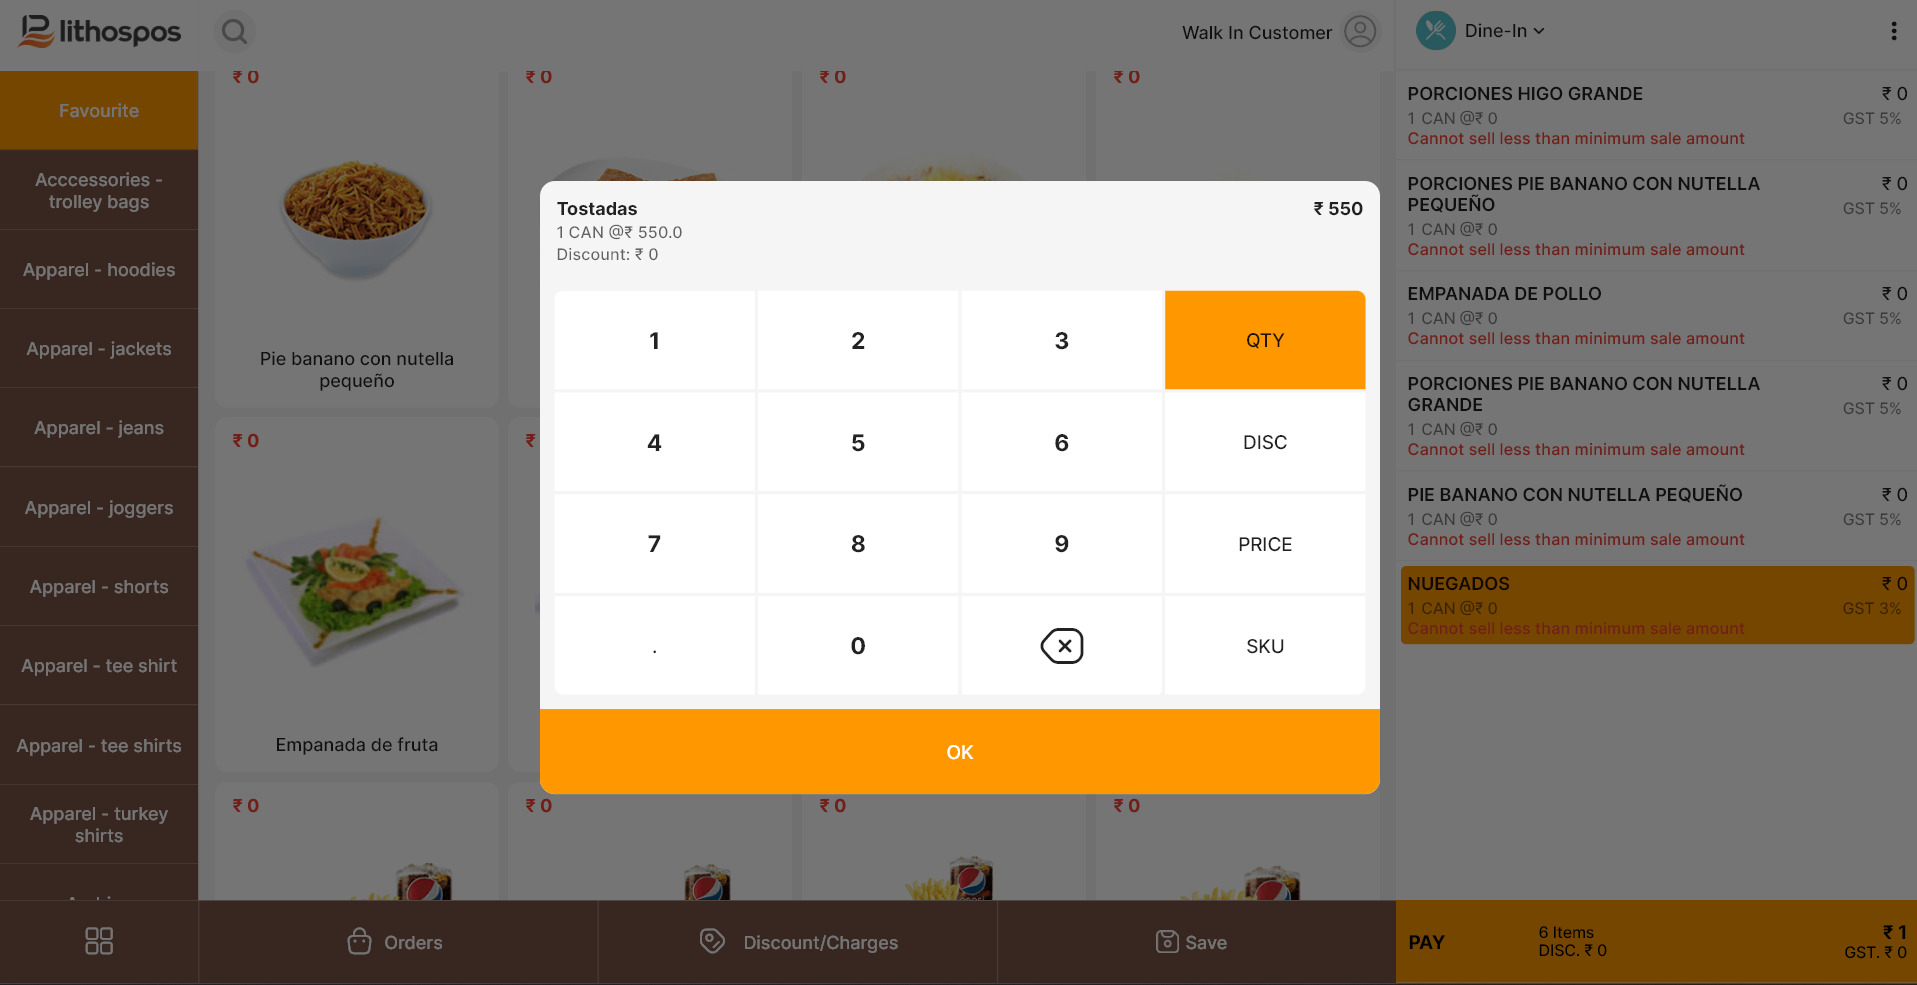
- After adding an item to the cart, if you want to change the selling price, or quantity, or add a discount for the item, click on the item name. A pop-up screen will appear with options like 'Quantity,' 'Price,' and 'Discount.' You can modify these values using the number pad on the pop-up screen, then click 'OK.
Note: If you need to settle the payment immediately, just swipe the Print KOT option to the left, and you’ll see the Pay option, allowing you to accept payment for the order right away.There is also a Discount/Charge option button that lets you add discounts, charges, or gift cards to the entire bill.
-
Processing Payment
- Once the items are added, click the Payment button to proceed to the payment screen.
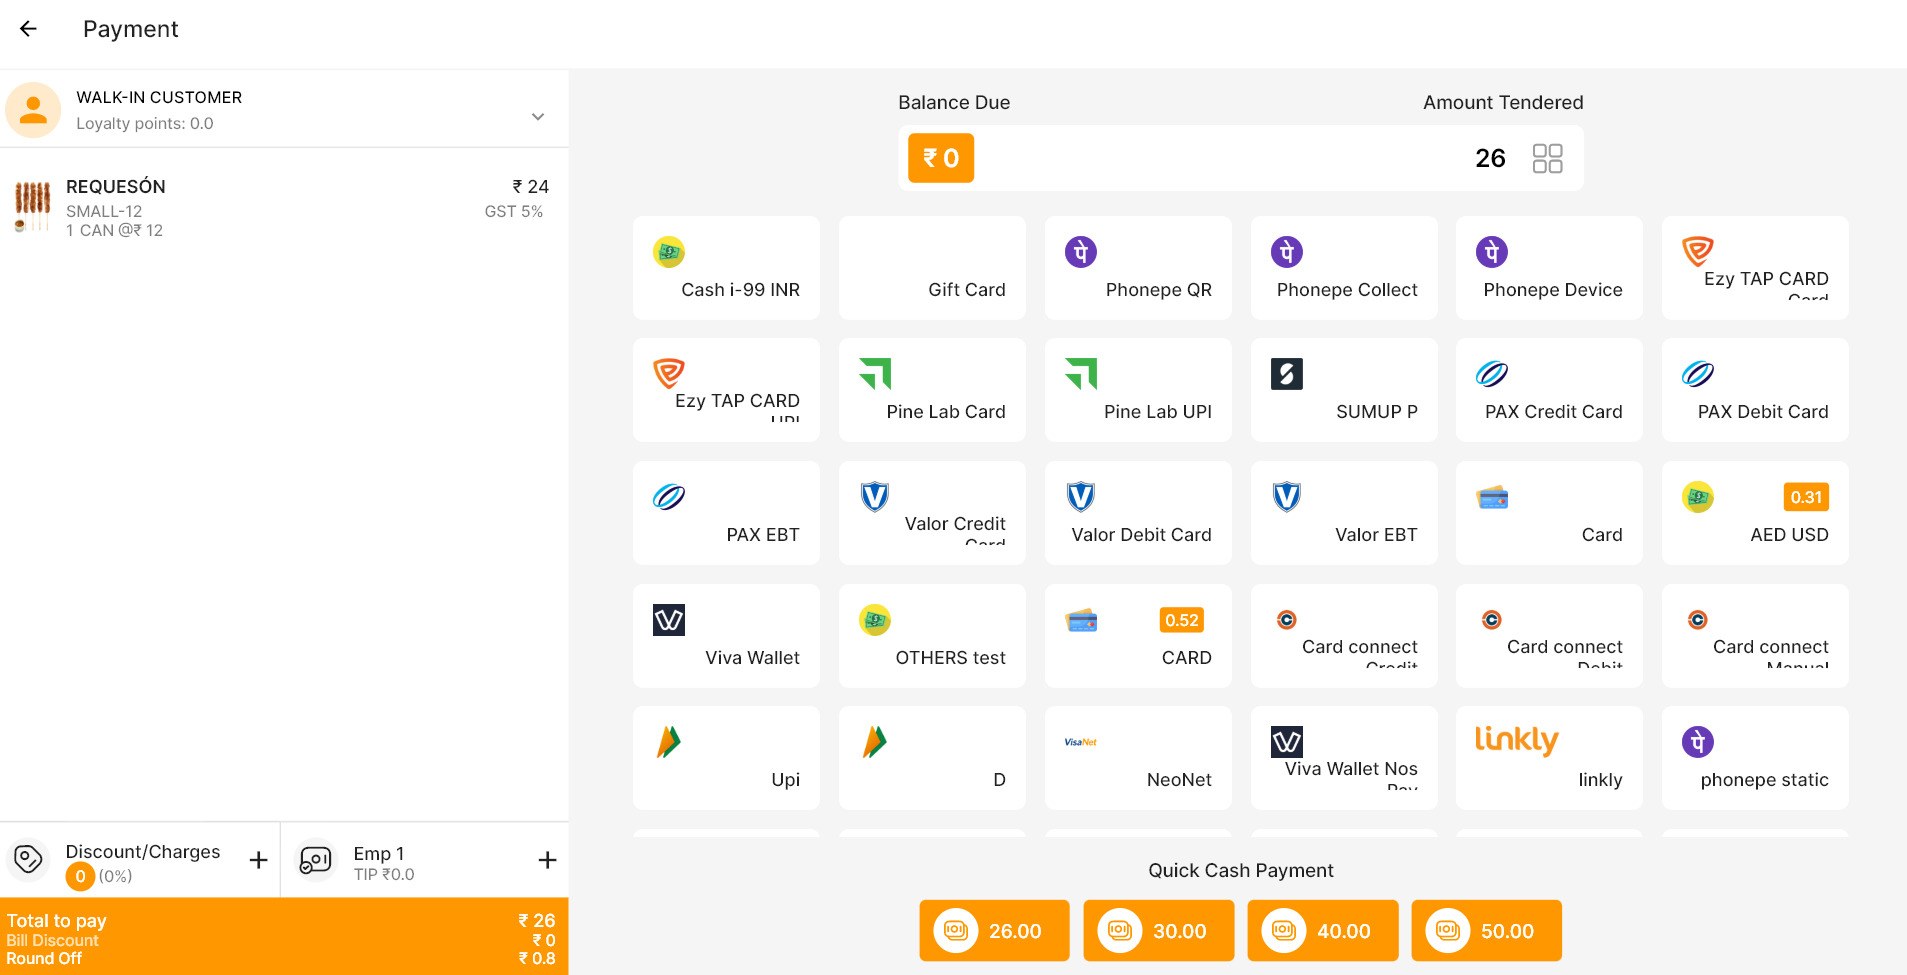
- On the payment screen, you’ll see multiple payment options, such as card, cash, gift card, and on-account sale.
- For this example, let’s choose Cash. When you select the Cash option, enter the amount tendered by the customer. The system will automatically calculate and show the change to be returned.
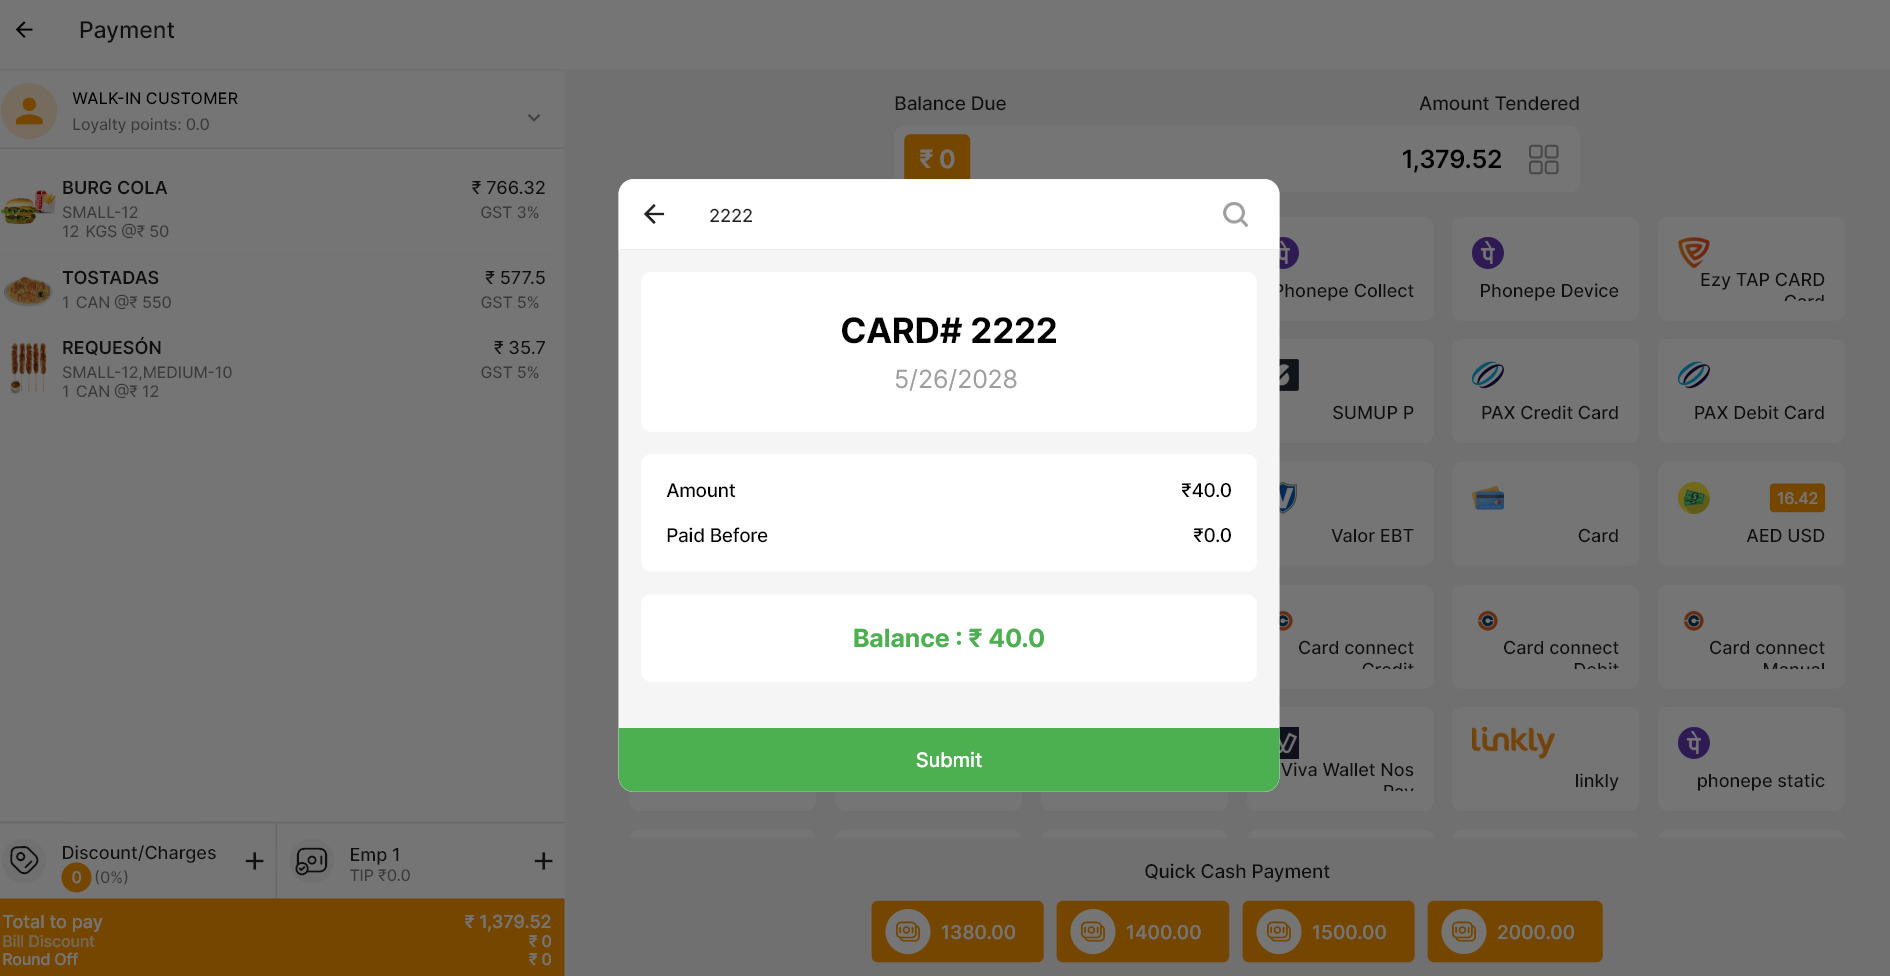
- To accept card payment click on the desired card icon and the amount will be displayed on a pop up window as well as in the connected card terminal
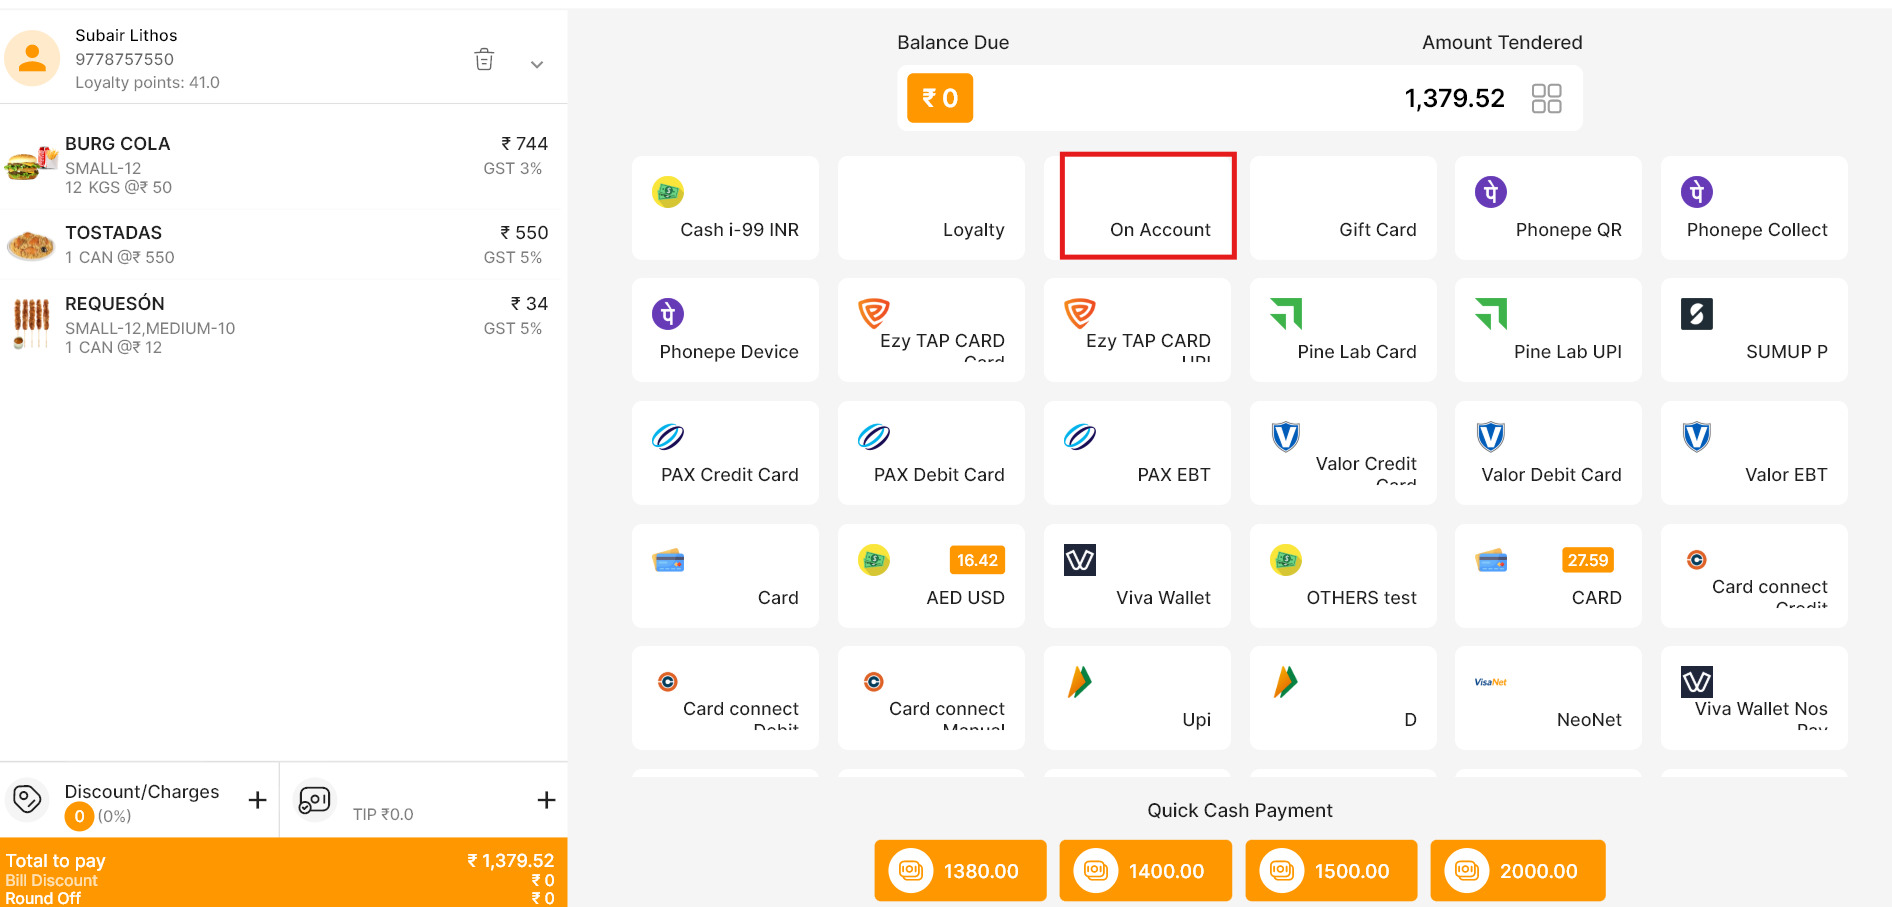
- On Account Sale: To add a payment to a customer account, first select the customer and add the items to the cart. Then, click the Pay button and choose the "On Account" option. The bill amount will be added to the customer's account, which can be settled at a later time.
- Split Payment: You can split payments between different payment types. For example, you can accept part of the payment in cash and the rest on a card. To do this, click on the 4-square grid icon near the net amount. Enter the amount to pay in cash (e.g. $50), and then complete the remaining amount using a card.
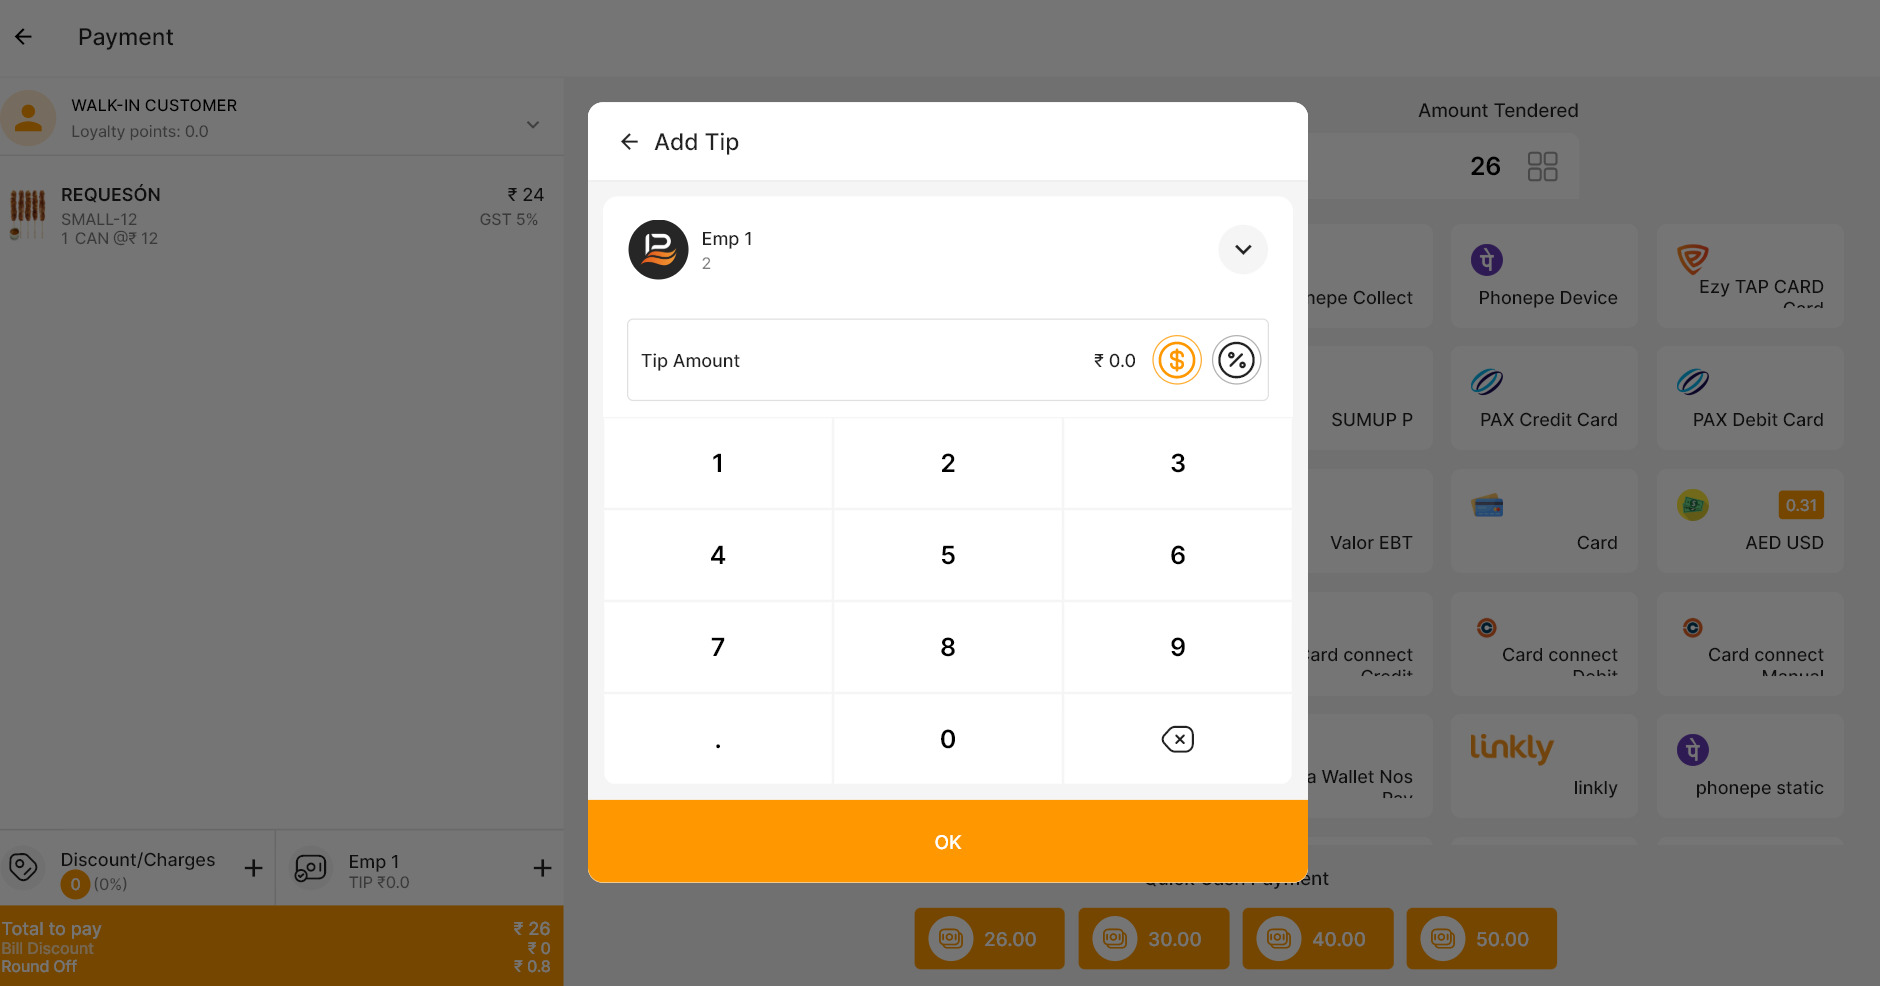
- Adding Tip In Bills: In restaurant accounts there is a Tip option to include a tip on the bill. To add a tip, click the Tip button, then select either the percentage option or the currency symbol. Enter the tip amount and tap "OK" to apply it. On the left side of the payment window, you’ll find options to add a discount.
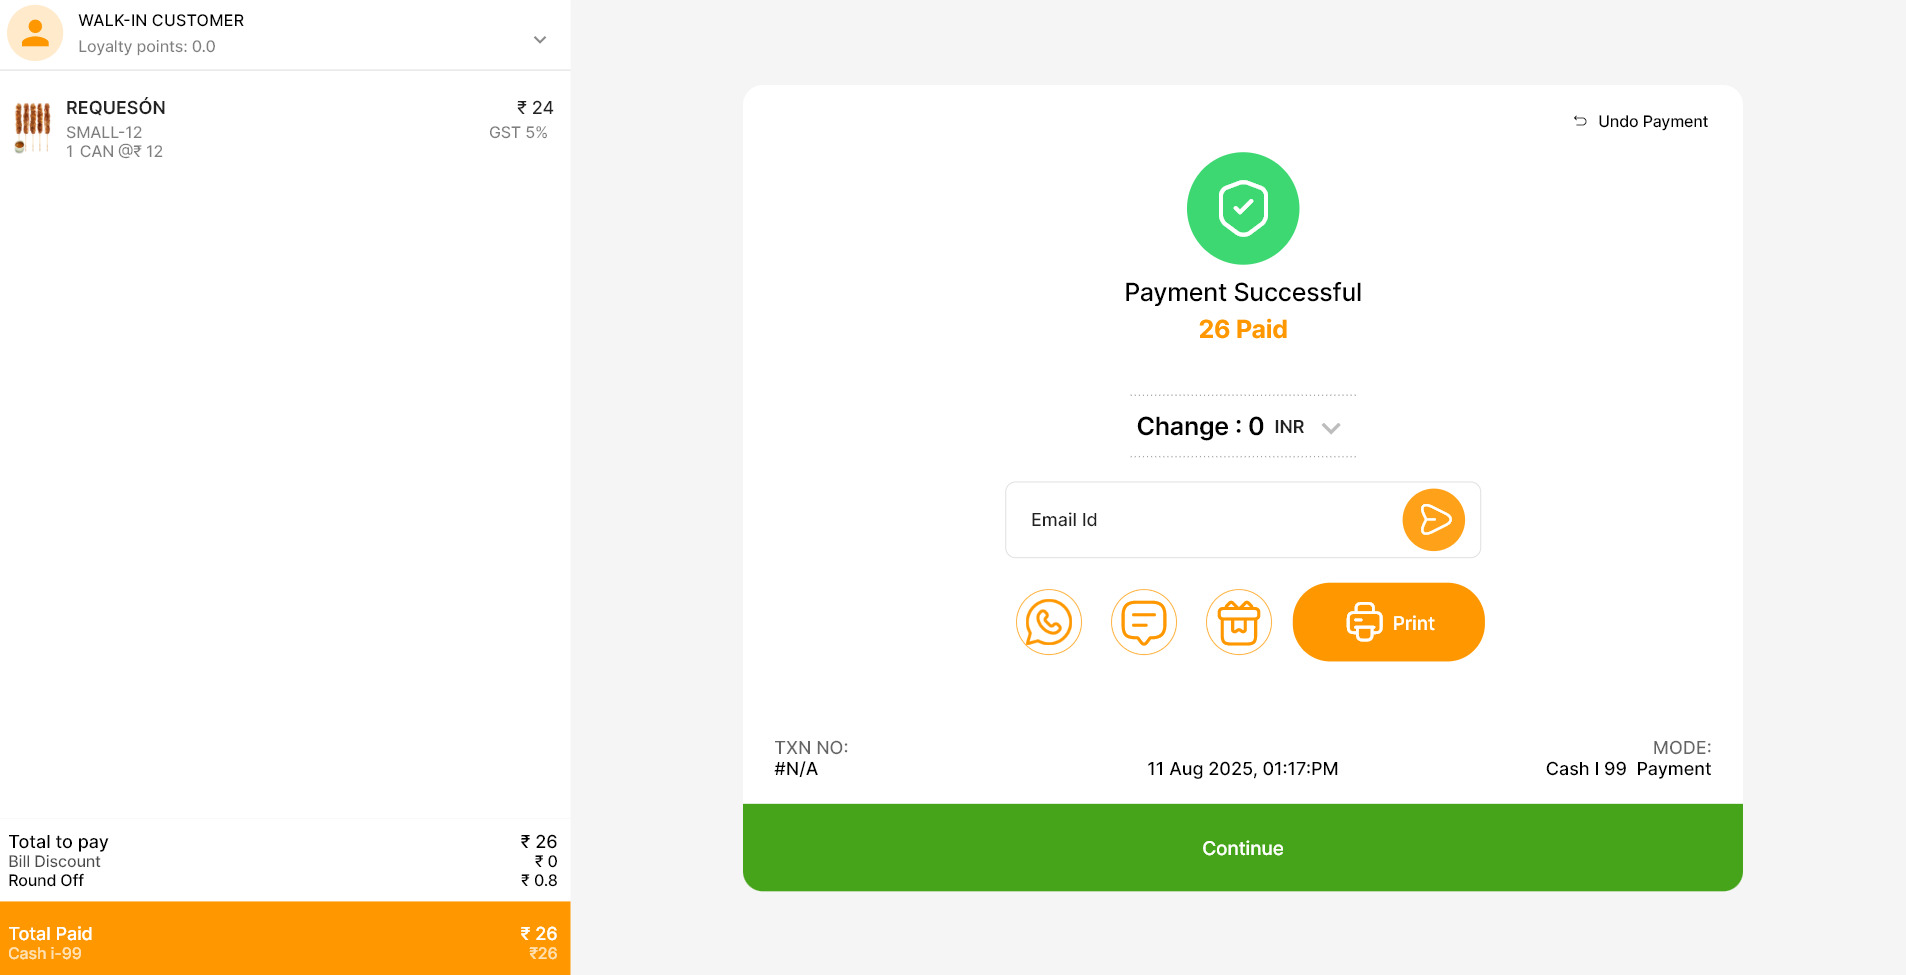
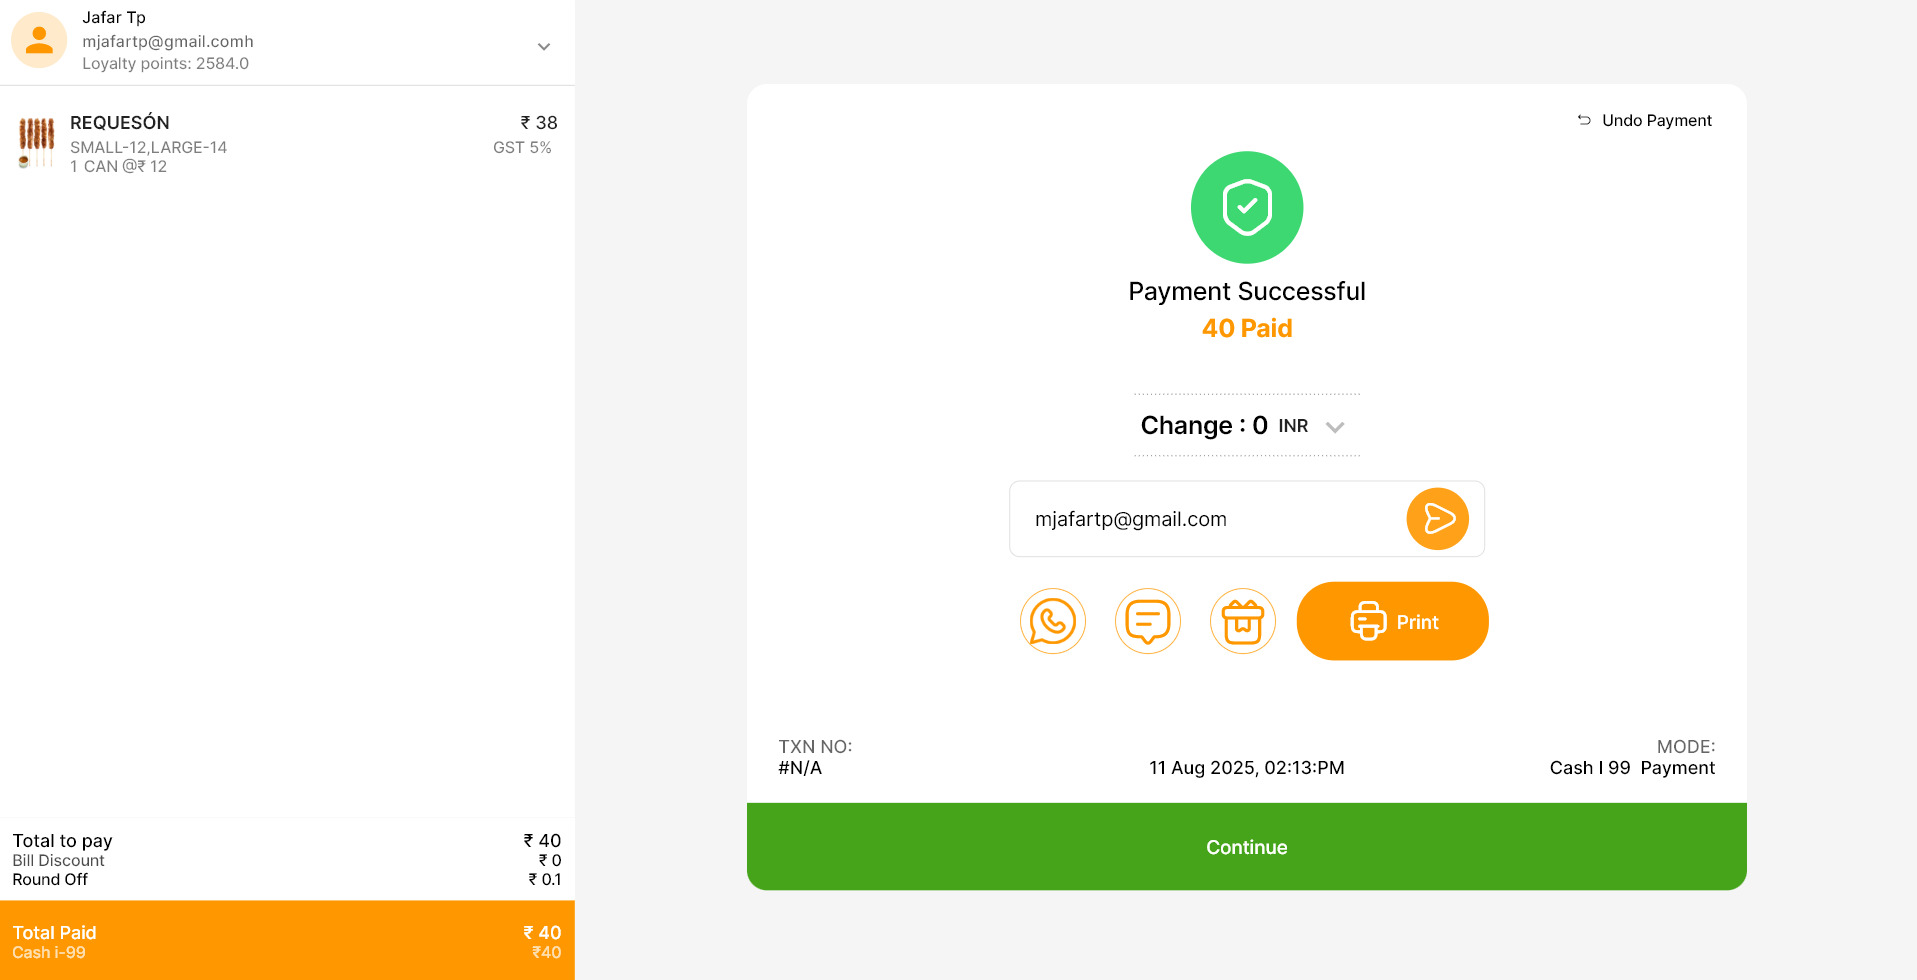
- Receipt Option: Once the payment is completed, you’ll have several receipt options. You can send the receipt to the customer via WhatsApp or email, print a physical receipt, or even print a gift receipt. The gift receipt doesn’t include price details but can be used by the customer to return items if needed.
-
Table Options
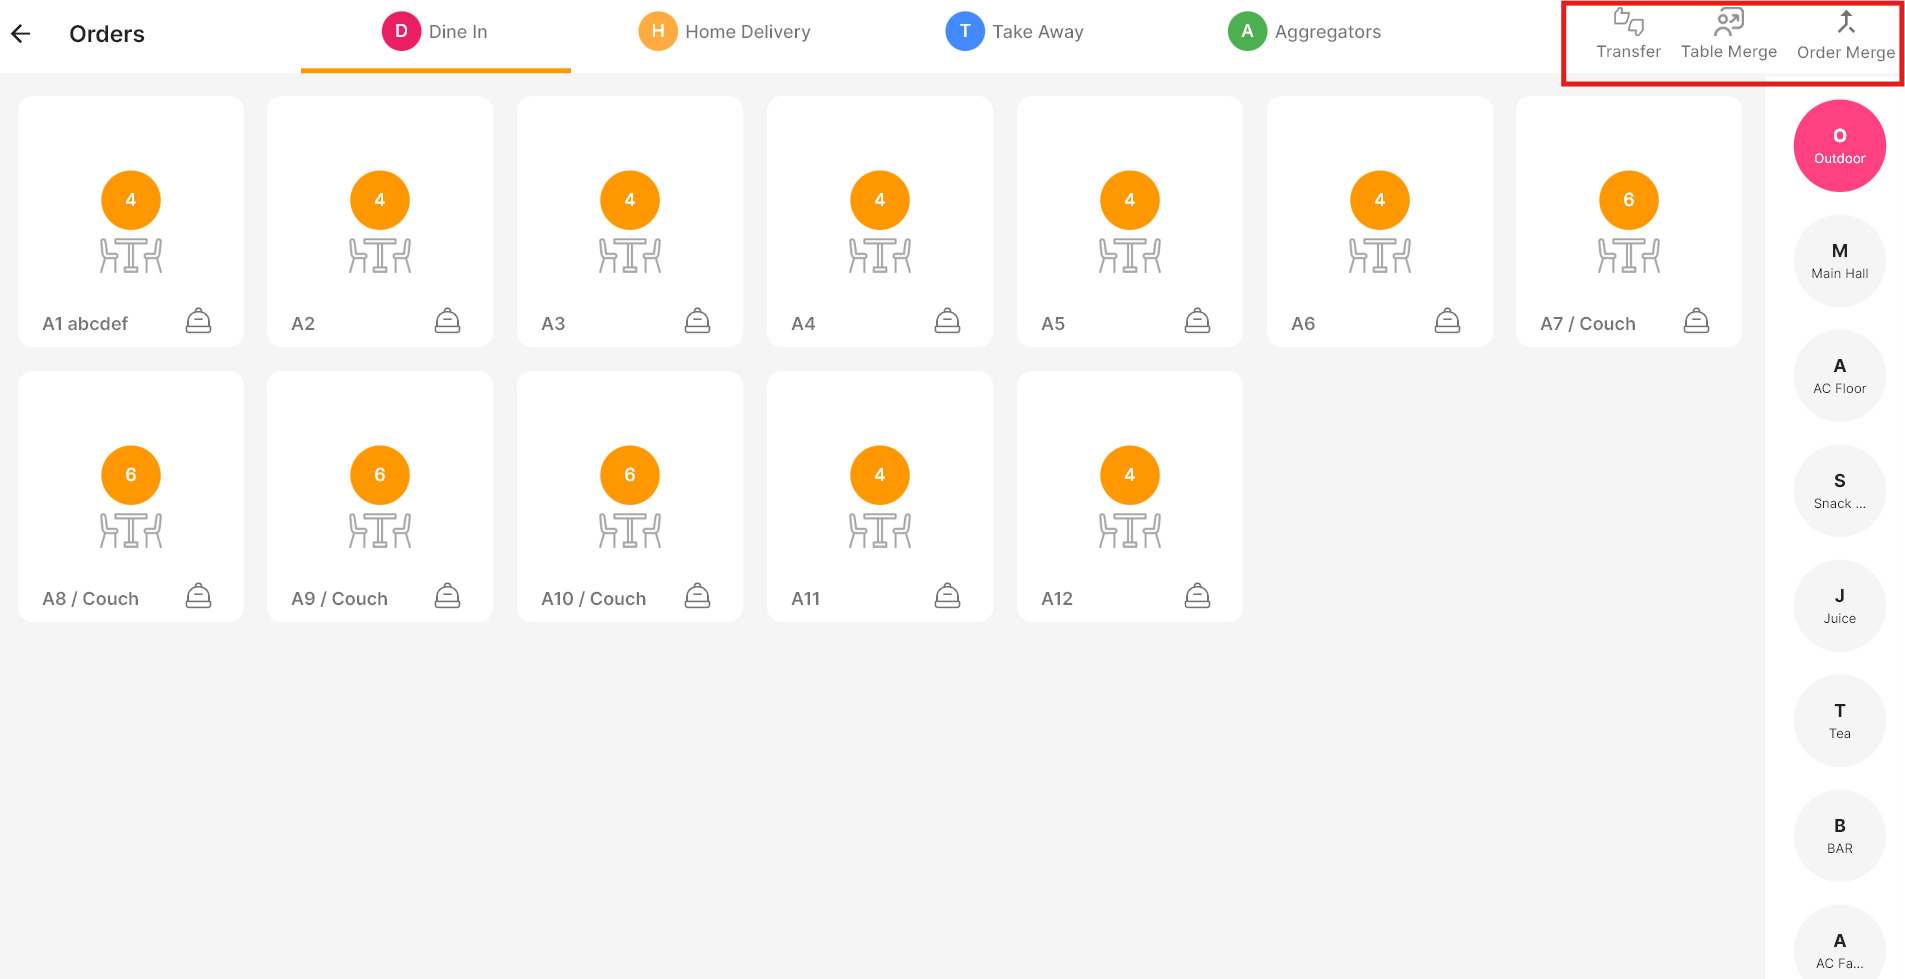
In a restaurant account click on orders to go to the tables. This is the table layout, which is fully customizable. Our back office lets you set up tables and manage floor plans according to your requirements. Additionally, at the top of the layout, you’ll find options like order transfer, Split Table, and Merge Tables. These features allow you to easily switch tables, move customers around, copy an order from one table to another, or merge multiple orders into a single table.
- Order Transfer: Click on the Transfer icon, select the order you want to transfer, and then choose the table you want to move it to. That’s it—the order is successfully transferred.'
- Table Merge: Click the Table Merge icon, select the tables you want to merge, and then click Save. The orders from the selected tables can now be shared with guests seated at any of the merged tables.
- Order Merge:Click the Order Merge icon above, select the table with the orders you want to merge, and then choose the next order to merge. If there are multiple orders on the same table, a pop-up will display all the orders from that table. Simply select the desired orders from each tables, and they will be combined into a single order.
-
Additional Option
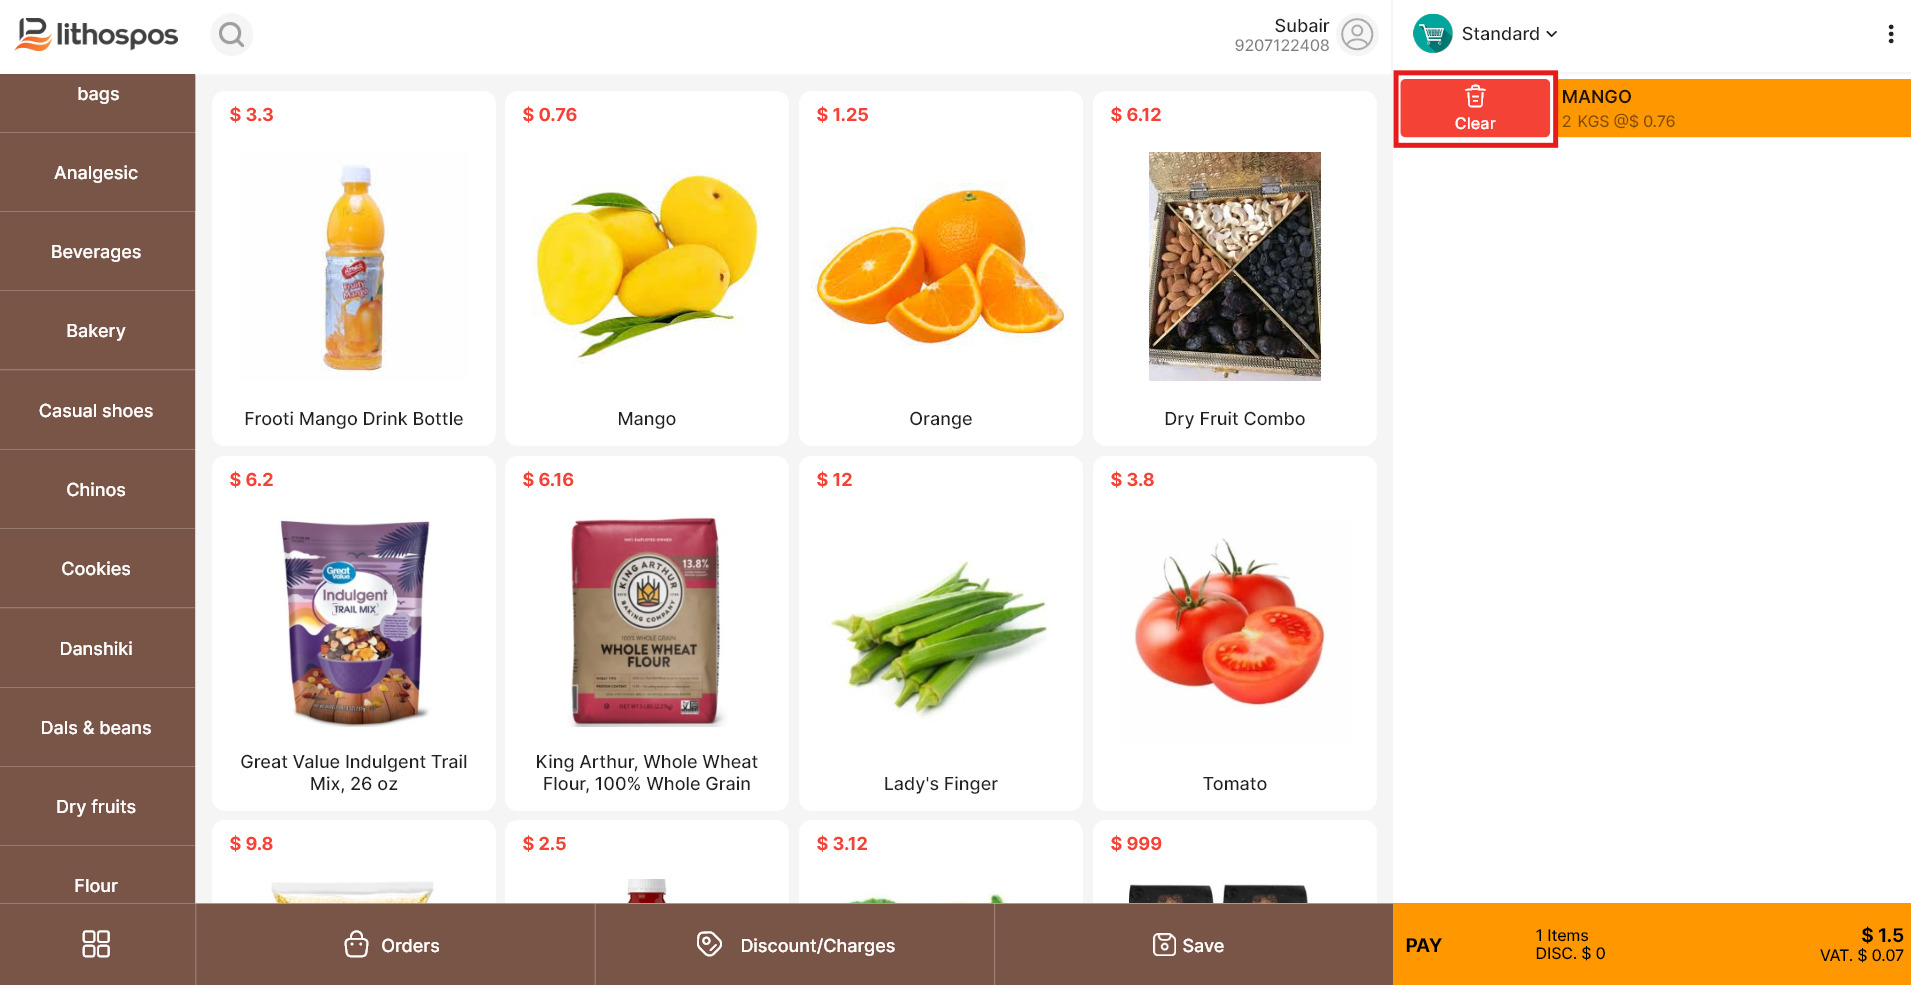
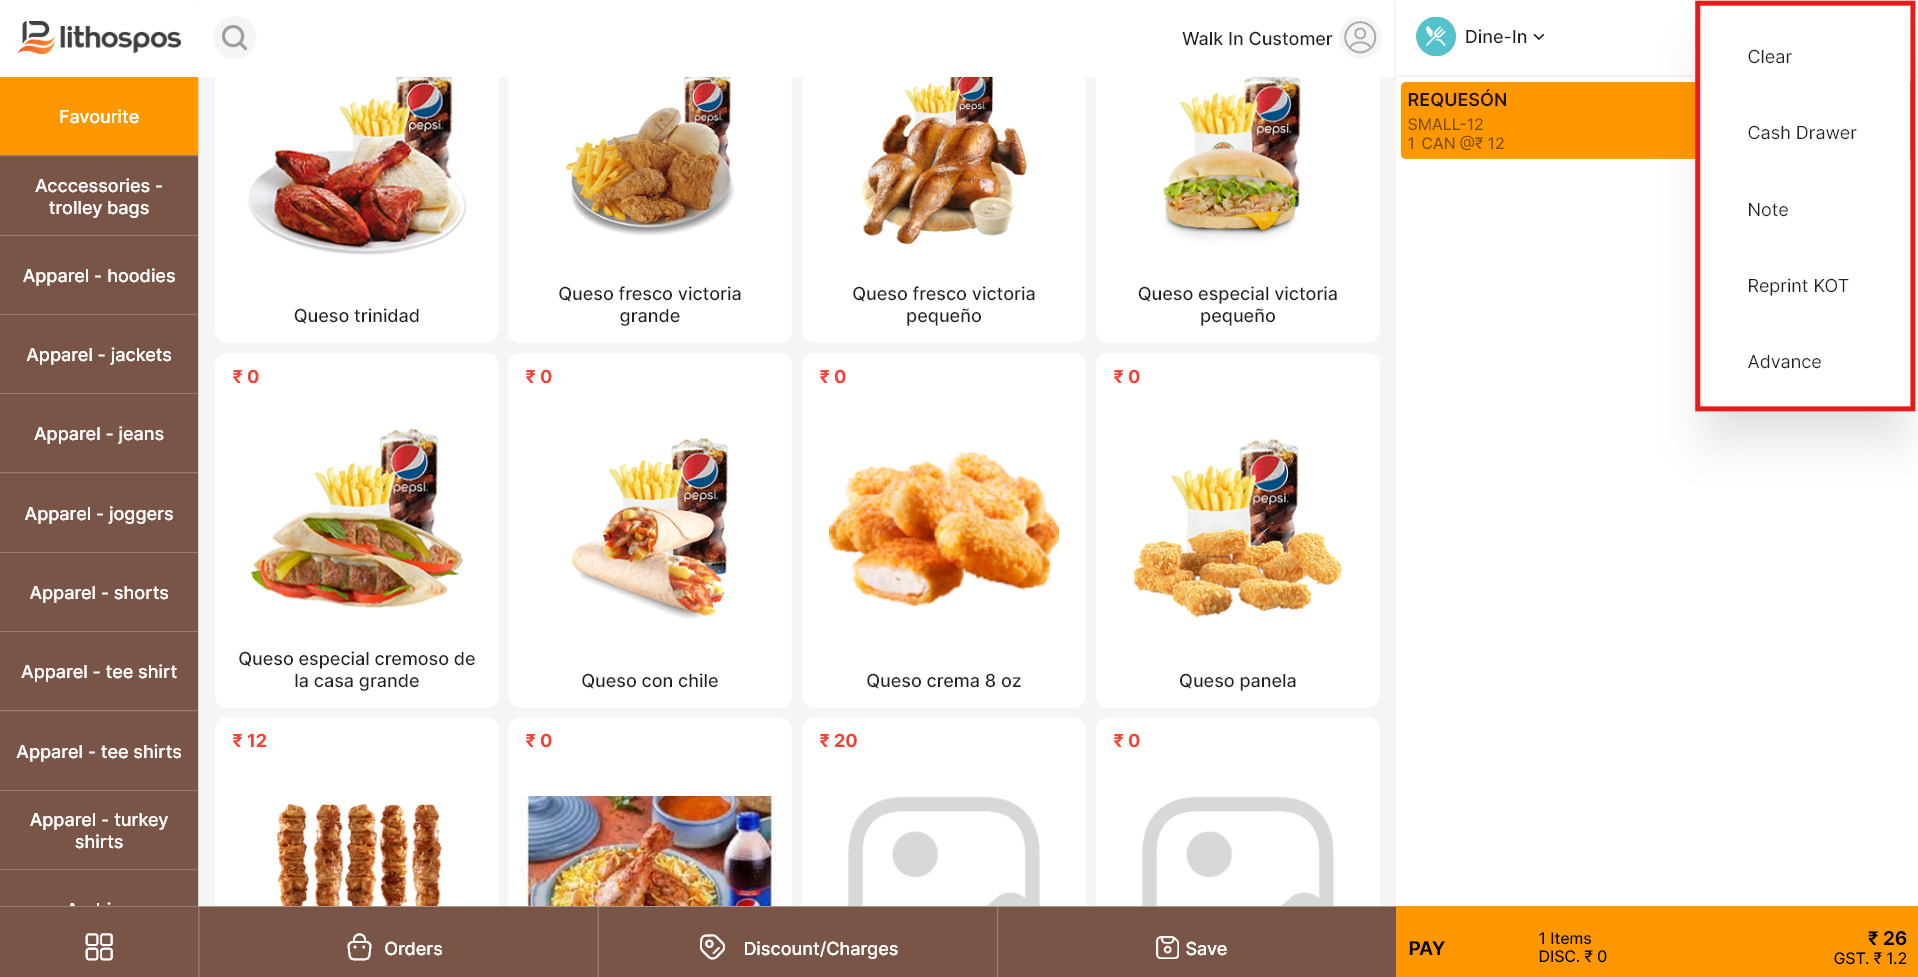
- 1. You can clear the entire cart by clicking 'Clear.'
- 2. Click on 'Cash drawer' to open the cash drawer.
- 3. Click 'Notes' if you want to add any notes to the current order.
- 4. Click on 'Advance' to accept an advance amount from the customer for the order. After clicking 'Advance,' it will navigate to a payment window. Enter the amount you want to receive as an advance, select the mode of payment, and then click 'Save order.
- 5. If you are in a restaurant setting, you can also reprint the (KOT).
At the top right of the cart, there is a 3-dot menu. You can access some advanced options here, such as:
-
Print KOT:
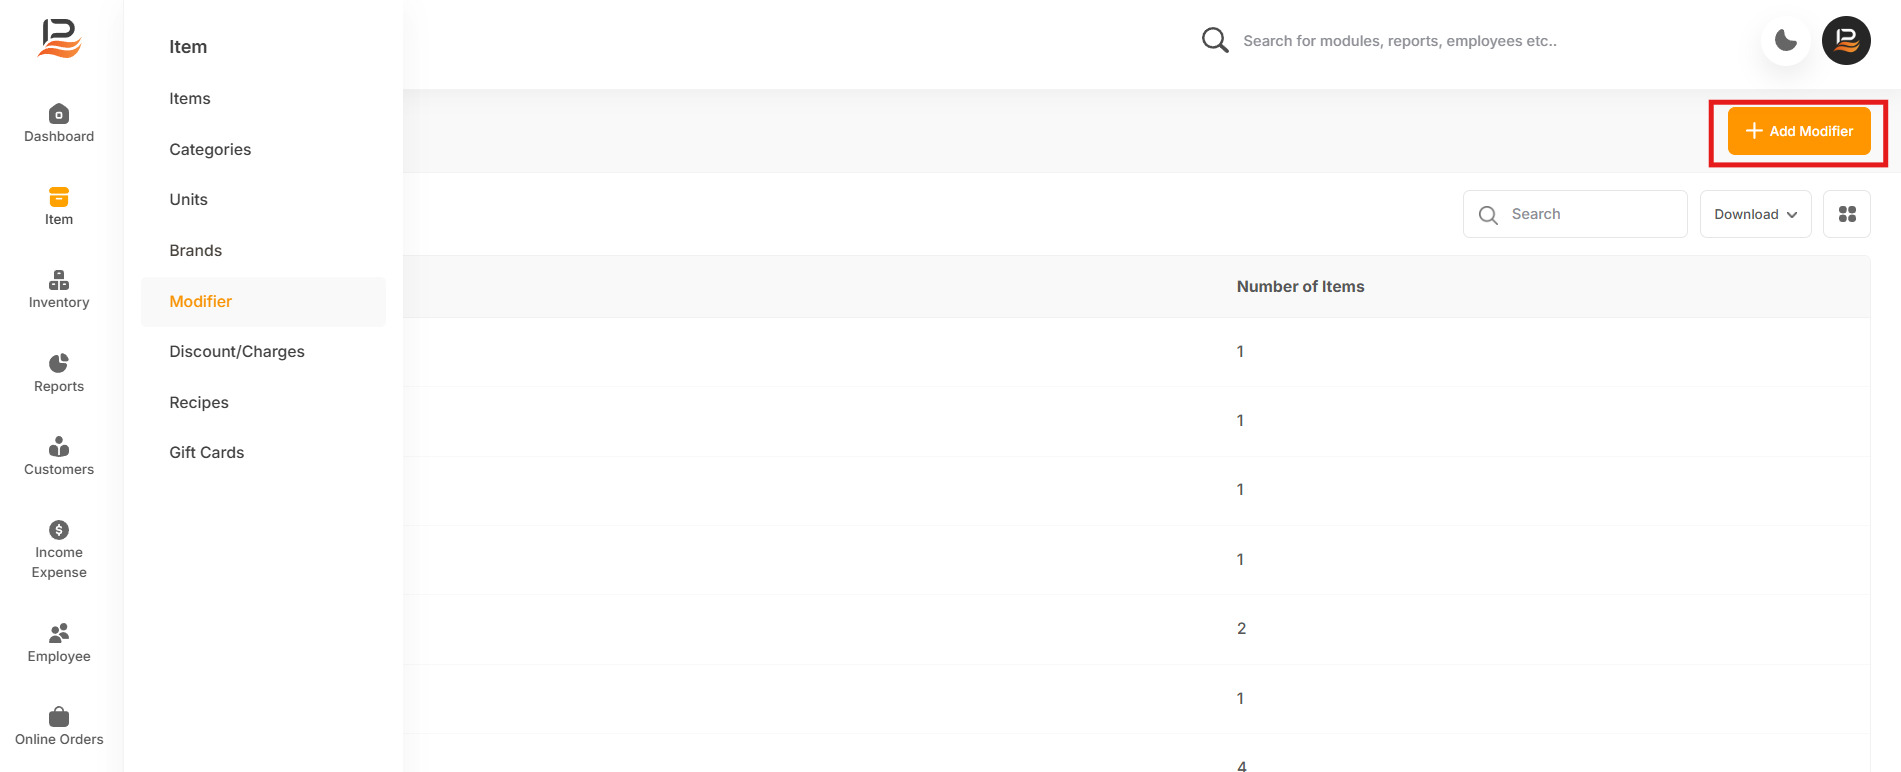
- Adding Modifiers:Adding a modifier to the cart is easy. Click on the modifier item, and a pop-up with the modifier details will appear. On the left, you can see the added modifiers. Click on the modifier name to display its associated options. Choose the desired modifier. You can also set a limit on the number of modifiers that can be used for an item from the back office. After selecting the modifiers, click OK, and the item will be added to the cart.
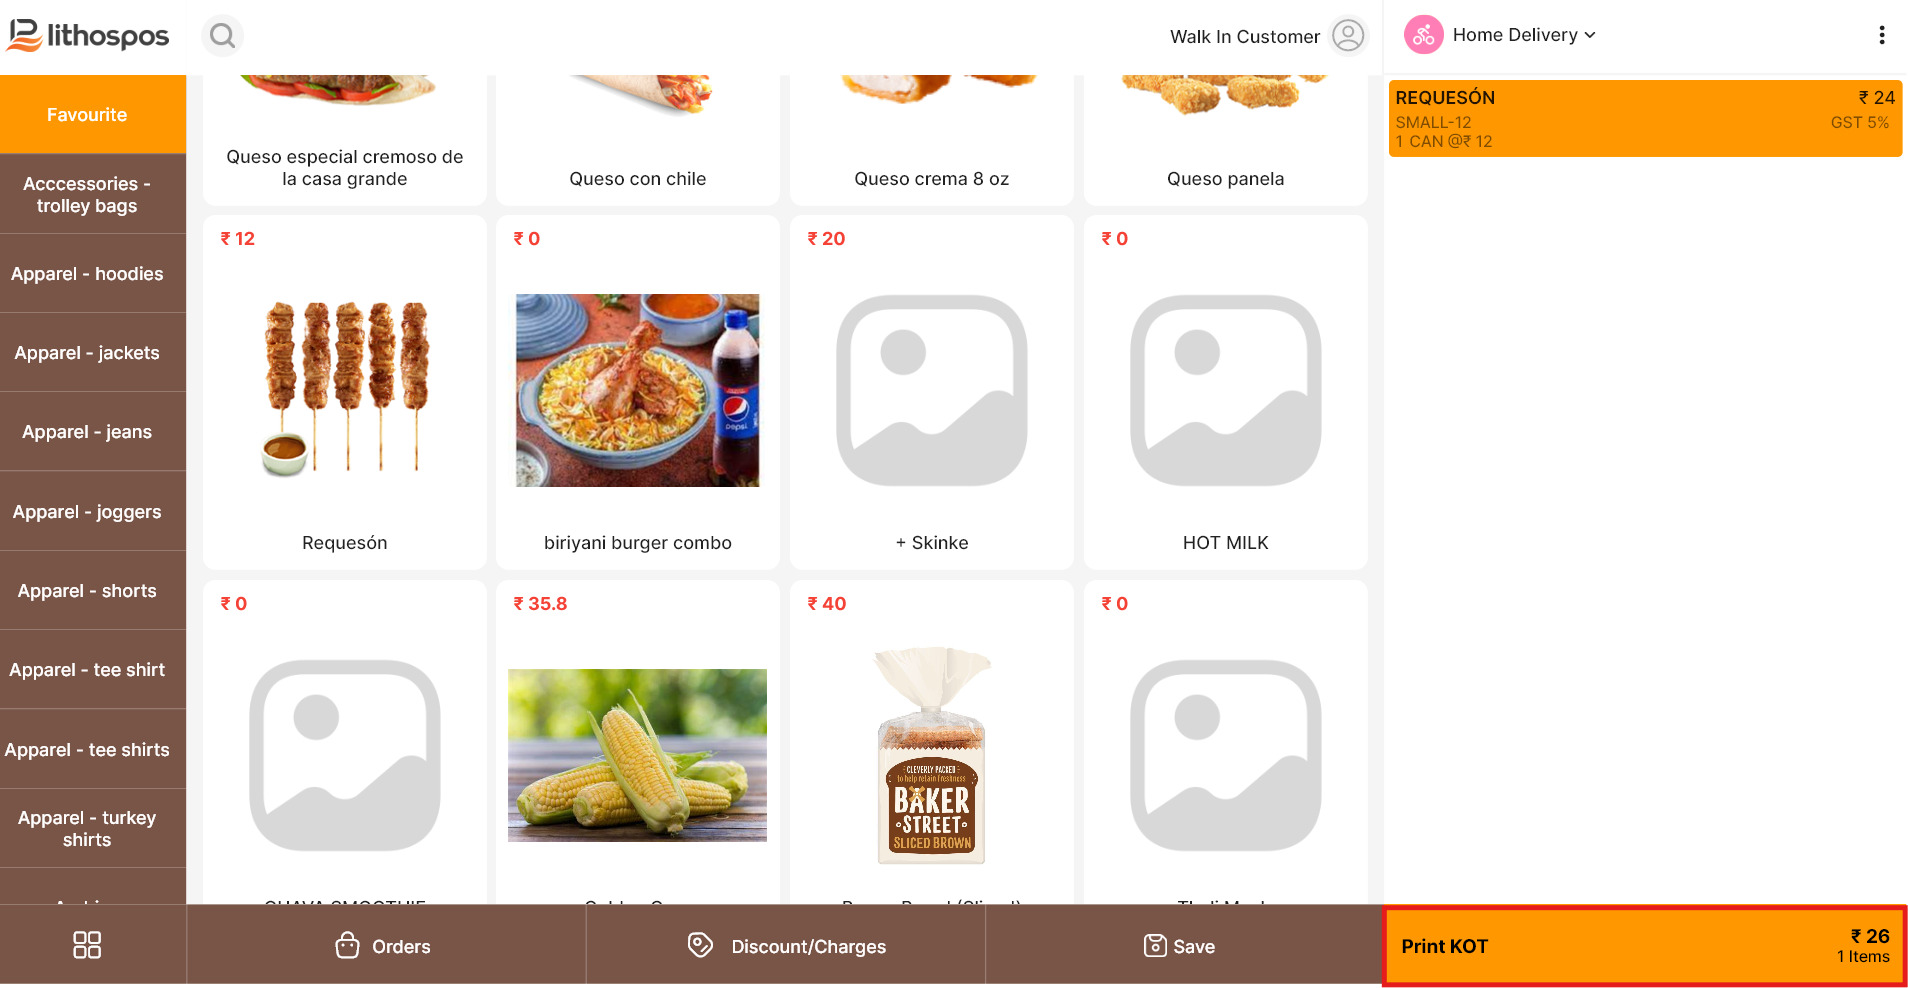
- At the bottom of the POS screen, you’ll find the ‘Print KOT’ button. Click on it to generate the KOT for the selected items. After clicking, the table management section will open, allowing you to choose the table where the order should be served.
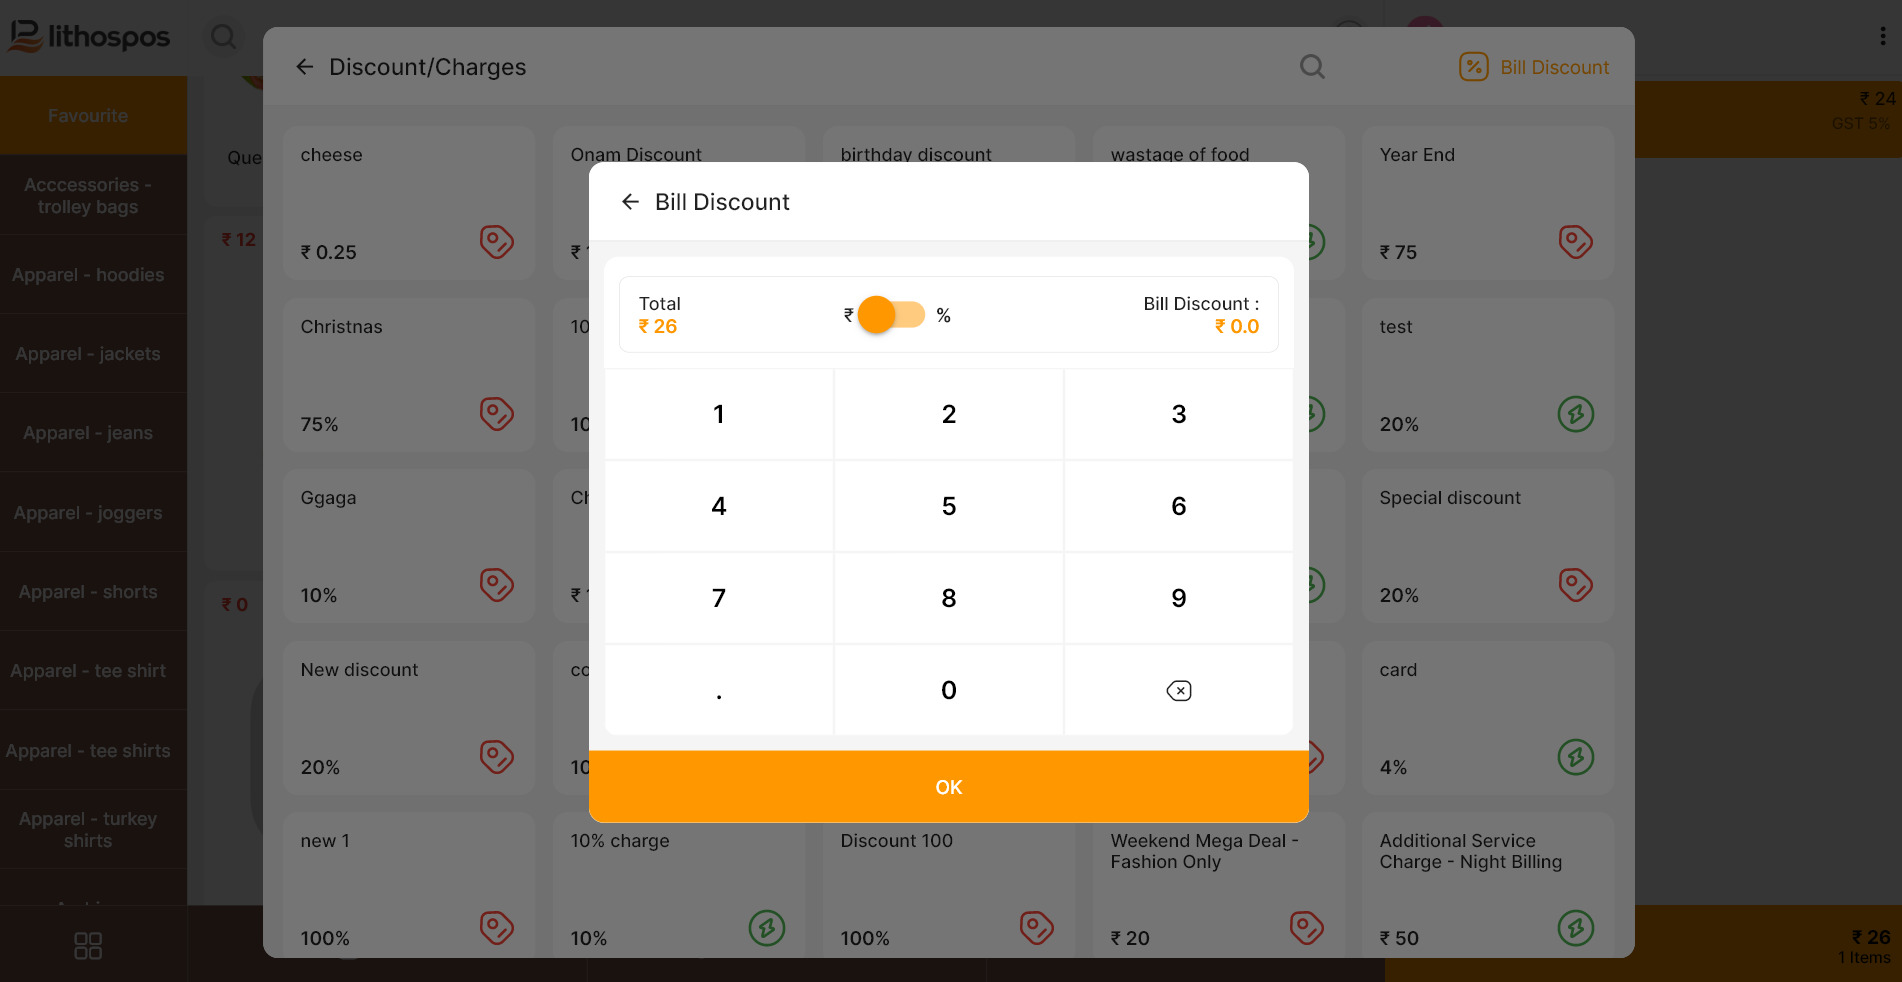
- Discount on entire bills: In the Discount/Charges button. You can add a discount to the entire bill by clicking on the “Bill Discount” option, which will open a pop-up window. In the pop-up, you will see the total bill amount displayed in the middle. There is a toggle button that allows you to choose whether the discount is applied as a specific amount or as a percentage. On the left, you can enter the discount amount or percentage. Once the discount is entered, the discounted total will be updated automatically under the Total field. Finally, click OK to apply the discount to the bill.
- Loyalty Points:There is a Discount/Charges button below the screen, You can manage Loyalty Points here. Loyalty points are rewards customers earn based on their spending. For example, customers might earn 1 point for every dollar spent. You can define how much money equals 1 point and set a minimum threshold for redeeming the points as rewards.
- Gift Cards: In LithosPOS, you can easily create and manage both digital and physical gift cards. These cards come preloaded with an amount you choose and have a unique serial number. You can sell them at a price you decide, and customers can redeem them by either scanning the card or entering the code in their purchase. It’s simple and convenient!
Connect with us to know more
To learn more about it feel free to book a meeting with our team


 LithosPOS