QK-Order Online Ordering Platform
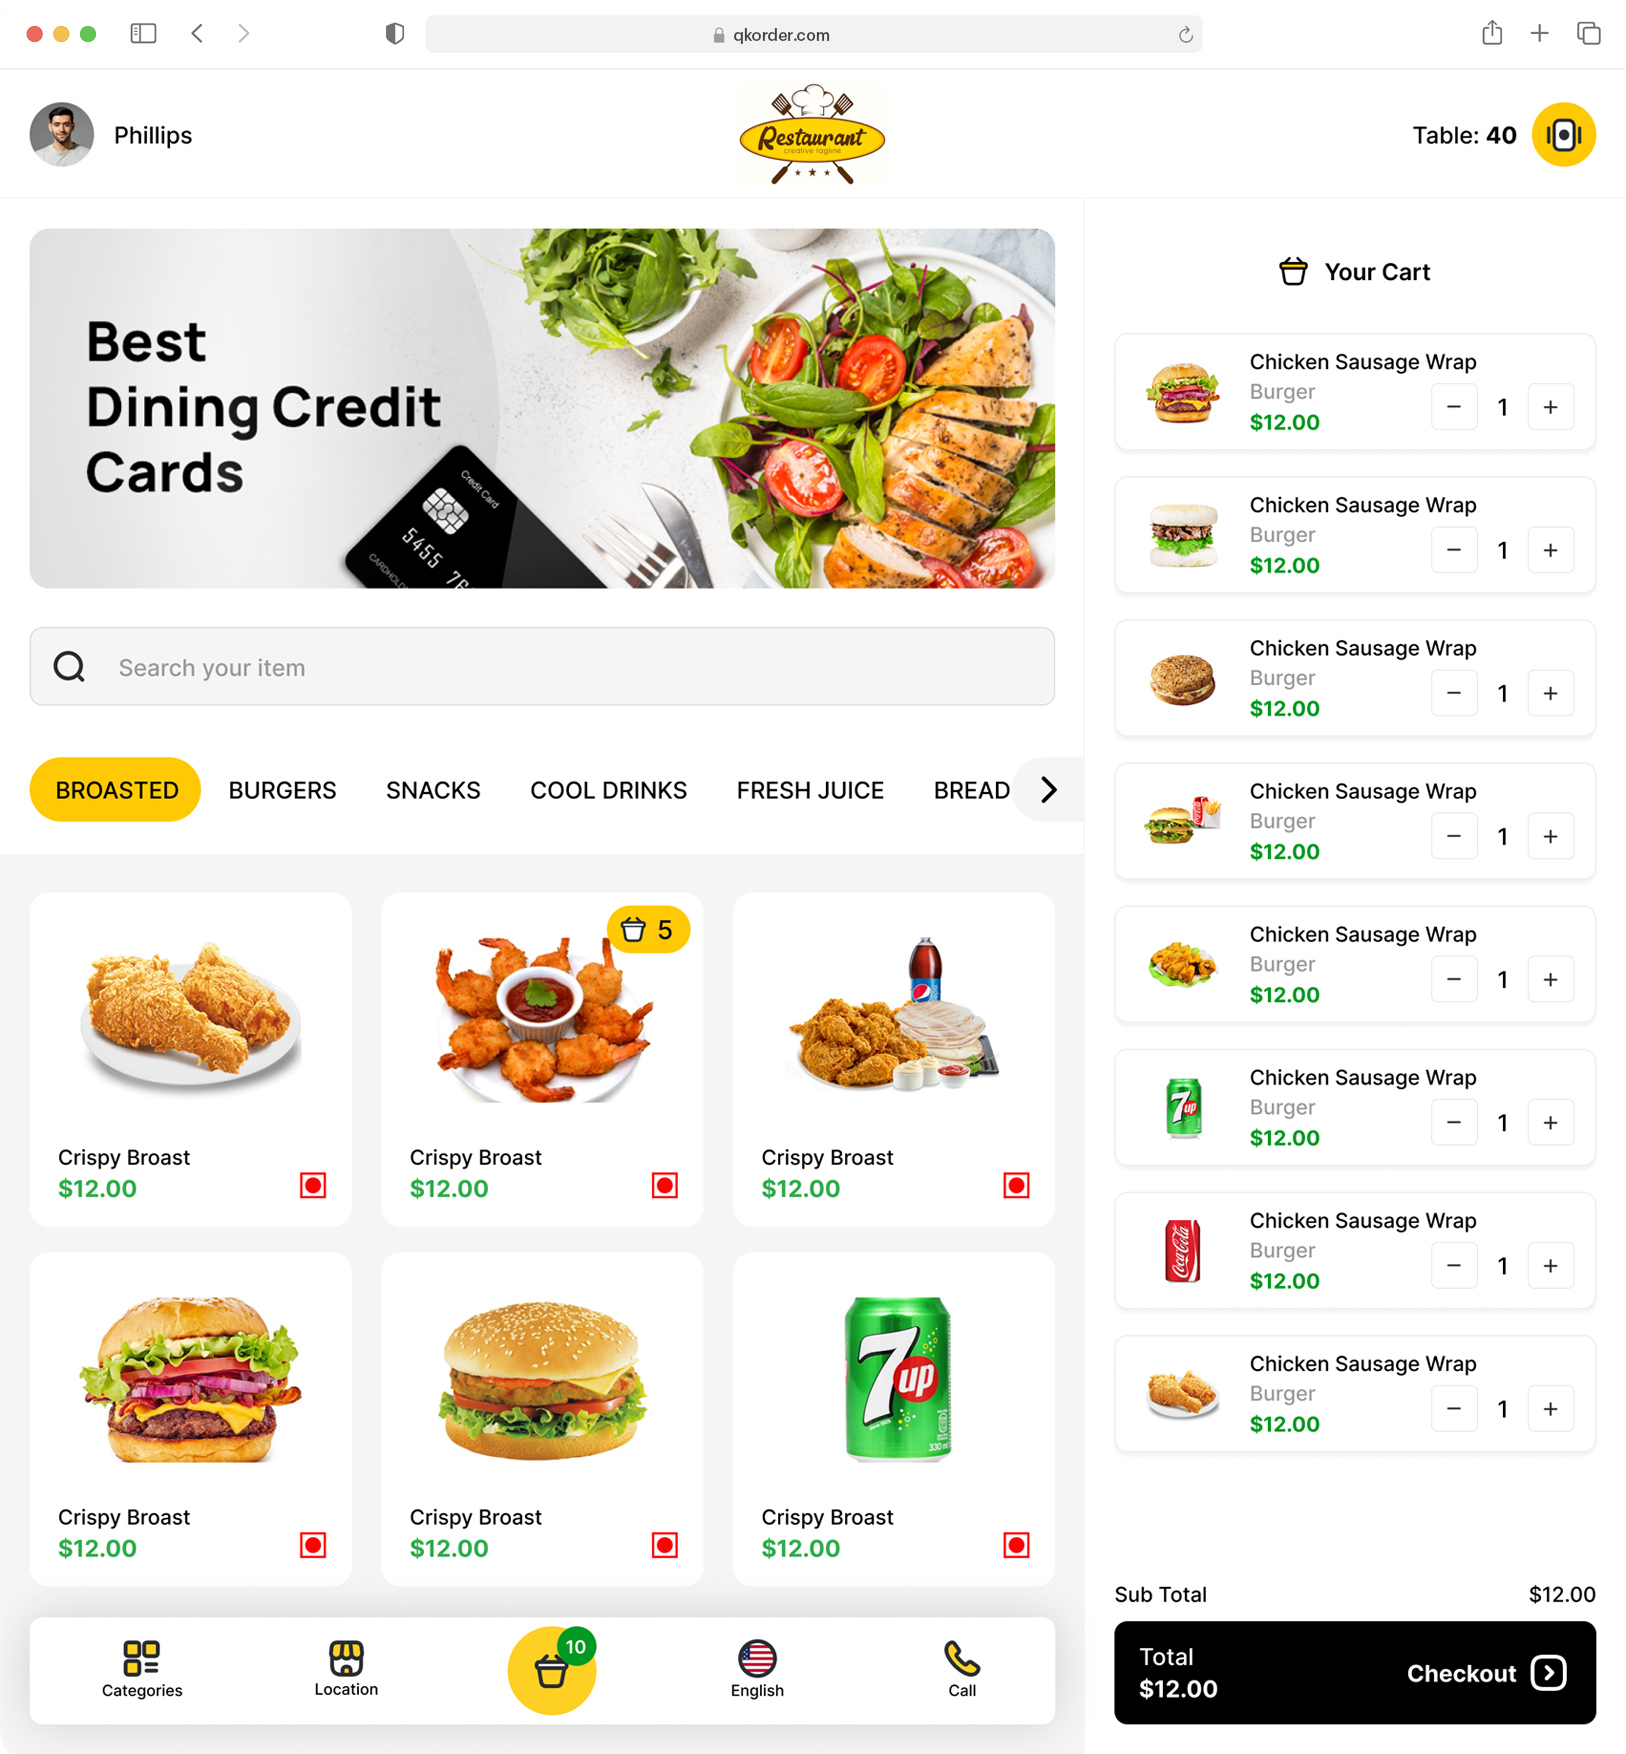
QK-Order is an intuitive online ordering platform that allows you to set up your online store with ease. It is a powerful tool that lets you easily set up an online store directly from your LithosPOS inventory. You can choose which items to make visible online and seamlessly integrate QK-Order with your POS account. Once your items are listed, simply share the QK-Order link with your customers, allowing them to browse your menu, place orders, and make payments online. All orders and payments are instantly synced with your POS and accounting systems, ensuring a smooth and efficient operation.
Whether you're running a restaurant, retail store, or any other business, QK-Order helps you expand your reach by offering a seamless online shopping experience for your customers. With QK-Order, you can manage your online store efficiently, providing your customers with the convenience of ordering from anywhere, anytime.
Benefits of QK-Order
-
Easy Setup
Get your online store up and running in no time with easy setup process. -
Increased Reach
Tap into a broader customer base by offering your products and services online. -
Real-Time Management
Manage your orders, inventory, and customer data in real-time, ensuring smooth operations. -
Seamless Integration
QK-Order integrates with your existing POS system, ensuring that all your sales channels are synced and managed from one platform.
How to Set Up Your Online Store with QK-Order
-
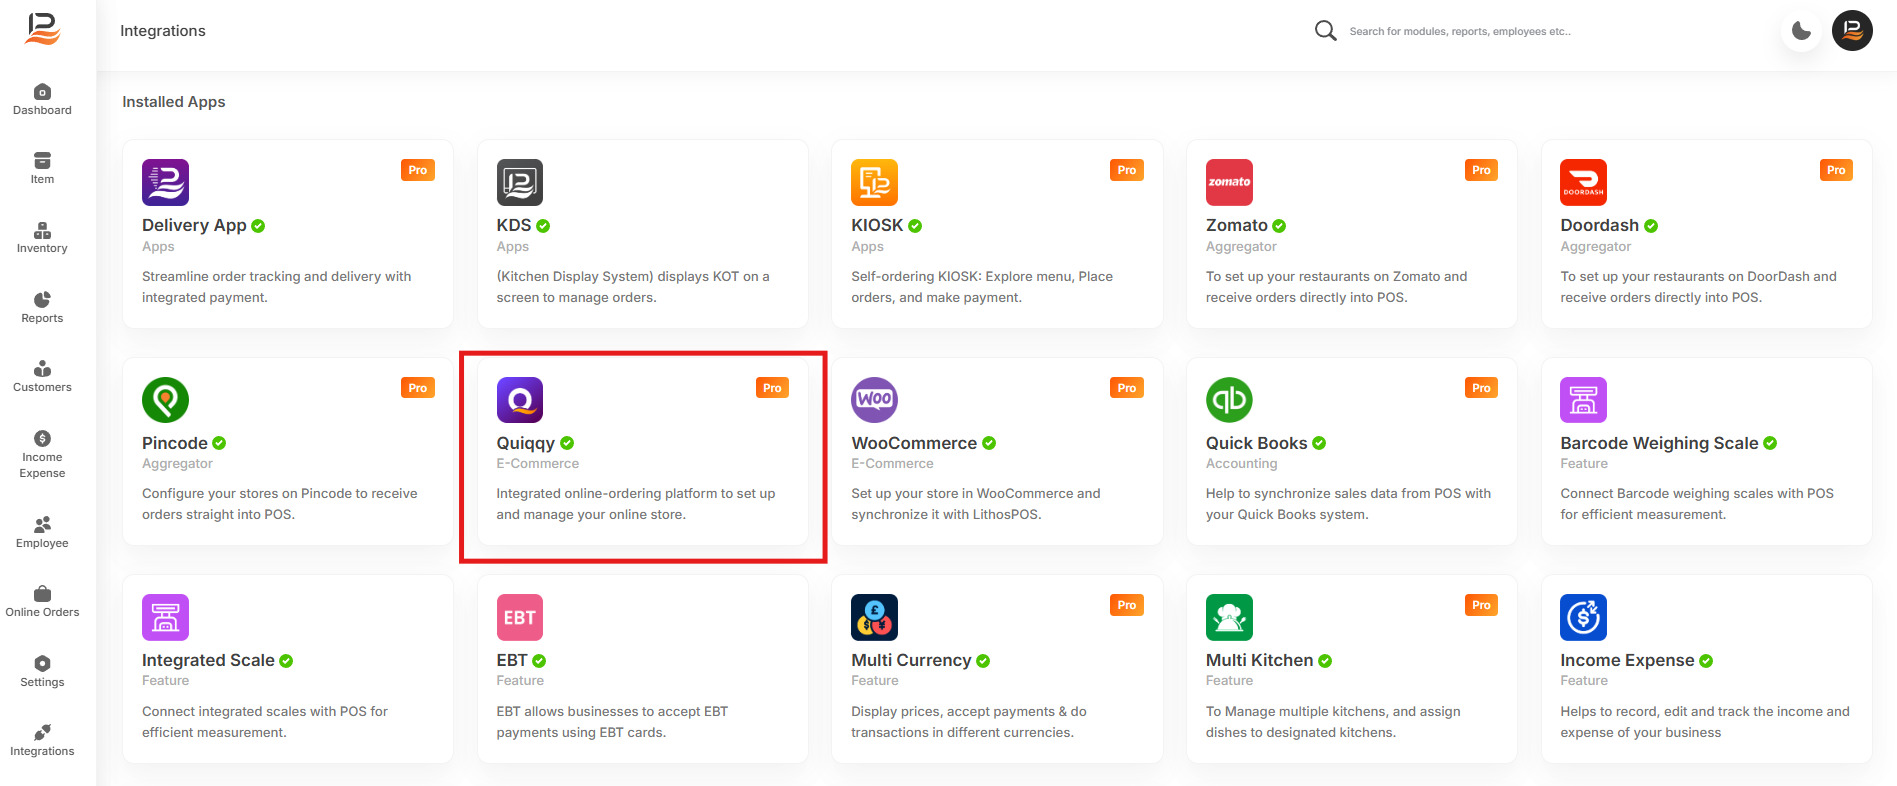
Log in to LithosPOS back office and navigate to the integrations section, and go to QK-order.
-
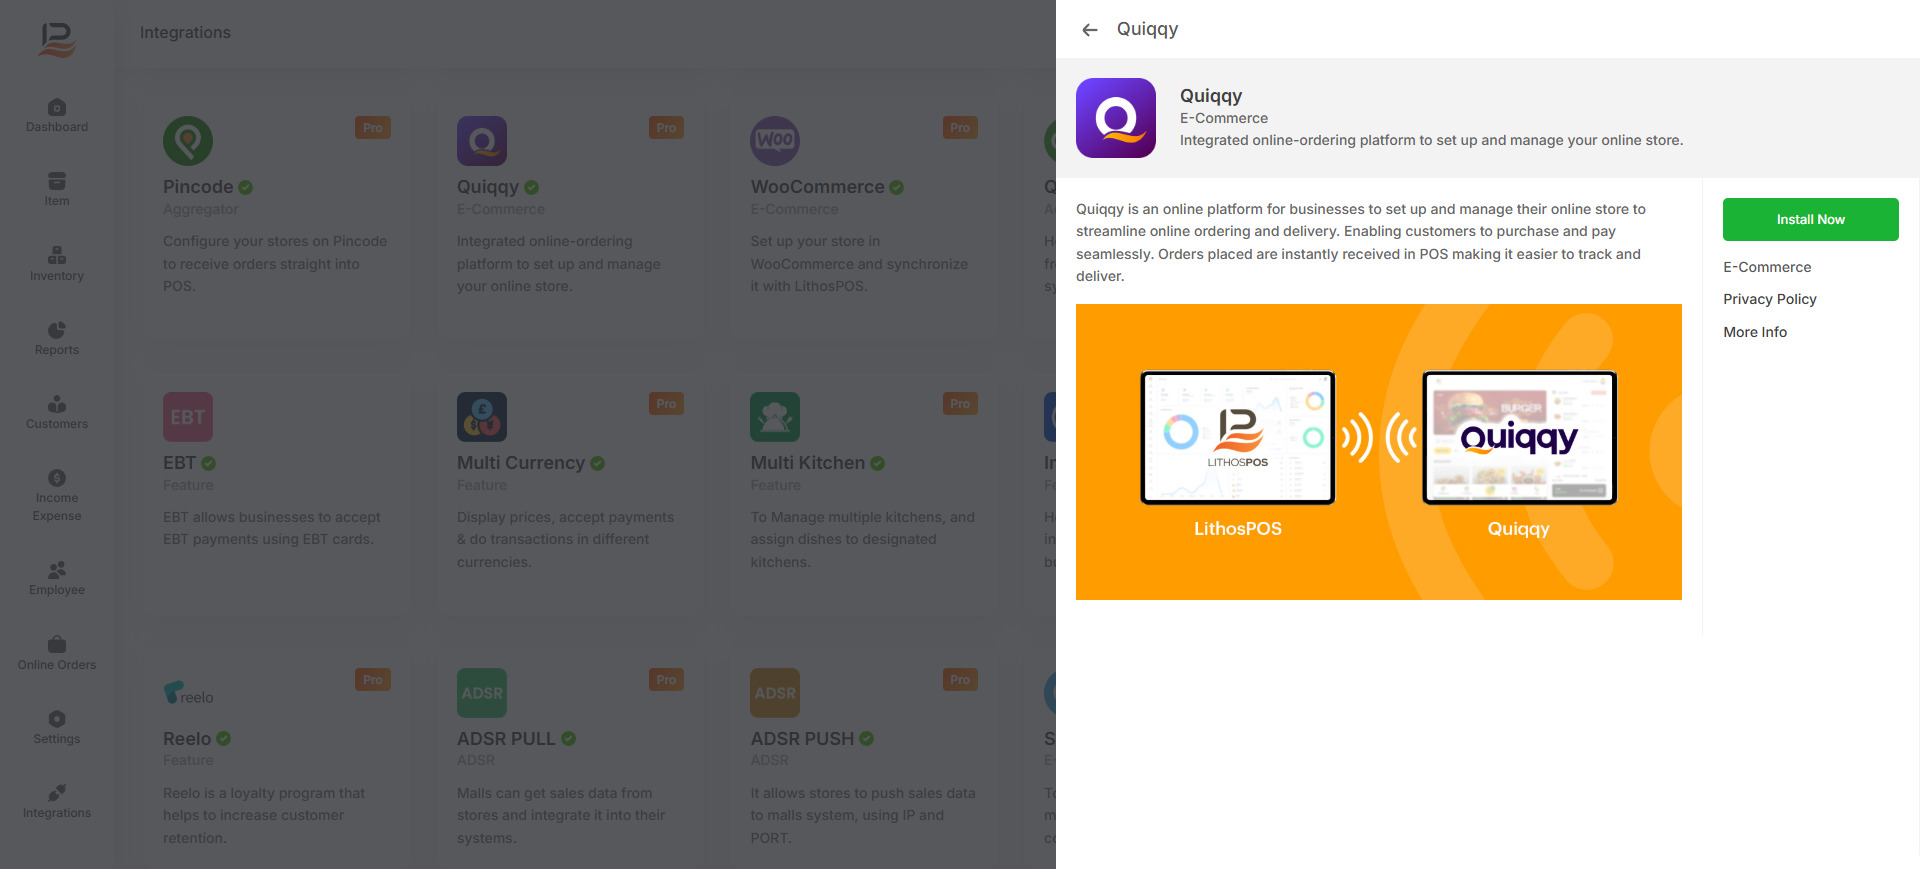
Click on the ‘Install Now’ button to begin the installation process.
-
Once that's done, the 'Qk Order' will appear on the back office side menu.
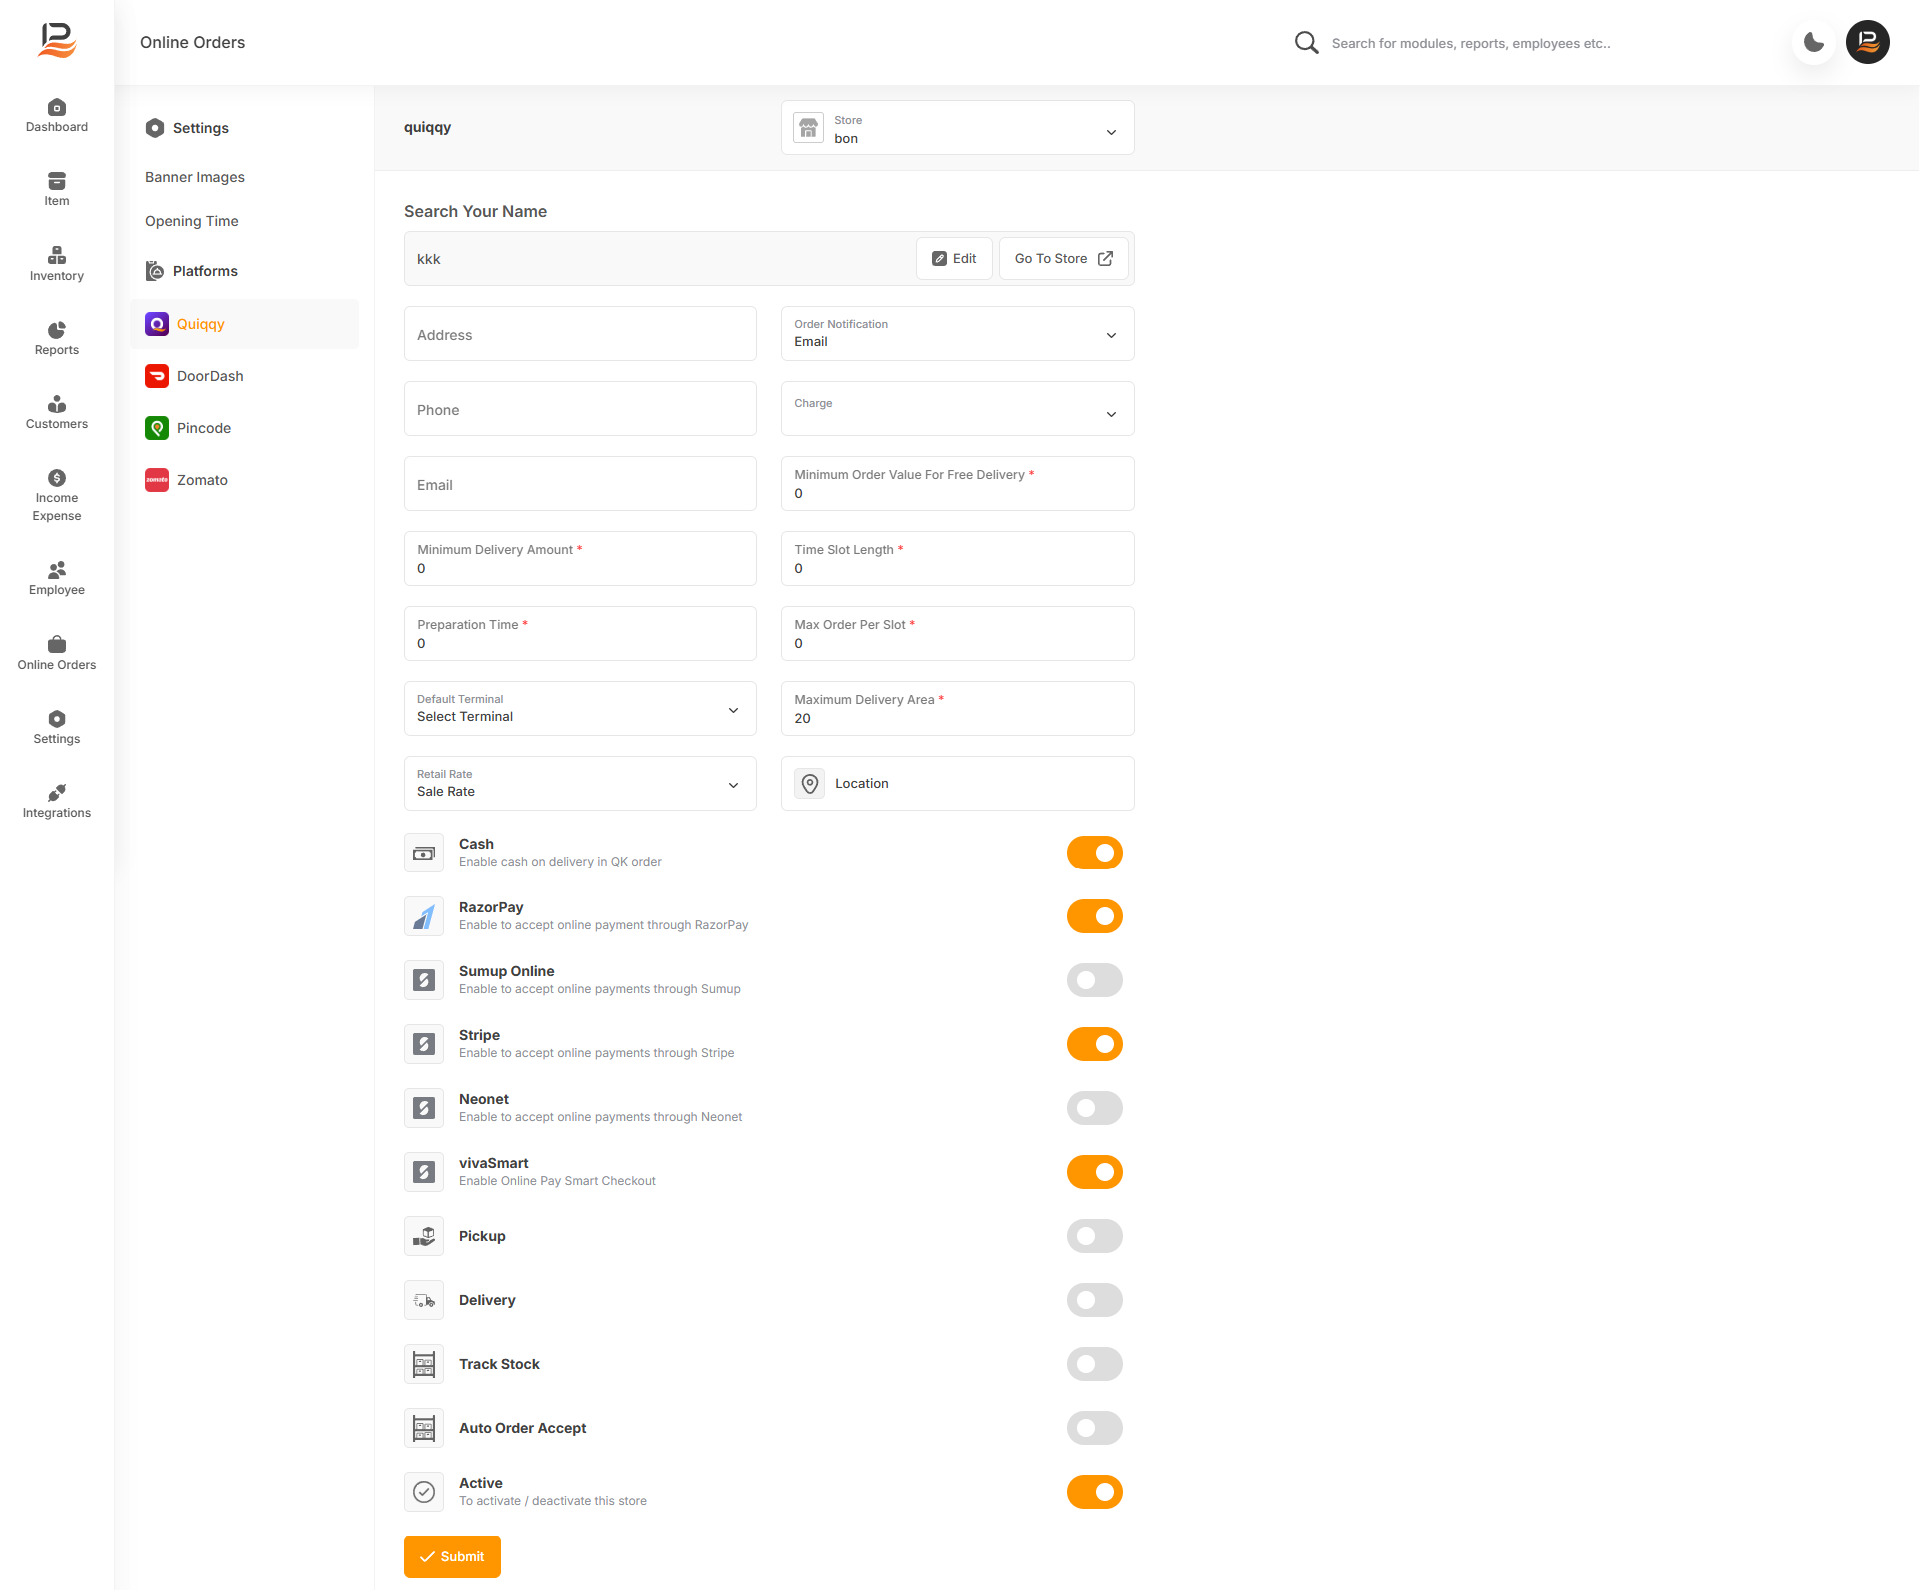
Now, navigate to 'Qk Order' and select 'Settings.
Choose the store for which you'd like to set up online sales. If you have only one store, the store selection column will not be visible.
-
Store Name
Start by entering your store name. The store name you enter here will be part of your online order web link. The name should be in lowercase letters with no special characters, except for hyphens. For example, if your store name is 'ABC, then your web address will be qkorder.com/abc-store.. Search Store
A search field is provided to search QK Order Stores.-
Next, fill in your store's address, phone number, and email in the respective columns.
-
Minimum Delivery Amount
Then set the 'Minimum Delivery Amount. -
Preparation Time
Specify the expected 'Preparation Time' in minutes.. -
Choose the Terminal
If you want the online orders to be received at a specific terminal, choose the terminal here. Please note that if you select 'All,' the orders will be sent to all terminals.. -
Retail Rate
-
Order Notification
Choose your preferred order notification method in the 'Order Notification' column, whether it's via email,SMS or WhatsApp.. -
Delivery Charge
If you want to add a 'Delivery Charge' make sure you have already created it in the Discount and Charges section. Then choose that charge in the ‘Charges’.Note:
To create that go to 'Items’ and click on ‘Discount/Charges. 'Click on Charges, then choose the type flat or percentage. Then enter the charge amount, select the tax if applicable. You can restrict the charge to specific users if needed. Then select the stores where you want to apply these charges. Finally save the settings.
-
Minimum Order Value
Next, set a minimum order value for free delivery.. -
Delivery Time Slot
Then, specify the length of each delivery time slot. -
Maximum Number of Orders/slot
and the maximum number of orders per slot. -
Delivery Area
Finally, set the maximum delivery distance in kilometers. -
Set Store's Location
Select your store's location using Google Maps in the 'Location' column.You can either drag the location marker or search for your address in the search bar until it's accurately positioned. then,
-
Submit
Finally click 'Submit' to save the settings.
Setting opening time
Opening Hours: Next, under 'Opening Hours', specify your operating days and times.
Note:
Click on ‘New opening Hours’, select the days and enter the opening and closing hours.To add a different opening hours for another day, click on "New Opening Hours," select the day, and input the opening and closing times.
If your store operates overnight, split the hours across two days.
Note:
For instance, set opening hours for the first day from 09:00 am to 11:59 pm and then start the next day's schedule from 00:01 am to 06:00 am.
Configure The Toggle Buttons
-
Cash
Enable or disable ‘cash on delivery or pick up’ based on your preference. -
Integrated Online Payment
If you have integrated any online payments in your account you can enable it here.Note:
Any payments integrated with your account will be listed here. You can enable or disable them as needed.
-
Pickup
Choose to enable the order pick up option. -
Delivery
Choose to enable order delivery to customers. -
Track Stock
Here If the 'Track Stock' is enabled, orders for items with insufficient stock will not be allowed.Note:
It is useful for retail businesses.
-
Auto Order Accept
For automatic order acceptance of prepaid orders, turn on 'Auto Order Receive'. -
Activate
Finally, activate your online store using the 'Activate' button.
Once you've configured all these settings, click 'Submit.'
Customize Your Store's Banner
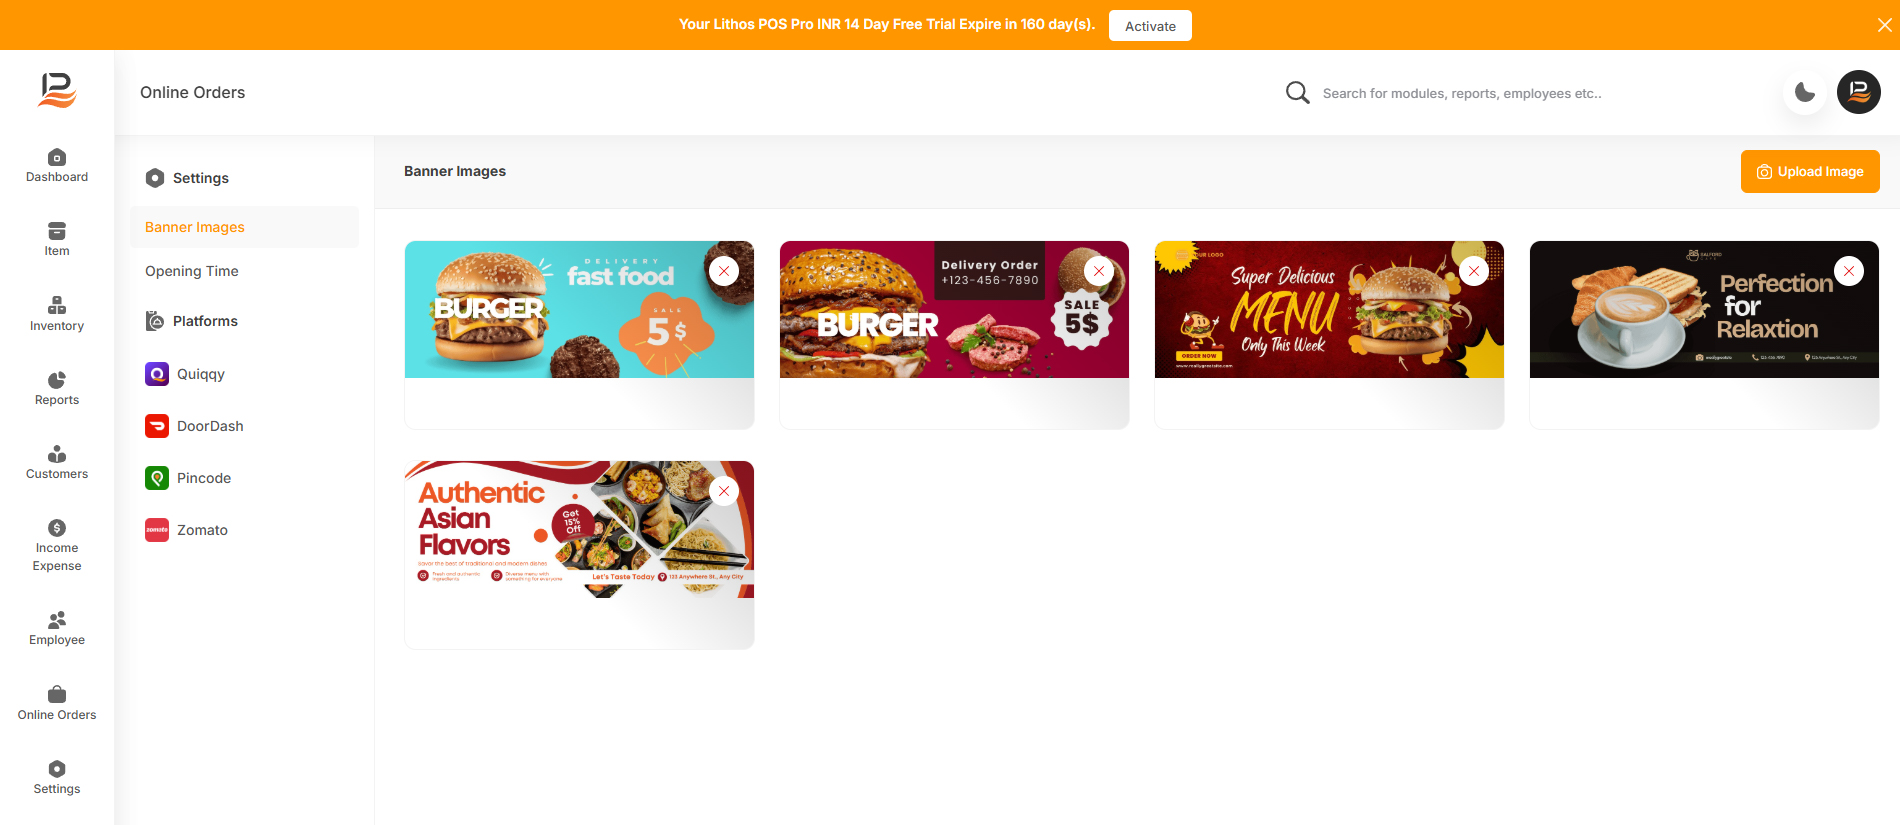
To customize your store's appearance, click on QK-order in the side menu and click on Settings and click 'Banner Images'
- Then click on the upload image icon on the top right.
- Drag images into the image window or select up to 5 images from your device.
- To delete an added image click on the red ‘x’ mark on the image and hit OK to confirm..
- Finally click submit.
- Your online store is now ready to launch! Visit your store at qkorder.com/abc-store
- Start sharing your ordering link with your customers.
Connect with us to know more
To learn more about it feel free to book a meeting with our team


 LithosPOS